
In APEX it is possible to export the data to PDF (Portable Document Format) format. The PDF format is created by Adobe and is widely accepted as a standard. To be able to export to PDF format, you need a report server like BI Publisher, a Java application server like Tomcat or Oracle's Weblogic with Apache FOP or a standard XSL-FO processing engine. We will discuss the interaction with Oracle BI Publisher.
First you need to install Oracle BI Publisher. You can download it from Oracle.com. We downloaded version 10.1.3.4.1 for Windows.
After downloading and unpacking, run setup.exe and follow the steps in the installer. After installing, try to run BI Publisher. You can find the relevant settings such as the BI Publisher admin screen URL with the username and password and the commands to start and stop BI Publisher in the file BI_Publisher_readme.txt, which you can find in<drive:>Orahome_1, where<drive:> is your local hard drive. By default, the URL is http://localhost:9704/xmlpserver if you installed BI Publisher on your own computer. If you installed BI Publisher on another computer, localhost must be replaced by the name of the other host. For this recipe, we will use the default hostname localhost and port 9704.
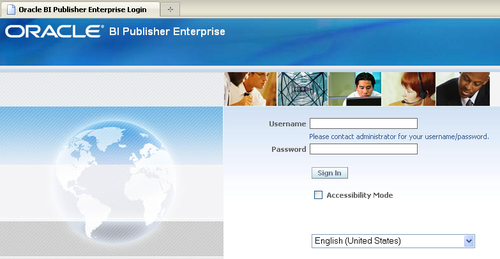
If the installation went OK, you should see something like the following screenshot:
The next step is to configure APEX for BI Publisher. Therefore, you have to log in to the internal workspace as administrator.
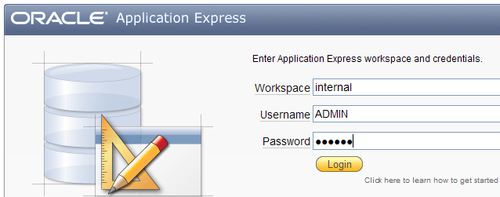
- If you don't know the password, ask your administrator. If the password is unknown, you can change it using the
apxchpwd.sqlscript, which you can find in the APEX directory. You need to execute this script as the SYS user. - After successful login, select Manage Instance.
- In the instance settings section, click the Instance settings link.
- In the report printing section, select Advanced (requires Oracle BI Publisher) in the Print server radio button.
- In the print server host address field, enter the name of the host where BI Publisher is installed. In our case, this is the local machine, so enter here localhost.
- In the print server port field, enter 9704. That is the default port number of BI Publisher. In the print server script field, enter /xmlpserver/convert.
- Click the Apply changes button. APEX is now configured for interaction with BI Publisher.
Now we will make a link below a report region which enables the user to export the report to PDF format.
- Go to the Report page.
- In the Regions section, click on the Report link.
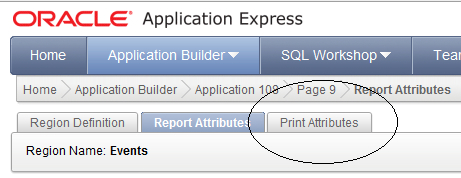
- Click on the Print Attributes tab.
- In the printing section, select Yes in the enable report printing list box.
- In the link label field, enter a name for the link.
- In the output format list box, select PDF.
- Click the Apply Changes button.
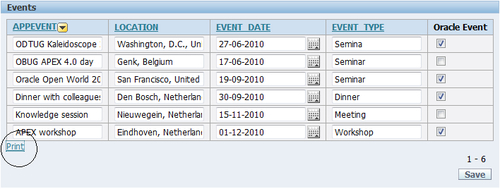
- The link is ready now. In the Regions section, you will see that there is a Print link behind the report region.
- Click Run to run the report.
- You will see a link below the report region. Click this link.
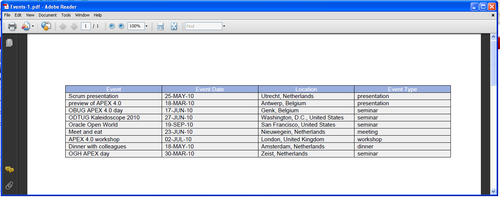
- The result will be a pop-up window where the user can choose to save the report in PDF format or open the report using Adobe Reader. In the last case, you will see something like this:
When using the print link, APEX converts the data to an XML format and sends it to the BI Publisher engine. The convert script then converts it to PDF format and sends it back to APEX.