Adding Modifiers
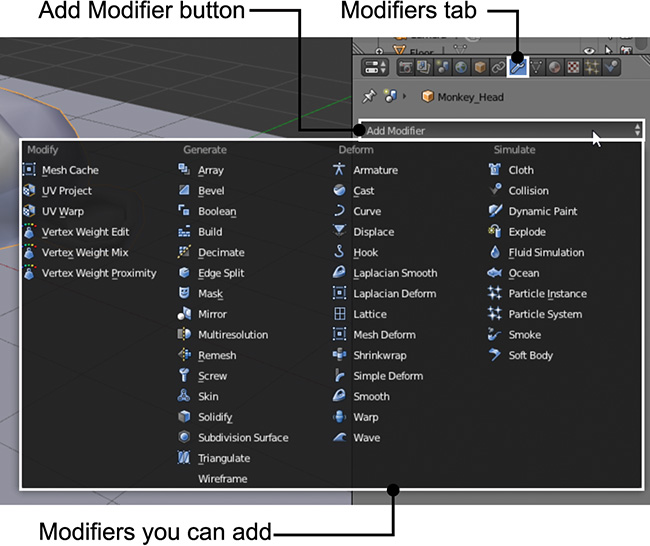
Clicking the wrench icon in the Properties Editor opens the Modifiers tab, where you can add modifiers (see Figure 3.6). When you click the Add Modifier button, a menu will display every modifier you can add to the active object (not all the modifiers are available for every type of object). Left click a modifier from the list to add it to the active object.
Figure 3.6 In the Properties Editor, on the Modifiers tab, you can add modifiers to the active object.
When you add a modifier, a node will be added to the modifier stack, which works similarly to layers: if you keep adding modifiers, they’ll add their effects to the previous modifiers. Keep in mind that the modifier stack works in the opposite order of layers in other software such as Photoshop: in Blender, the last modifier you add will be at the bottom of the stack, and its effect will alter the effects of the modifiers above it in the list. The order of the modifiers is crucial to defining the resulting effect they’ll have on the object.
For example, if you model one side of a mesh and apply a Mirror modifier to generate the other half, and then apply a Subdivision Surface modifier to smooth the result, the Subdivision Surface modifier should be at the bottom of the list; otherwise, the object will be smoothed before being mirrored, and you will see the seam in the middle.

