MIM CM configuration for ADFS installation is quite similar to the Windows Authentication configuration. We will outline the installation to the existing CM configuration of The Financial Company.
The ADFS installation requires a dedicated server because the web administration portal is not compatible with the ADFS authentication model's claims-based authentication. This setup assumes that you already have ADFS set up within your environment, so we will not go through this configuration. The Financial Company has already set up ADFS, but if you need help with setting it up, visit http://bit.ly/MIMCMADFSGuides.
The first step is to install CM software on the CM2 (TFCCM02) server. Request a domain certificate for the IIS website and call it cm2.thefinacialcompany.net:

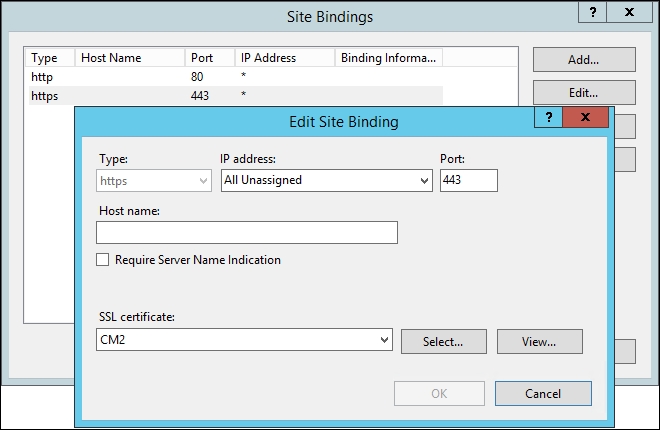
Once we have the certificate, we will make sure it is tied to the default site by navigating to IIS <Server name> | Sites | Default Web Sites. Open the Bindings setting in the Action menu on the right-hand side of the page and create an HTTP binding:
Confirm that the DNS and SPN are set for our app pool account. Open the DNS management MMC for The Financial Company and create an A record, as we did for the current CM server. We have captured the configuration in the following screenshot for clarification:

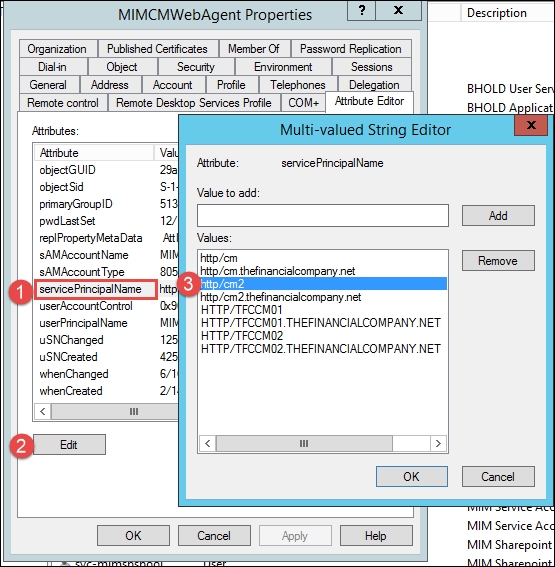
For the SPNs, we will add two records for our CM2 server. Open the Active Directory object and view the Service Principal Names (SPN) via the editor. Click on Edit and add the new SPN. As you can see here, we will select the attribute, click on Edit, and then add the appropriate SPN:
We are ready to run the wizard as we did earlier on CM1. It is not uncommon to rerun the wizard a few times, but be careful. The wizard does not remember your current settings, so running it a second time could break your working MIM CM environment if you are not careful.
To run the wizard, you need to be a domain admin and use an account that has the SQL database creation permission. The wizard will detect the permission needed and return an error if you're not part of this group:

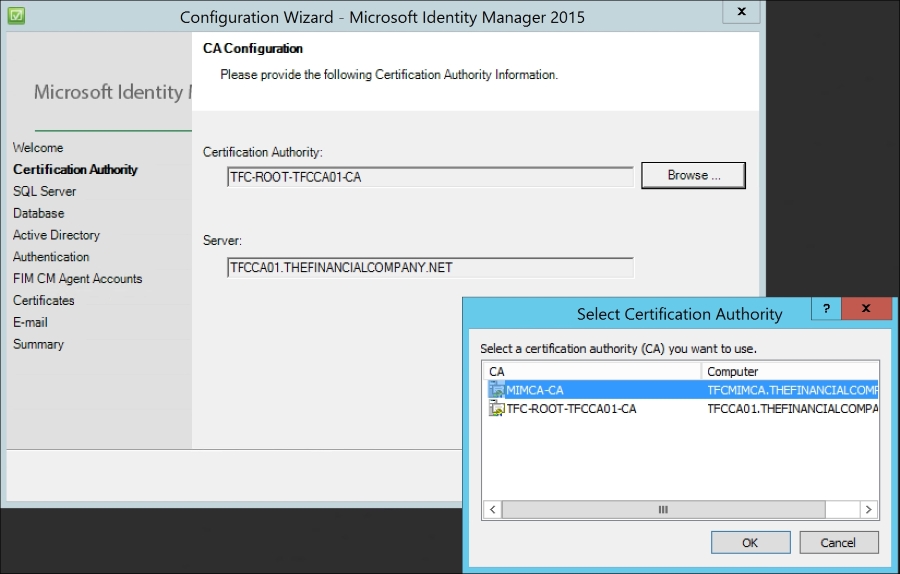
If you have multiple Enterprise CAs, select the one that MIM CM should use. We can later configure MIM CM to use multiple CAs if we like. At this point, we will use the MIMCA-CA server:
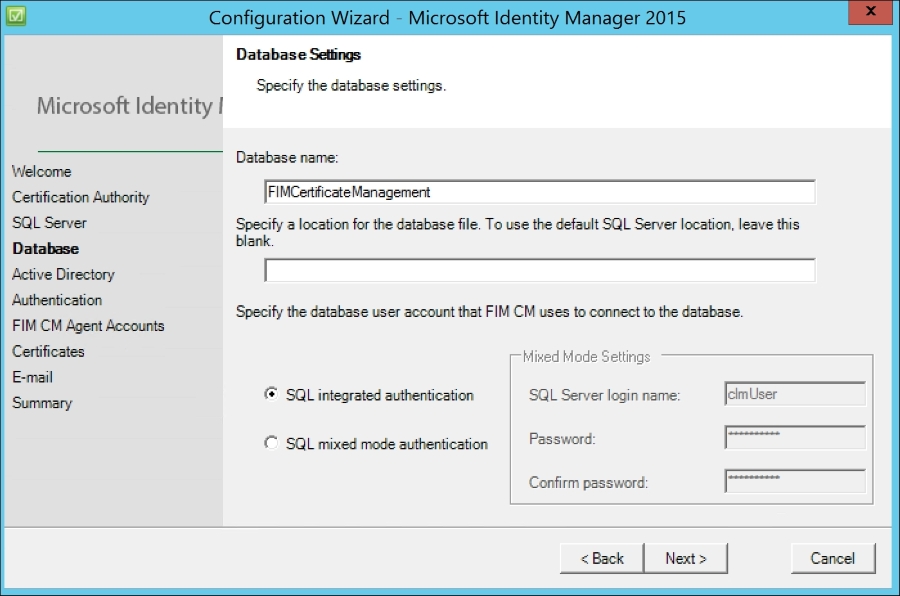
Leave the default settings on the Database Settings page:
On the Active Directory page, note the AD path for the Service Connection Point. We will need to configure some permission on this object later. We have never dared to change the location, even if it points to an old location referencing the older version of MIM CM, Certificate Lifecycle Manager:

The wizard will use the default server name. In an enterprise, we recommend that you have a global name so that when we add new servers to the organization, we can use a global name as we did on CM2. To set up a global name, simply click on the Change button. Note that you will see a new feature, which allows you to select another forest. By default, it will show all the forests that are fully trusted, but we can select any forest we configured in the earlier chapters. At The Financial Company, we will use the name TFC_CM:

The next section of the wizard is new and determines whether you will enable ADFS authentication or Active Directory. We will select Active Directory Federation Services because it will be the endpoint for all ADFS CM requests via the REST API. We will apply the following settings:
- Metadata Endpoint:
https://adfs.thefinancialcompany.net/federationmetadata/2007-06/federationmetadata.xml - Relying Party:
https://cm2.thefinancialcompany.net/certificatemanagement
Thus far, the wizard has been easy to follow, but it is time to really pay attention, especially now that we have another server in the mix.
On the FIM CM Agent Accounts page, you need to configure every one of the agents with the correct information. Clear the Use the FIM CM default settings checkbox and click on the Custom Accounts button:

On all the six agent accounts, select the Use an existing user checkbox and fill in the User name and Password textboxes for the account. You can see why we named our accounts the way we did, because we can easily determine which account to use for each agent:

On the Certificates page, we will select the corresponding template that we would like each account to use. Some people argue that we should always use the Create and configure certificates manually option. When using HSMs, we always do this. It is, however, nice to allow the wizard to configure the certificates and put all the information about the certificates into the configuration files. For the ADFS configuration, we will select the Create and configure certificates manually checkbox as we are exporting and importing the certificates from the TFCCM01 server. So, both the servers will use the same certificates to sign and for enrollment:

On the E-mail page, we will point MIM CM to an SMTP server that it can use to send e-mails. Also, note the default path for print documents. In this short coverage of MIM CM, we will not show you how to use printing and e-mail in workflows.
Before you click on the Configure button, verify the settings. If something is wrong, just use the Back button and change whichever value is wrong:

The wizard will take a few minutes to complete the execution. It is not uncommon for it to fail because there may be many parameters that might not have been correctly set:

As stated earlier, errors can be found in the log file located at C:Program FilesMicrosoft Forefront Identity Manager2010Certificate Management.
We now need to export all the certificates from the TFCCM01 server that are used within the CM configuration. For this activity, we will log in as our install account and perform three runas commands using the three accounts, as follows:
MIMCMAgent: Agent accountMIMCMEnrollment: Enrollment accountMIMCMKRAAgent: Key Recovery Agent account

Open the MMC on each runas command prompt. Add Certificates - Current User for each of the three accounts and then export each certificate as you see in the following screenshot:

We now need to consolidate the certificates and copy the web configuration file, which will be needed to update some entry values on CM2:
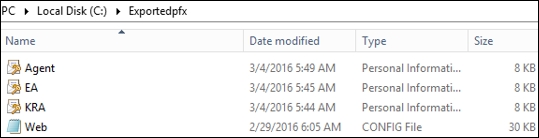
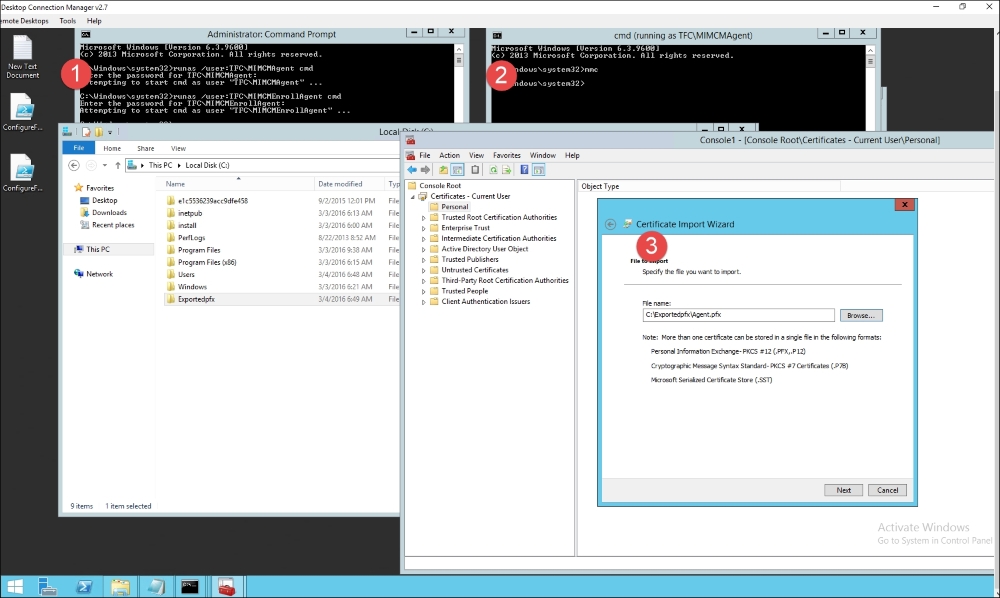
On CM2, copy the certificates from CM1 and the web.config file. Next, proceed with the same steps performed on the CM1 server: first, run the runas /user:TFCMIMCMAgent cmd command (1); second, run the MMC (2); and finally, import the certificate that corresponds to the agent account (3):
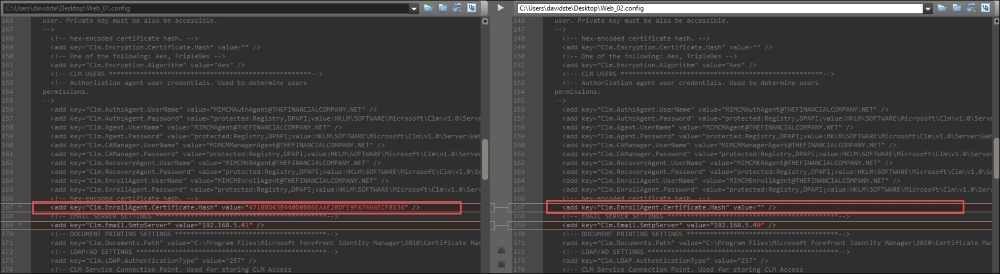
Once the certificates are imported, open the web.config file from the TFCCM01 and TFCCM02 servers. Look at all the hash entries from CM1 and add them to CM2. As you see in the following screenshot, the CM1 file is on the left-hand side, and the CM2 file is on the right-hand side; the CM2 file is missing the CM1 hash entries. Add all the hash settings in the web.config file on the CM2 server:
Once we have updated web.config, we will make two configuration changes in the CertificateManagement virtual IIS directory, disabling Windows Authentication and enabling Anonymous Authentication:

Next, perform IISreset. We will now move on to configuring the ADFS sever. To configure the relying trust, use the ConfigureFIMCMClientAndRelyingParty.ps1 script found at http://bit.ly/ConfigureMIMCMClient. Run the script on the ADFS server(s). You will need to update the URL in the script to point to your environment:
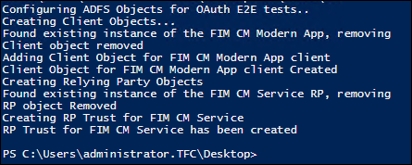
You should see the relying party trusts and authentication policies as follows:

In an earlier section, we outlined the configuration needed for the Modern App to talk to CM using claims-based authentication. We will now reconfigure the Modern App to talk to CM with claims using the same configuration.
Launch the Modern App. At this point, we are still using Windows Authentication:
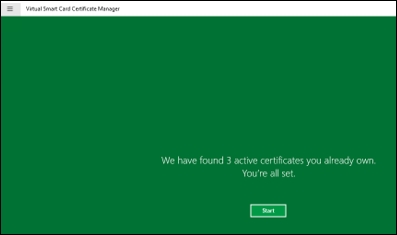
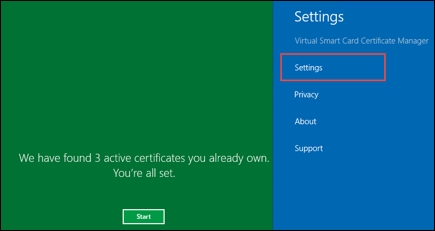
We have three active certificates. Click on the upper-left screen for the context menu and then click on Settings:

Click on Settings on the right-hand side task bar:
We will update Certificate Management Server Address and Active Directory Server Address to the following:
- CM Server:
https://cm2.thefinancialcompany.net/certificatemanagement - ADFS:
https://adfs.thefinancialcompany.net/adfs
Close and reopen the Modern App, and you should see the application quickly connect to the ADFS server and display your current certificate, as before:

You have now successfully integrated the Modern App with ADFS authentication, utilizing your existing configuration!