
There may be situations where you want to immediately lock an application for all users. For example, when there are security issues. In that case, you can (temporarily) lock the workspace. Locking a workspace means locking all user accounts in the workspace. Besides that, all applications in the workspace will get the status "unavailable". When the workspace is locked, no users will be able to log on to the workspace. Starting an APEX application of a workspace that is locked will result in a message that the application is unavailable.
- Log on to the internal workspace.
- Go to Manage Workspaces.
- In the Workspace Actions section, click the Lock Workspace link.

- In the Workspace text field, enter the name of the workspace you want to lock. You can also click on the list of values button next to the text field to choose from a list of workspaces. After you have selected or entered a workspace, click Next.
- In the next page, you see an overview of the workspace applications and their status. You also see an overview of all users in the workspace and their availability. If everything is OK, click the Lock Workspace button.
The workspace is locked now.
As stated before, locking a workspace means actually locking all user accounts in the workspace and setting the status of all applications in the workspace to unavailable. This means that users can no longer log on to the workspace and that it is not possible anymore to run an application from that workspace.
According to the APEX administration guide, locking a workspace makes it permanently inaccessible. However, you can make the users and the applications accessible again.
First, unlock the administrator user of the workspace:
- Log on to the internal workspace.
- Go to Manage Workspaces.
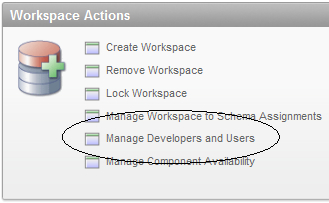
- In the Workspace Actions section, click on the Manage Developers and Users link.
- In the list that appears, look for a user from the workspace and click on the edit icon (the pencil).
- In the Account Privileges section, set the Account Availability select list to Unlocked.
- Click the Apply Changes button.
Second, unlock the application:
- Log on to the workspace using the unlocked user.
- Go to the application that you want to unlock.
- Go to Shared Components.
- Click on the Edit Definition link on the right side.
- In the Availability section, select Available with edit links in the Status select list.
- Click the Apply Changes button.