
Apple has a couple of great devices in the AirPort and Time Capsule. Both can be used for shared storage, providing a centralized repository for files and backups through Time Machine. The two are very similar, with the main exception being that the Time Capsule has a built-in drive, whereas AirPorts require a USB drive to provide shared storage (a USB drive can also be used with Time Capsule either to back it up or to extend the amount of storage provided).
Both are much more limited compared to an OS X Server; however, there is one feature that, until Lion, they could do that OS X Server could not: Time Machine Server. In OS X Lion, the same functionality was brought into OS X Server in the form of Time Machine Server. You can back up to OS X Server without Time Machine Server, but provided you are on the same subnet, Time Machine Server actually shows the server in the list of available Time Machine targets without any additional work on the clients. Additionally, clients do not need to run a command-line hack each in order to back up to the Time Machine Server as they would if you were just backing up to a traditional AFP or SMB share.
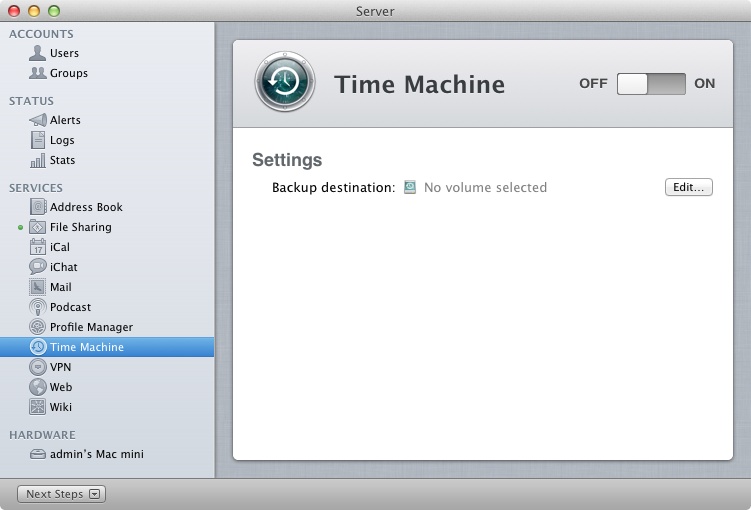
Setting up Time Machine Server has become one of the easiest things to do in Mac OS X Server. To do so, open the Server app and click on the Time Machine service. As with Time Machine itself, there aren’t a lot of options here, as can be seen in Figure 3-12.
Click on the ON and OFF switch to enable Time Machine Server. The “Choose destination volume for client Time Machine backups” will then appear (Figure 3-13).
Click on the drive you want client computers to use for backup, and then click on the Use for Backup button. A share called Backups will then appear in File Sharing and be registered in Bonjour in such a way that the share will appear automatically for clients when they are configuring Time Machine.

Once the server is configured, Time Machine Server clients are configured using the Time Machine System Preference pane. To set up a client, first open System Preferences from the Apple menu in OS X. Then click on the Time Machine System Preference pane. Once open, click the ON switch, and at the Select Disk screen, choose the entry for the newly created Time Machine Server, as seen in Figure 3-14.

Once selected, click on Use Backup Disk. You will then be prompted for the username and password used to authenticate to the server. Provide those credentials and click on OK. Then click on Options and define any exclusions you may have.
If the Time Machine Server does not show up, make sure you are on the same network as the server. As Time Machine Server relies heavily on the use of Bonjour, it is critical to make sure that Bonjour services work properly. An easy way to do so is checking to see if the server appears in the sidebar of an OS X client. If you are on the same network, then Time Machine Server should work great.
You can also back up using a mounted AFP or SMB share. This is
often preferable when using Network Attached Storage not made by Apple
or when Bonjour does not show the Time Machine Server in the list of
available backup targets. When backing up to an AFP or SMB share, the
shares will not appear as an available backup target automatically, even
while mounted. In order to correct this, use the following command,
which uses defaults to write a boolean TMShowUnsupportedNetworkVolumes key set to
True into com.apple.systempreferences.plist:
defaults write com.apple.systempreferences
      TMShowUnsupportedNetworkVolumes 1
You can also push Time Machine Server settings to clients en masse. The easiest way to do so is using Profiles, which are described further in Chapter 8.
While Time Machine Server is a great addition to the family of products, it has its limitations. It backs up everything that changed hourly, lacks true deduplication, doesn’t have granular policy-drive management, and of course, Time Machine cannot back up to tape. While Time Machine will be a great tool for many a home and small office, it just doesn’t cut the mustard for larger environments.
One option that many environments are starting to rely on is cloud-based backups. Time Machine doesn’t back up to the cloud. There are a few ways to shoehorn Time Machine into a cloud backup tool, but the logic built into Time Machine is very different than the logic in a cloud-based backup tool. One such tool is Carbonite, which can back up client computers and restore data to Carbonite. Other tools (e.g., Backblaze, SugarSync, and CrashPlan) also backup to cloud-based storage. Each of the tools referenced has similar features and pricing, with a little more money going toward more features and a little less toward fewer.
There are also a number of other more traditional backup tools that have clients for Mac OS X. Some tools only have backup clients for Mac OS X, such as the large enterprise management tools that include Symantec’s Backup Exec and EMC’s Networker. Other tools have full-fledged servers for Mac OS X, products that include Bakbone, Tolis’s BRU, Archiware’s PresSTORE, and Atempto’s Time Navigator. These are capable of managing large tape arrays for enterprise-level (i.e., complicated) backup servers running in Mac OS X.
While these products are all very much outside the scope of file server options in OS X, it is worth mentioning them, as they provide the upgrade path once you outgrow the likes of Time Machine. In the event you find yourself needing to upgrade, review all your options and then make an informed decision based on cost, features, and of course which one you feel the most comfortable managing long term.