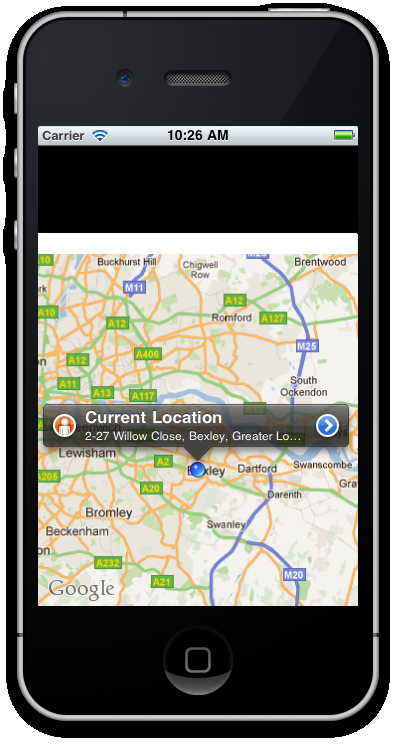
Annotations can also be customized to give the user a better indication of what your location symbolizes. For example, if you were mapping restaurants in a particular area, you may provide each annotation with an icon that symbolized the type of restaurant it was—be it a pizza slice for Italian, a pint for pub food or a hamburger for a fast food chain.
In this recipe, we will add a left image to both the start and end location annotations, using an "S" (for "Start") and an "E" (for "End") icon respectively, to help the user identify them. We will also add a start button to the first pin, and a stop button to the second, which we will use to control our exercise timer later on.
After your annotation is declared, but before it is added to your mapView object, type in the following code to create a custom leftView and custom rightButton. You should do the same for both the start location pin and the end location pin.
//add an image to the left of the annotation
var leftImage = Titanium.UI.createImageView({
  image: 'images/start.png',
  width: 25,
  height: 25
});
annotation.leftView = leftImage;

//add the start button
var startButton = 'images/startbutton.png';
annotation.rightButton = startButton;

mapview.addAnnotation(annotation);
Now, let's create the event listener for the mapView object. This function will execute when a user taps on any annotation in the map. You should place this code near the bottom of your JavaScript, just before the mapView is added to our window:
//create the event listener for when annotations
//are tapped on the map
mapview.addEventListener('click', function(e){
  Ti.API.info('Annotation id that was tapped: ' + e.source.id);
  Ti.API.info('Annotation button source that was tapped: ' + e.clicksource);
});In this recipe, all we are doing at the beginning is pointing some new properties at each annotation. Our leftView is being populated by an imageView, using the image icons for "S" and "E" respectively. The annotation also accepts a simple URL string for the rightButton property, and it is here that we are providing the "start" and "stop" button image locations (both are to be found in the images folder of the source code).
The event listener for the mapView works slightly differently as compared to other event listeners. You need to capture an annotation click from the mapView parent object and then work out which annotation was tapped by means of a custom ID. In this case, we have used the id property to determine which annotation was the start location and which was the end location. The start location is set to id 1, while the end location is simply set to id 2.
Additionally, you may wish to perform different actions based on whether the right or left button on the annotation pin was tapped. We can determine this by using the event property's (e) clicksource. A comparison to a string of either leftButton or rightButton will let you know which was tapped and you can program functions into your app accordingly.