For the very last part of this application, we want to combine the two images together (our "me" photograph and the funny face image we have chosen) and save them to the filesystem as one complete image. To do this, we will hook up the event listener of our save button control and use another common method found on almost all views and control types; toImage. Once we've combined our two images together and saved it off to the local filesystem, we'll then create a quick e-mail dialog and attach our funny face to it, allowing the user to send the complete image to his/her friends.
Underneath the instantiation of your btnSave object, add the following event listener and handler code:
btnSave.addEventListener("click", function(e){
  //hide the footer
  footer.visible = false;

  //do a slight delay before capturing the image
  //so we are certain the footer is hidden!
  setTimeout(function(e){
    //get the merged blob -- note on android you
    //might want to use toBlob() instead of toImage()
    var mergedImage = win1.toImage();

    writeFile = Titanium.Filesystem.getFile(
      Titanium.Filesystem.applicationDataDirectory,
      'funnyface.jpg'),
    writeFile.write(mergedImage);

    //now email our merged image file!
    var emailDialog = Titanium.UI.createEmailDialog();
    emailDialog.setSubject("Check out funny face!");
    emailDialog.addAttachment(writeFile);

    emailDialog.addEventListener('complete',function(e) {
      //reset variables so we can do another funny face
      footer.visible = true;
      imageViewFace.image = 'images/choose.png';
      imageSelected = false;
    });

    emailDialog.open();

  }, 250);
});
Now, launch your application in the emulator or on your device, again going through all of the steps until you have chosen a funny face, and adjust the layout of your photograph accordingly. When done, hit the save button and you should see an e-mail dialog appear with your combined image visible as an attachment.
The toImage method simply takes a combined screenshot of the element in question. In our case, we are performing the command on win1, our root Window object. To do this, we are simply hiding our footer control and then setting a short timeout. When elapsed, it uses toImage to take a combined screenshot of both our imageViewMe and imageViewFace controls, which we then save to the filesystem.
There is another method that most controls have called toBlob, which works in a very similar manner to toImage. Depending on what you are trying to achieve, you can generally use either one of these methods. However, at times, you will find that the Titanium API will contain bugs and only one of them may work. In particular, the toBlob method works far better on Android devices than the toImage method does. However, as the Titanium platform grows more stable, you can expect better performance from both of these API calls. Additionally, you would use the toBlob method in order to store blob data in a local database using SQLite, though in general this approach is not normally used as it is very memory intensive. Saving blob objects to the filesystem is the recommended approach.
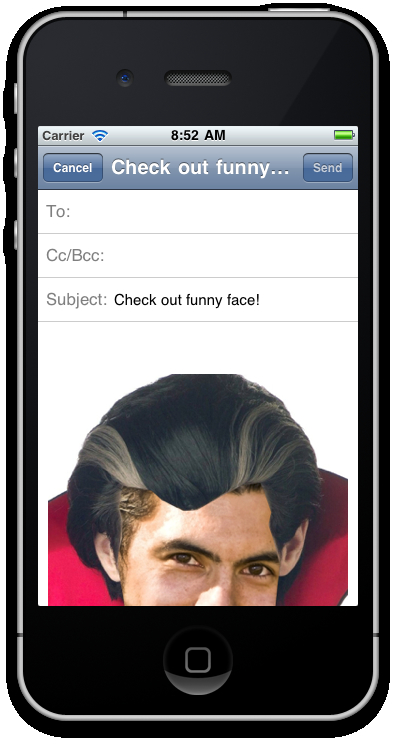
The following screenshot shows our final combined image, which has been saved to the filesystem and attached to a new e-mail dialog ready to be shared among the user's friends and family!