One of the most common methods of displaying multiple photographs and images on mobile devices is the
ScrollableView. This view type allows for pictures to be swiped left and right, and is common among many applications including Facebook mobile. The method of showing images in this way is reminiscent of "flipping" through a book or album, and is very popular due to the natural feel and simple implementation.
In this recipe we will implement a ScrollableView which will contain any number of images that can be chosen from the camera or photo gallery. Complete source code for this recipe can be found in the /Chapter 4/Recipe 4 folder.
First, let's create our ScrollableView object, which we will call scrollingView, and add it to our photo.js window:
//this is the scroll view the user will use to swipe
//through the selected photos
scrollingView = Titanium.UI.createScrollableView({
  left: 17,
  top: 15,
  width: win.width - 14,
  height: win.height - 25,
  views: [],
  currentPage: 0,
  zIndex: 1
});

scrollingView.addEventListener('scroll',function(e){
  Ti.API.info('Current scrollableView page = ' + e.source.currentPage);
});

win.add(scrollingView);
Now we are going to alter the dialog event listener in order to assign our selected photos to the ScrollableView, instead of the temporary ImageView we created earlier. Replace all of the code within and including your if(event.mediaType == Ti.Media.MEDIA_TYPE_PHOTO) with the following code. Note you need to do this for both the images gathered from the photo library and from the device camera.
...
//output the mediaType to the console log for debugging
Ti.API.debug('Our type was: '+event.mediaType);
if(event.mediaType == Ti.Media.MEDIA_TYPE_PHOTO)
{
// set image view
var imgView = Titanium.UI.createImageView({
top: 0,
left: 0,
width: 286,
height: 337,
image: image
});
//add the imageView to our scrollableView object
scrollingView.addView(imgView);
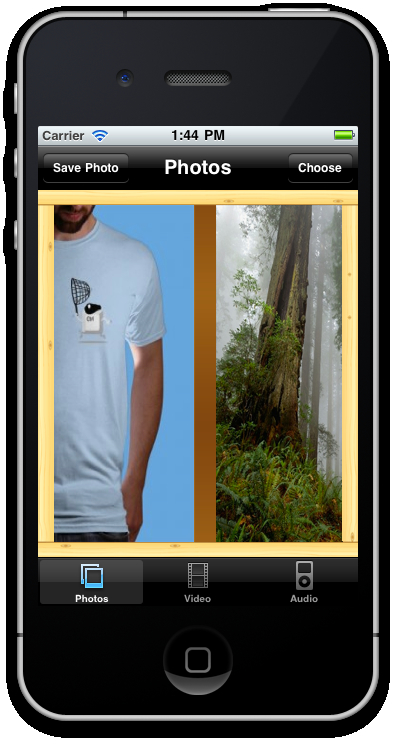
}Now run your app in either the emulator or your device, and select a couple of images one after the other. You can use a combination of images from the camera or the photo gallery. Once you have selected at least two images, you should be able to swipe between them using a left-to-right or right-to-left gesture.
The ScrollableView is really just a collection of views that has a number of special events and properties built into it, as you can probably tell by the empty array value we have given to the property called views in the createScrollableView() method. It is necessary to set this property on instantiating the ScrollableView object, and a good idea to set the currentPage index property to 0; our first view. We are still creating an ImageView as per the previous recipes. However, this time we are not adding that View to our window, but to our ScrollableView component. We do this by adding a view using the addView() method. Finally, we have also created an event that attaches to our ScrollableView called scroll, and we are outputting the currentPage property to the Titanium console for debugging and testing.
As you can see, the ScrollableView is an easy and simple component and is very useful for photo gallery applications or any other apps where you want to display a series of similar views. You could extend this by adding a blank View object and putting any number of text fields, labels, or image views you want in each of those blank views—the only limit here is your imagination!