8.3. Optional Sections
You have seen optional sections inserted earlier in forms in other parts of the book, but it's time now to take a closer look at them and see how to really take advantage of the different properties of the optional section.
Optional sections are useful when you have data that is not required on the form. Some examples of data that is good in optional sections are notes, activities, appointments, or any information that does not require at least one entry to be included. If you need to include at least one entry, for example, when detail lines in an order need to include at least one item to order, the entries are not optional.
You can include other types of sections, such as repeating sections within optional sections. That way if you might have more then one note, but don't need to include any at all if you don't want to, then a repeating section within an optional section is the way to go.
When working with optional sections, you can specify to:
Include the section on the form by default.
Not to include the section by default.
Whether or not to allow users to insert the section.
Whether to show an insert button and the hint text.
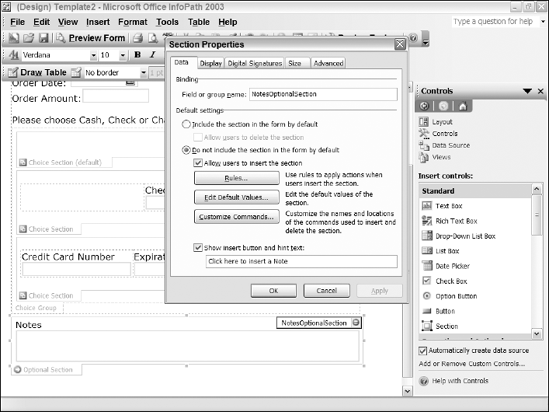
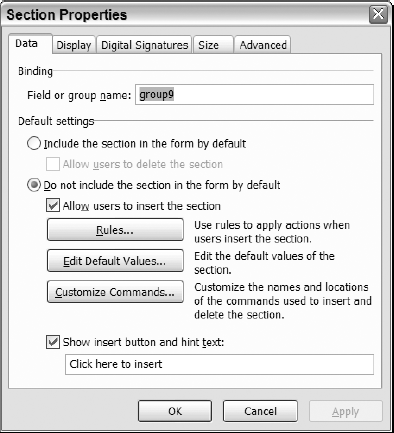
The last choice is also available for other types of sections. You can also set up rules, default values, and custom commands, all of which were discussed in Chapter 6, "Working with Controls in General." The way to specify all of these options is to use the Section Properties dialog box, displayed in Figure 8-7.
Figure 8.7. Figure 8-7
8.3.1.
8.3.1.1. Try It Out: Adding an Optional Notes Section and Setting Its Properties
Using the form you created in the last Try It Out:
Place the cursor under the Choice Group.
Select the Optional Section from the Repeating and Optional section of the Controls task pane. The optional section will then be added to the form.
Type Notes into the optional section added in Step 2.
Add a Text Box control, naming it Notes.
Open the property sheet for the optional section you added.
Type NotesOptionalSection in the property labeled: Field or group name.
Change the hint text to: Click here to insert a Note.
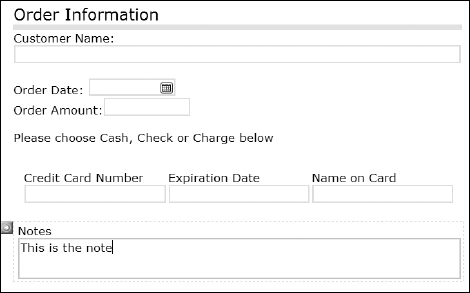
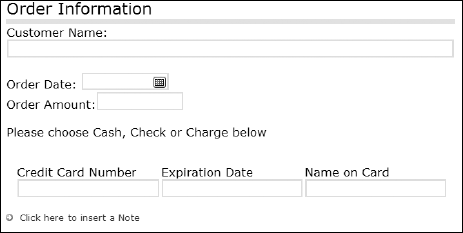
Click Preview Form. The form will open, and at the bottom of the form you will see the prompt added in Step 7, as displayed in Figure 8-9.
Figure 8.9. Figure 8-9
Click the prompt labeled Click here to insert a Note. The Note text box will then be displayed.