
Chapter 21. Formatting
Custom Slicer Formatting
At this point you should be sold on the concept of business intelligence in Microsoft Excel. The one hang-up you may have is that the solution still looks like Excel. If we’re going to publish this to our SharePoint site and share this with our department or maybe the whole company we want to make it look good. No problem.
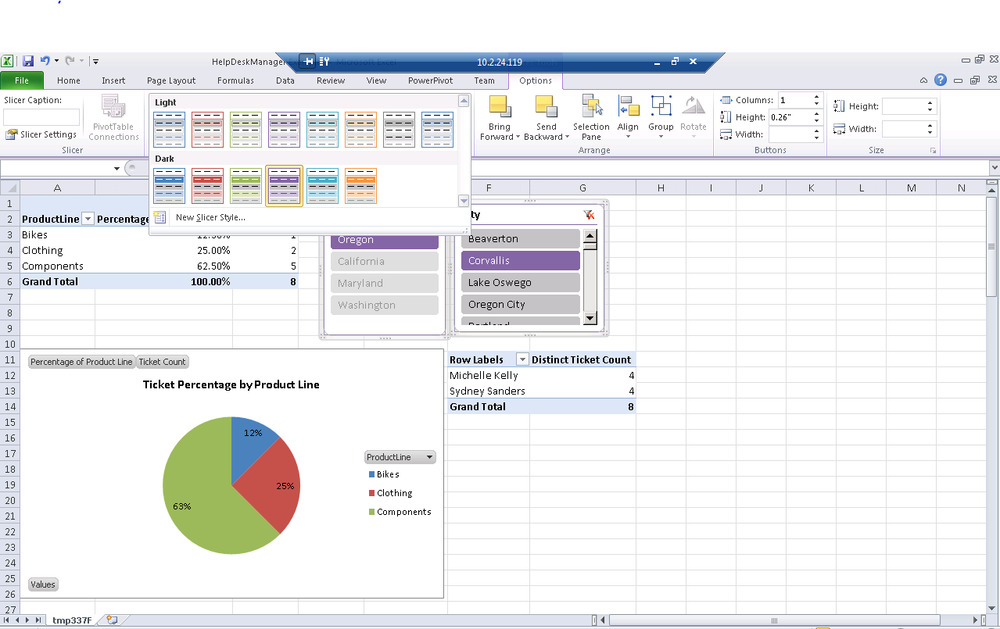
Just like PivotTables have an Options ribbon, you’ll find that when you select your slicer, an Options ribbon for slicers appears as well.
In Figure 21-1, you can see that we can select from a variety of slicer styles that ship with Office. These are great for differentiating related groups of filters. For example we may use Purple for our location-based filtering and Red for our Product Line–based filtering to visually group together our filters.
Select New Slicer Style at the bottom of the Slicer Style menu to launch a new dialog where you can custom-define the look and feel for your slicers.
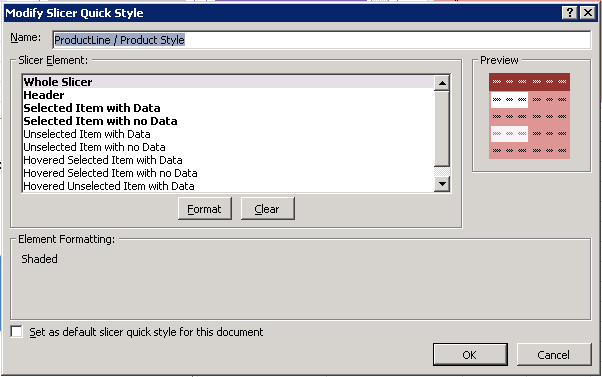
The Modify Slicer Quick Style dialog is shown in Figure 21-2. This dialog enables you to provide a name for your custom slicer style and launch the Format Slicer Element dialog for each slicer. The Slicer Elements shown in bold have already had formatting set on them. To apply custom formatting to an element, select the element and click Format.
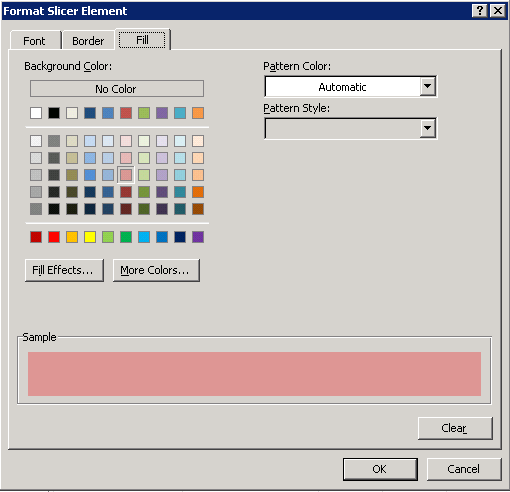
Similar to most formatting controls in Office, the Format Slicer element dialog shown in Figure 21-3 allows you to control fonts, borders, and fill for each element of a slicer. We will keep our example simple, but in reality the sky is the limit with custom fills, patterns, and gradients.
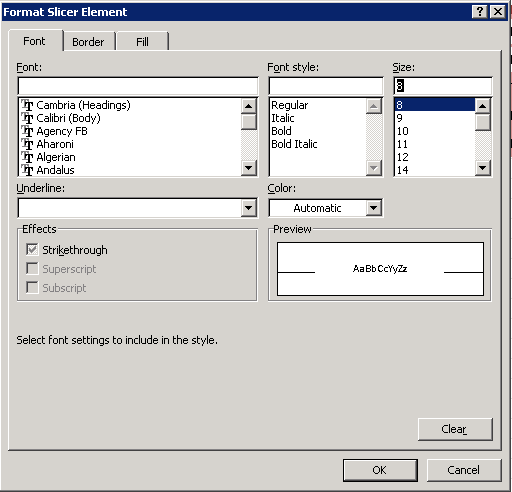
Keep in mind that if you choose a darker fill for your slicer, you may want to control the font color or size to make sure the text remains visible and clear. The Font tab shown in Figure 21-4 gives you full control over formatting all textual elements in a slicer.
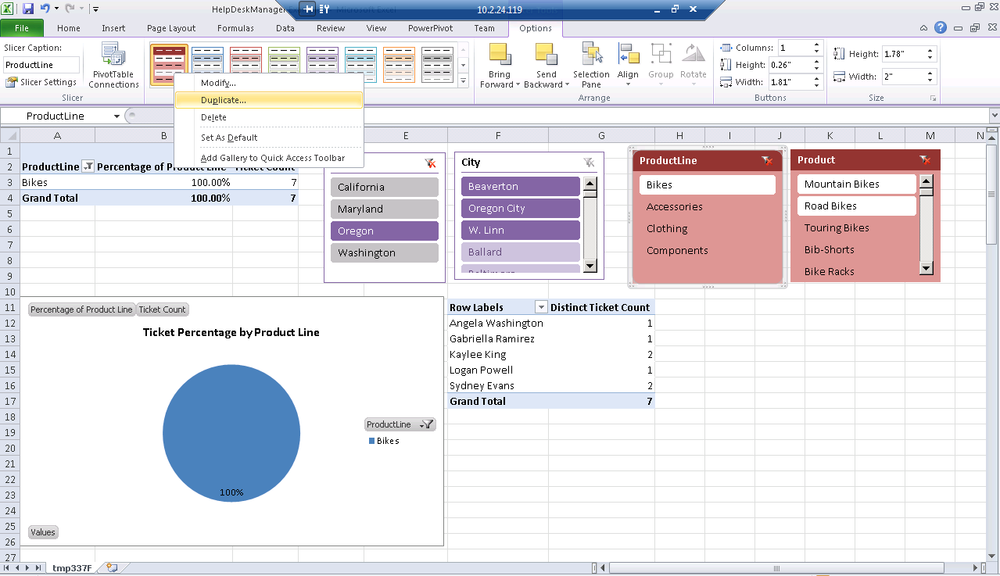
After you apply your new custom slicer style, you can see it displayed as it appears in Figure 21-5. It’s a bit flatter than the traditional Office styles and will work great on your SharePoint site. Now, let’s say that you want to create a variant of this style to apply to the location-based slicers. Rather than start over from scratch, right-click on the slicer style from the Slicer Options ribbon and select Duplicate, as shown in Figure 21-5.
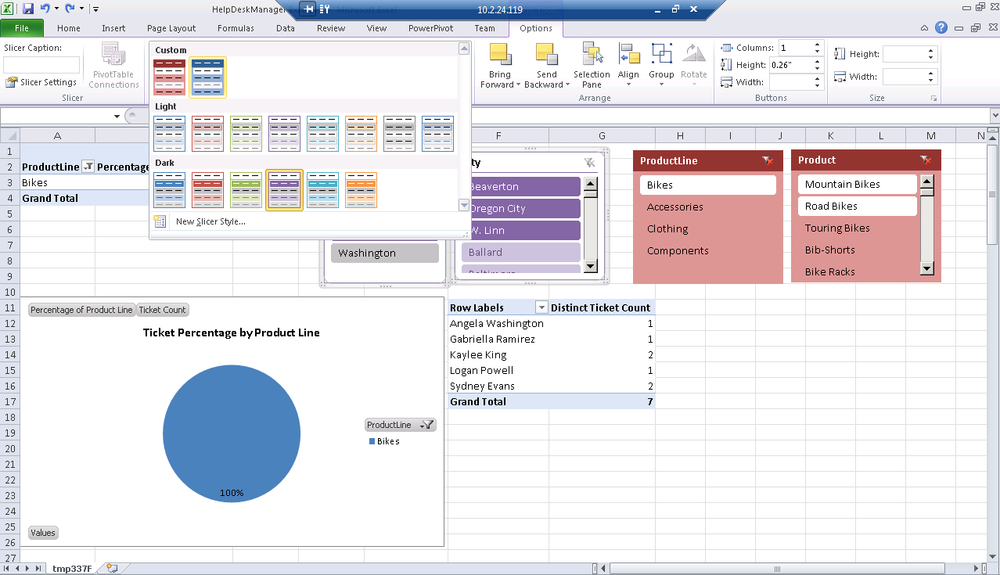
After modifying the duplicated style, you can see your collection of custom styles in Figure 21-6.
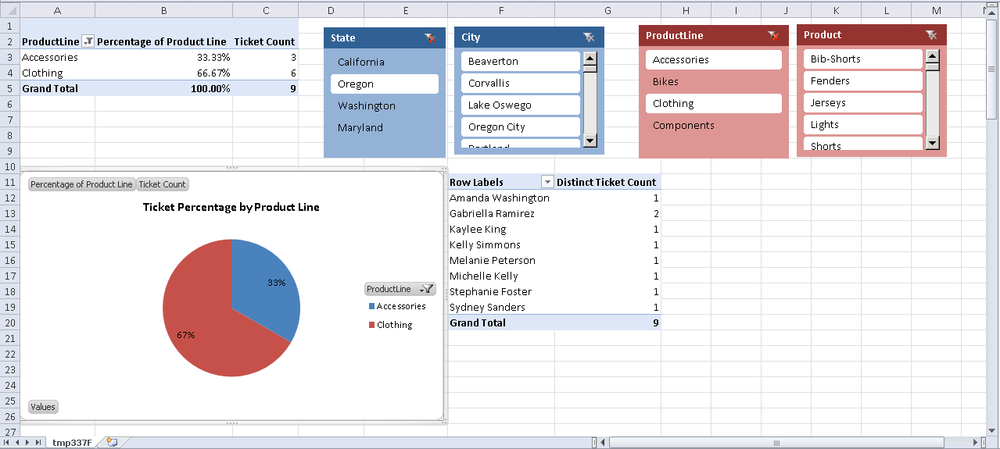
Finally, in Figure 21-7, you can see your new slicer styles applied and that the dashboard is coming together nicely. In the next few sections, you will make the final tweaks to your layout and get ready to publish your solution back to SharePoint.
Disabling Gridlines and Headings
In the good old days when finance guys were the only ones creating Excel-based applications, they developed some neat tricks to make the solution look more like a real presentation application. One of my favorites was selecting all the cells and setting a white background and white cell borders to hide the fact that the document was really a spreadsheet.
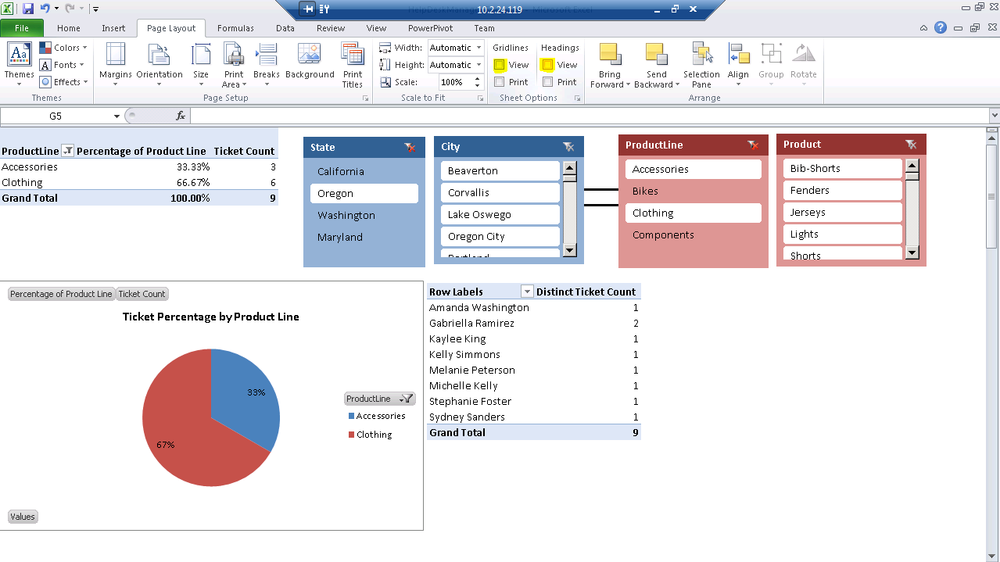
As Excel matured into a development environment for business intelligence solutions, Microsoft made this feature a bit more out-of-the-box. As shown in Figure 21-8, the Page Layout ribbon allows you to click a checkbox to easily turn off gridlines or headings.
Gridlines are pretty self-explanatory; they are the cell borders that give the look of a spreadsheet. Headings are the cell selectors and labels that enable you to grab an entire row or column of data in Excel. Turning these off before publishing your solution to SharePoint will make it look less like Excel and more like a polished dashboard.
Formatting PivotTables and PivotCharts
Once you’ve completed the earlier exercise of creating custom formatting for your slicers, this should seem very familiar, as the procedure is identical.
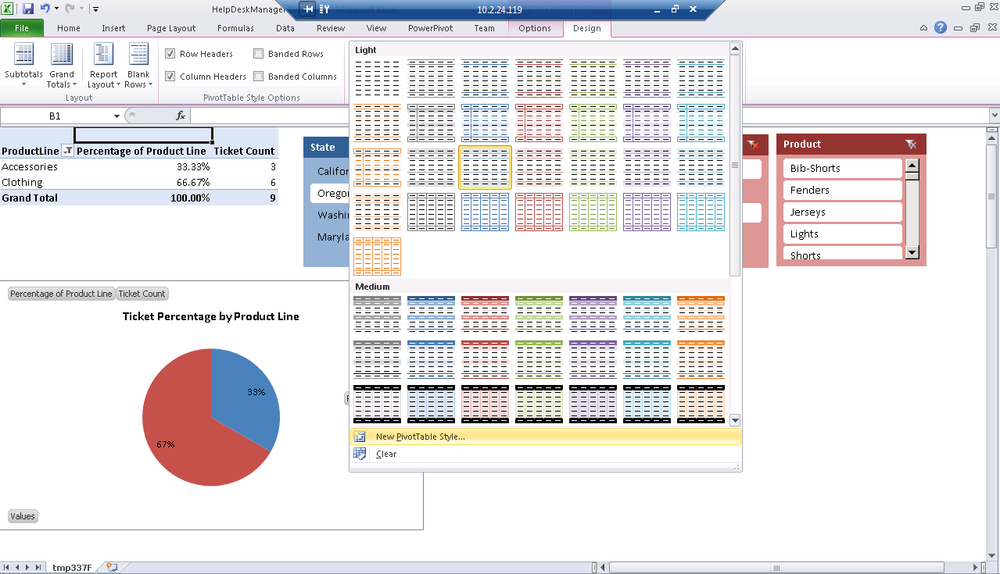
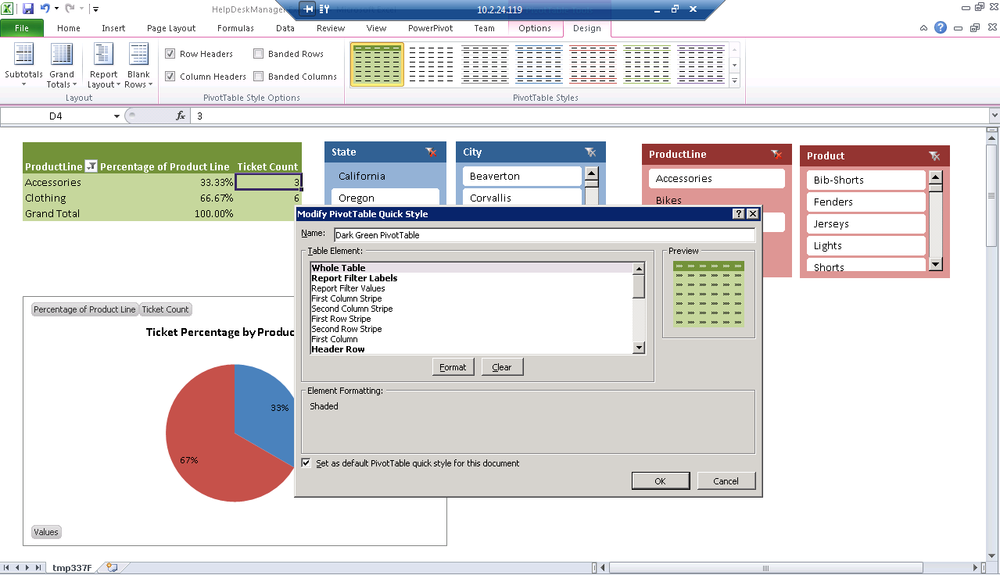
From the PivotTable Design ribbon, you can apply any existing style or choose to create a New PivotTable Style as shown in Figure 21-9. Just like in the slicer design, we can select the table element we wish to apply formatting to and craft a custom style, as shown in Figure 21-10.
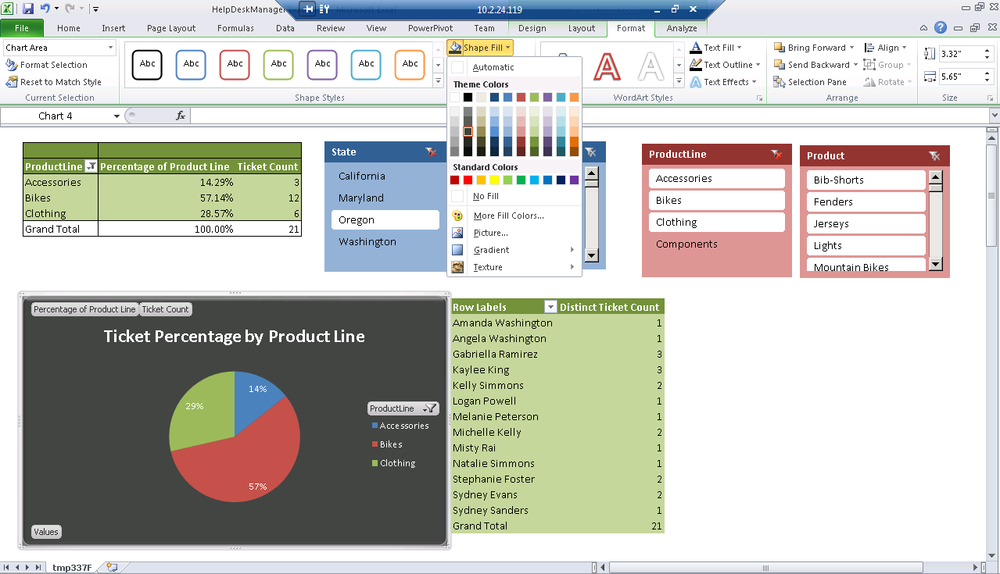
Our PivotChart also supports a full range of formatting options including predefined shape styles or the ability to apply custom fill or font colors from the Format ribbon. In Figure 21-11, a custom Shape Fill was applied, which gives your PivotChart a striking dark background.
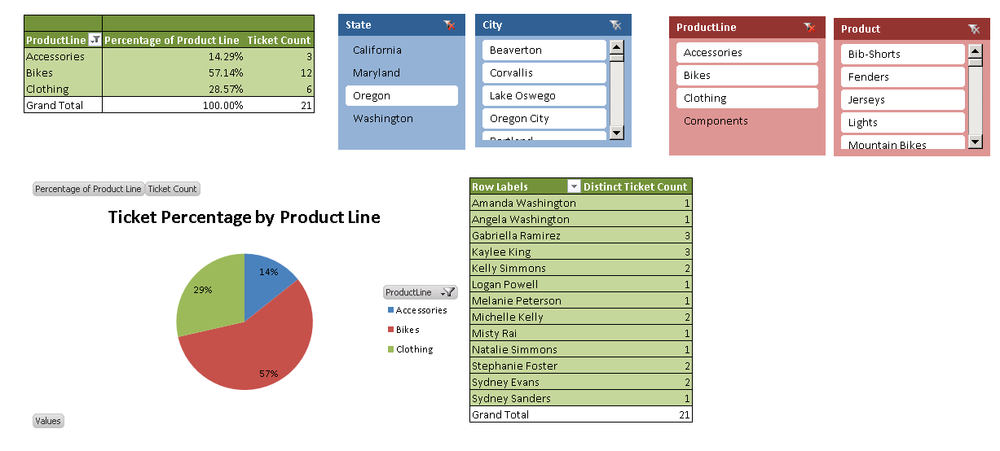
The options to customize the look and feel of your slicers, PivotTables, and PivotCharts are basically endless. Essentially, you want to design a solution that is easy to use, applies color to group similar items, and makes your data easy to understand. Our fully formatted dashboard is shown in Figure 21-12.
Summary
It’s often said that most developers are not artists and the color choices in this chapter may prove that point. In this chapter, you learned the skills needed to design custom formatting styles and apply them on slicers, PivotTables, and PivotCharts. With these tools, you can create compelling solutions to analyze data in Excel and Excel Services.