
The CSS module started as a community module, that is, an unofficial set of features that are not fully supported by the official releases and may or may not work. The CSS extension is an example of a successful community module that grew fast and has recently graduated as a formal extension.
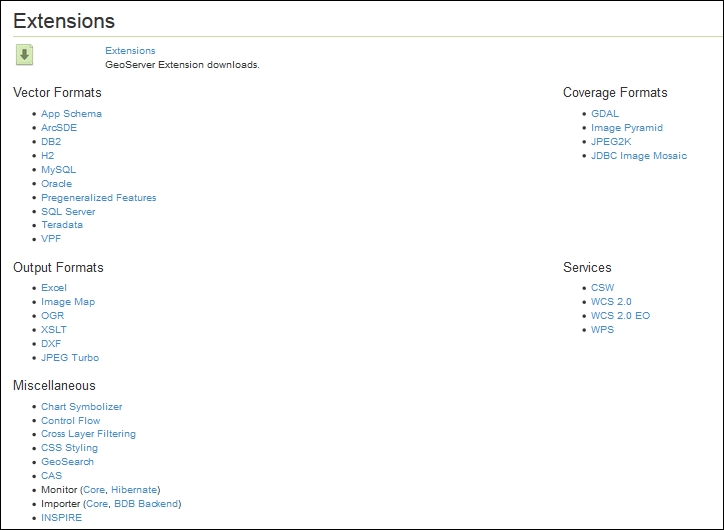
The GeoServer download page offers several extensions. Some focus on data access, providing support for the new format for feature and raster data; others add new functionality. The CSS extension is listed under the Miscellaneous category in the GeoServer download page (http://geoserver.org/release/stable/). Please ensure that you download a version of the extension that exactly matches the GeoServer version you are using.
- Download the ZIP archive. Please verify that the version number in the filename is the same as the GeoServer WAR file you installed.
- Stop your GeoServer instance and extract the contents of the ZIP archive into the
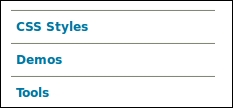
/WEB-INF/lib/directory in the GeoServer web app. For example, if you have deployed the GeoServer WAR file, you should place the CSS extension's JAR files inCATALINA_HOME/webapps/geoserver/WEB-INF/lib/. - After extracting the extension, restart GeoServer in order for the changes to take effect. Your module is installed and running and you may check that a new item is now shown on the left pane of the admin interface.
Enabling the CSS module is a really easy task. The developer team packed it into a couple of JAR files that contain all the code for the logic and the user interface. From a user's point of view, you get a new form on the web interface where you can create rendering rules with the CSS syntax, try them out, and eventually generate them as SLD styles to be stored in your GeoServer configuration.
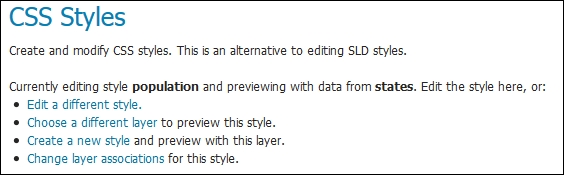
In the upper part of the interface, you can see a text line informing you what styles you are editing and which layer you're using to preview the style. Just under the line, you can find four links that let you change the style and/or the layer to work with. You can also create a totally new style.
There is a textbox under these options. This is the place where you write the CSS code that will build your style. This is a dynamic textbox; as you insert the code, the module performs a syntax check and will highlight any errors. When you are happy with the CSS code, you can click on the Submit button and the module will translate your CSS code in to an XML SLD style.
The bottom part of the page contains a tabbed form with four sections. The first section lets you preview the XML code generated. The tab named Map is obviously a quick preview of your data represented with the rules you are coding.
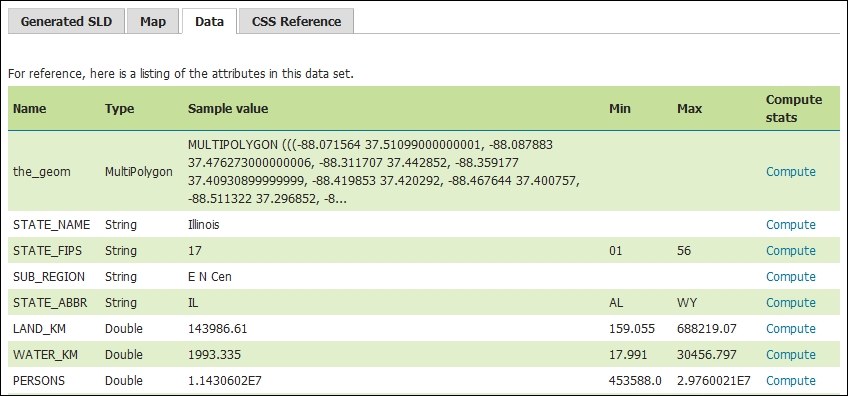
The Data tab contains a list of fields in your layer, such as a field name, data type, and a sample value (as shown in the following screenshot). You may also calculate the maximum and minimum values by pressing the link in the Compute stats column. This will prove quite useful when you're creating a thematic map and need to define class breaks or discrete values to render.
The last tab points to the online help for the CSS module. You may find a brief tutorial there and also an almost complete reference for CSS coding.