We already explored GeoWebcache in the earlier chapters. In the Setting up GeoWebCache recipe of Chapter 5, Advanced Configurations, you configured it properly to store your tiles. In fact, you changed the default folder, that is, Temp under the Tomcat installation path, to a custom location.
The cache size may grow very large and fill your filesystem. Luckily, among its features, there is one feature that enables you to fine-tune the amount of space occupied by cache tiles on the disks.
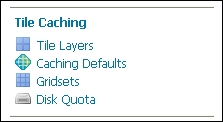
- From the GeoServer administration interface, go to the Tile Caching section on the left panel, as shown in the following screenshot:
- Click on the Disk Quota link to open the panel to customize settings:
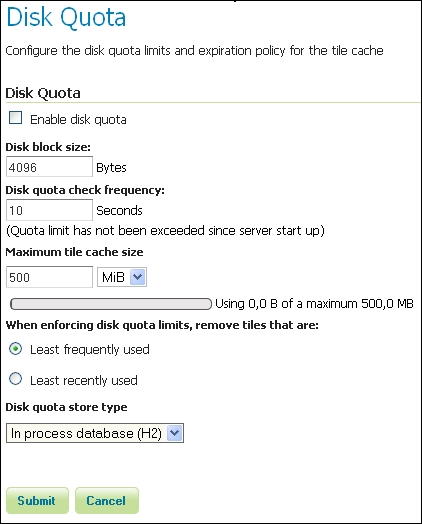
- By default, there is an upper limit for the cache size, that is, 500 MB; however, the Enable disk quota flag is unchecked. Check it and click on the Submit button.
- Now select Tile Layers link from the Tile Caching section on the left panel.
- A list of layers is shown. Locate the NaturalEarth:GeneralizedCountries layer and open the preview for it by selecting the EPSG:4326/jpeg gridset, as shown in the following screenshot:

Note
Gridsets are caching schemas. When you decide to store tiles for a layer, you have to define the common properties for the tiles set. The logical entities where you store these properties are the gridsets.
The properties you can configure in a gridset are the CRS, the tile sizes (in pixels), the number and scale of zoom levels, and the bounds of the gridset. Once you define a gridset and bind it to a layer, your client requests must conform to the caching schema, that is, the gridset, or GeoWebCache will be unable to fulfill your request.
- An OpenLayers-based app will be opened. Browse the map by panning and zooming for a little.
- Get back to the Tile Layers list and check what it shows now.

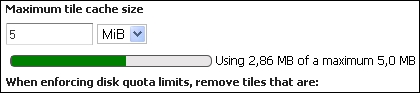
- Open again, go to the Disk Quota panel and change the Maximum tile cache size value to
5MiB, and then click on the Submit button.
- Wait for 10 seconds and then open the the Disk Quota panel again. You can now see that GeoWebCache has enforced the limit, reducing the cache size.
The GeoWebCache disk quota feature is quite simple to use but very effective in controlling your storage occupation.
Apart from the basic settings explained in the previous steps, an important setting is the block size used by the filesystem where you store tiles. The provided default, that is, 4096 bytes, is quite common. If you feel unsure, you can check it; for example, on Linux, you may use the dumpe2fs utility:
$ dumpe2fs -h /dev/mapper/ubuntu1204x64vm-root | grep 'Block size'
dumpe2fs 1.42 (29-Nov-2011)
Block size:               4096
In this case, we can safely go with the default value; in case your result is different, insert a proper value in the Disk block size textbox as follows:
Another important setting is the time interval for GeoWebCache to perform the check on the cache size. The default time of 10 seconds is a good trade off, but you may insert a higher value. A very low value will degrade the performance.
The most important setting is the upper limit for your cache size. There is no magic rule here. It depends on how many layers you have to cache and of course how much space is available.
If you're using a non-dedicated filesystem for your tiles, consider that there may be other processes creating temporary objects on the filesystem and select a conservative value that leaves at least 20 percent of the filesystem always free. On the other hand, if you have a dedicated filesystem for your cache, you can insert a value near to 99 percent of the total size. Avoid setting it to a value equal to your filesystem size; filling it completely can produce weird errors and corruption.
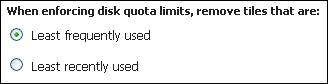
You may wonder what happens to tiles when the upper limit is hit. You have two options for the criteria used to select the tiles to be deleted. The default option selects lesser used tiles, which is usually a good choice as long as your site contains a static set of layers. If you frequently add new layers, there are chances that older ones are used less, so select the Least frequently used option as shown in the following screenshot: