
It is very common to have images that display transparency to add details and improve the look of 3D models. PNG files store the information regarding the alpha channel of an image, so that parts of the image itself can be displayed as transparent. The following recipe shows you how to configure a transparent texture in Unity.
For this recipe, we use another image we have provided, the one named secondTexture. As this image is already saved in PNG format, we jump straight into Unity and import it from there.
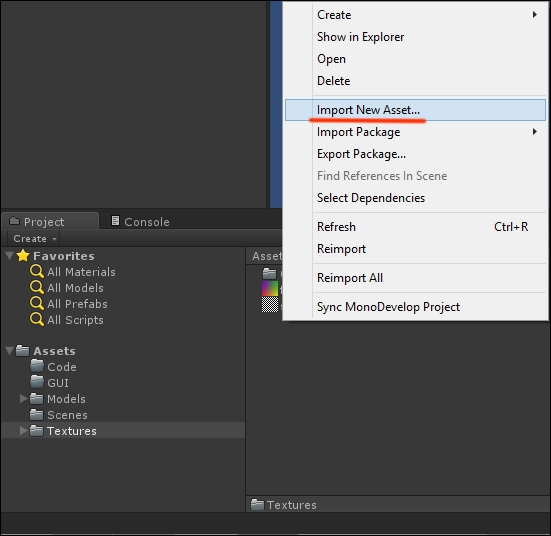
- From the Project panel in Unity, select the
Assets/Texturesfolder. - Right-click anywhere and select Import New Assets, as shown in the following screenshot:
- Select the secondTexture image to upload it into Unity. Actually, Unity is flexible enough that you can even simply copy and paste assets from one folder to another.
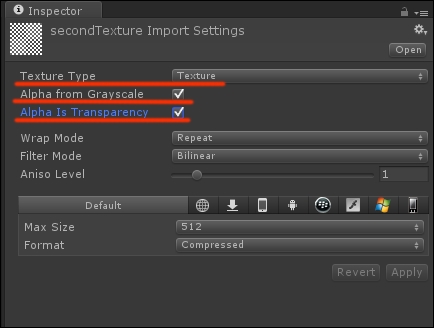
- From the Inspector window, check that the texture settings are defined as in the following screenshot:
- Click on Apply to save the settings we defined. The following screenshot shows the result:
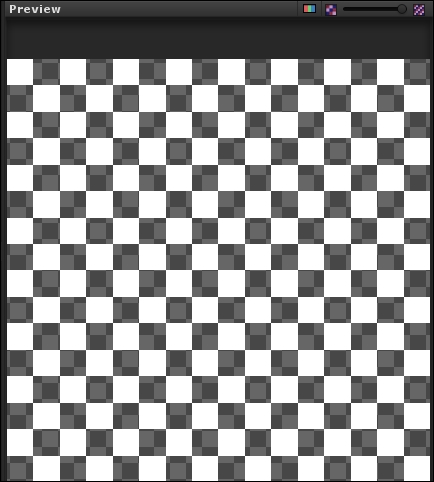
This time, in the Inspector window, we flagged the options to use the grayscale of the image to display its darkest parts as transparent. As a result, all black squares in the image aren't rendered when this texture goes into a material.
Many other types are available: normal maps, sprites, reflection maps, and GUI elements. In the following recipe, we'll create two distinct materials with the textures we just imported.