
Technically speaking, we need to create a bumped diffuse material and use a diffuse texture and a normal map. The textures are provided along with this book, in the Texture folder of the package, so we just need to import them and use them for our detailed material.
In case you haven't done it yet, import the textures named construcor_diffuse and constructor_normals into the Textures folder of your Unity project.
- Go to the Project panel in Unity and drag an instance of the constructor model into the scene. We modified it so it comes with a test checker texture attached to it.
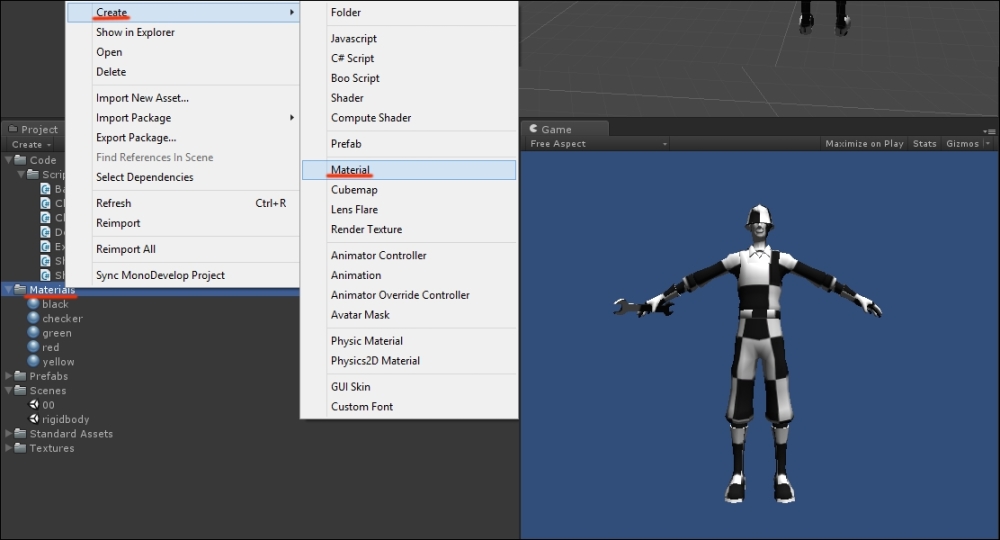
- In the Materials folder of your Project, create a new material by right-clicking on the folder and selecting Material under Create in the menu.
- Name this material mat_constructor.
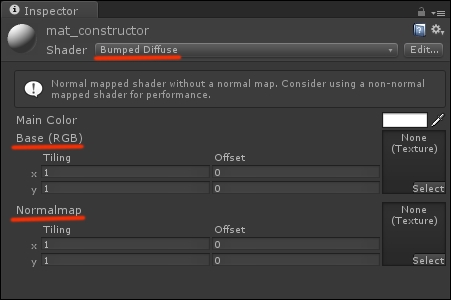
- Select mat_constructor in the Project panel to access its properties in the Inspector window.
- From the drop-down menu, change the Shader type from Diffuse to Bumped Diffuse, as shown in the following screenshot:
- The Bumped Diffuse shader requires two textures, as we stated before: the diffuse map for the Base color and Normalmap for the lighting details. Click on the small Select button on the Base Texture slot and add the
constructor_diffusetexture as the base map for the character.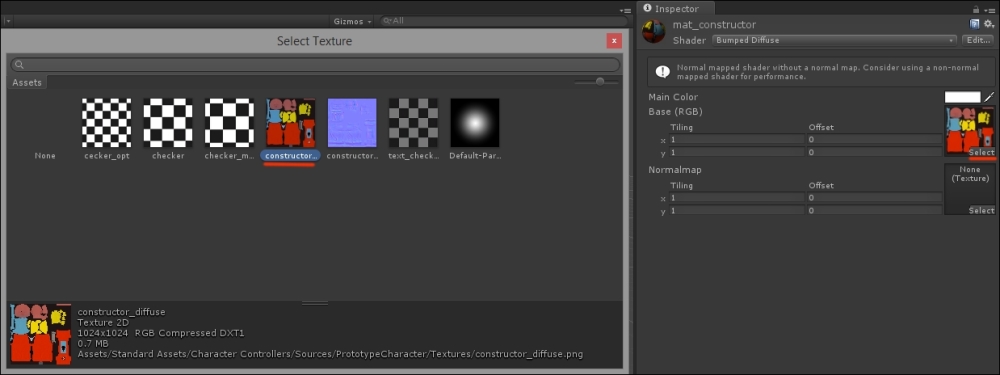
- Now repeat the operation for the normal map slot and add the
constructor_normalstextures to provide the character with fine details.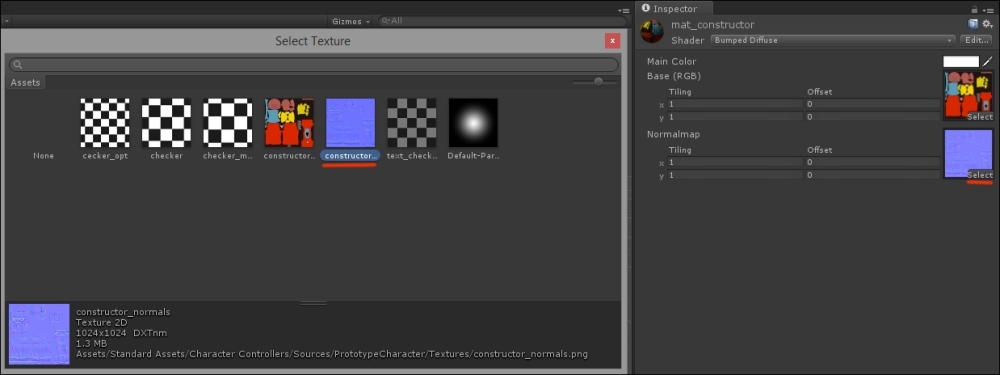
- Drag the mat_constructor material onto the constructor model in the game scene to see the new material we just created. Be sure to also drag the material onto the wrench on the right-hand side of the model. The character finally looks like it is ready to be used in a game:
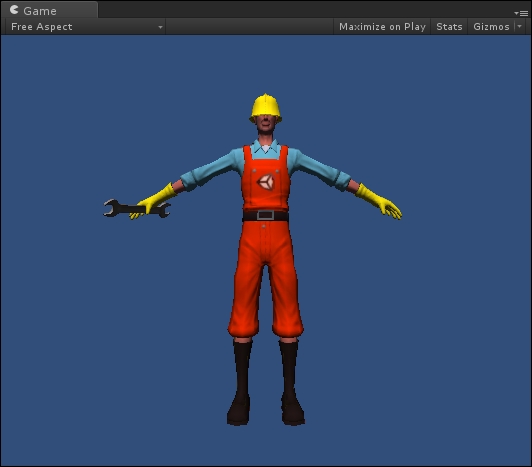
A material can be intended as the result of the computation made by a (usually short) piece of code named a shader. The shader we used for this recipe, for example, takes two textures, the so called diffuse and normal maps. It then interpolates them according to an algorithm and finally produces the result we see on screen: a character model with a suit representing both the basic colors and the effect of light bouncing on its surface.
If you scroll through the shader options available in the Material panel of Unity Inspector, you can yourself check how many possibilities are available to create different types of materials for your game assets.
Materials could cover an entire book of their own as it is a rich topic that deals with image crafting and programming at the same time.
Moreover, besides the built-in shaders available with Unity, new shaders can be added, bought, or programmed; the best hint we can give is to checkout the manual and forums if you want to delve deeper into materials. A good start is http://docs.unity3d.com/Manual/Materials.html and http://docs.unity3d.com/Manual/class-Material.html.
With the materials added, we now need to subject the character to our will, implementing the game controls for our prototype.
When dealing with game controls in Unity, there are two approaches we can follow: we can use a Character Controller, which is a standard asset of Unity specifically implemented to control characters in first- and third-person perspectives, or we can rely on physics and take control of the character by applying forces to it with a Rigidbody, a built-in component of the Unity editor.
Character Controllers and Rigidbodies share a couple features that come in very handy when controlling a character, as they both provide collision detection and the means to move the character around. But this is where their similarities end—the two differ under all other aspects, especially with regard to movement, precision, and fluidity.
Character Controllers are excellent for shooters because they provide very responsive controls that don't take physics forces into much consideration, so to say. This is exactly what players require in games that mostly rely on reflexes! Think of any first-person shooter you have played; do you believe a real person could run all the time, strafe in the blink of an eye, or turn around so quickly?
On the other hand, Rigidbodies work fine, for example, for racing games that usually implement detailed physics models to simulate the actual behavior of vehicles in realistic environments. When you drive in a simulation game, you feel (or at least you should!) that the vehicle behavior is affected by acceleration, direction, vehicle setup, and maybe even the weather conditions, for the most advanced games.
Character Controllers and Rigidbodies are both valid choices with advantage points and drawbacks, so let's look at a couple of recipes to highlight the actual differences between them.
The important thing to stress upon is that one is designed for cases while the other is usually not. In other words, using a Rigidbody means you don't want to use a Character Controller, and vice versa!