
Another useful operation we'd like to teach you is how to set the ambient light in your Unity scene so you can quickly check the look of your materials in the game scene without configuring an actual light.
- Create a new scene in Unity and drag textured model into the scene. Be sure no lights are available in the scene and that the model's material is set to Diffuse in the Inspector window. With these lighting conditions, the model should look quite dark.
- From the main menu, navigate to Edit | RenderSettings.
- Now move to Inspector. Here, we can set several options for our ambient light. The one we are interested in here is the ambient light color.
- By default, Ambient Light is set to a dark gray. Click on the Ambient Light panel to open the Color panel, as shown in the following screenshot:
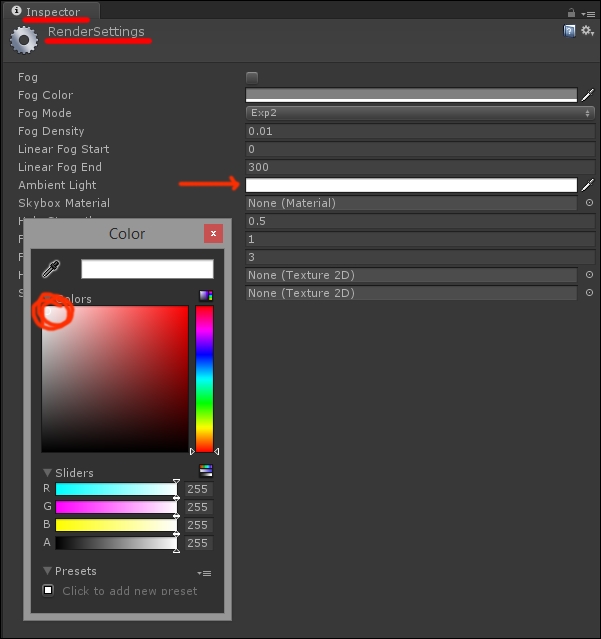
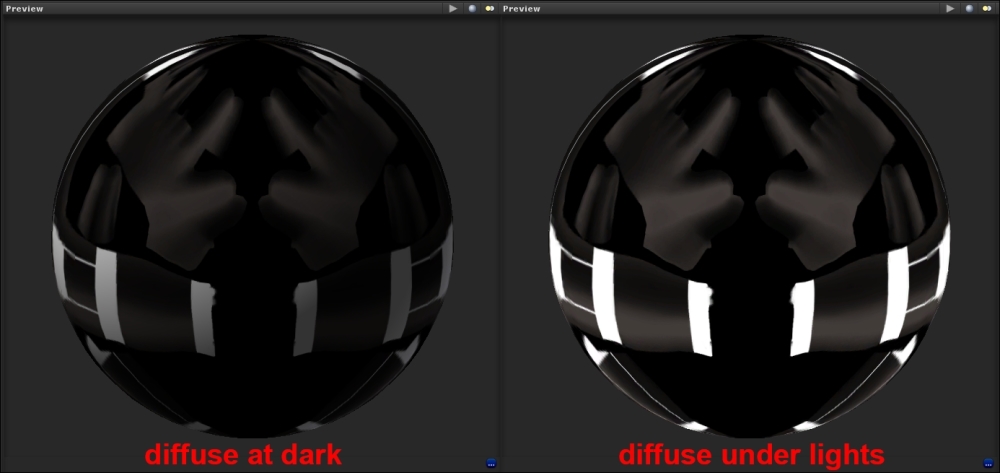
- Move the cursor to the white portion (the upper-right corner highlighted in red in the screenshot) in the Color panel to set Ambient Light to white. Now your model should look far more lighter than before!
Check out the following screenshot showing the difference between the two settings on the material:
The ambient light is a standard illumination setting that defines a homogeneous light coming from all directions, something that only happens in game editors. In the real world, lights always come from a direction and hit objects at angles. As a matter of fact, good lighting has to do specifically with recreating realistic lights for virtual environments, such as games.
Still, setting a useful ambient light can come in handy during the initial phases of game prototyping, before you delve into the matters of actual lighting.