
When Unity imports a model, it also imports the materials linked to the model in the 3D editor. By default, the materials are named based on the names of the textures used in the 3D editor to build them.
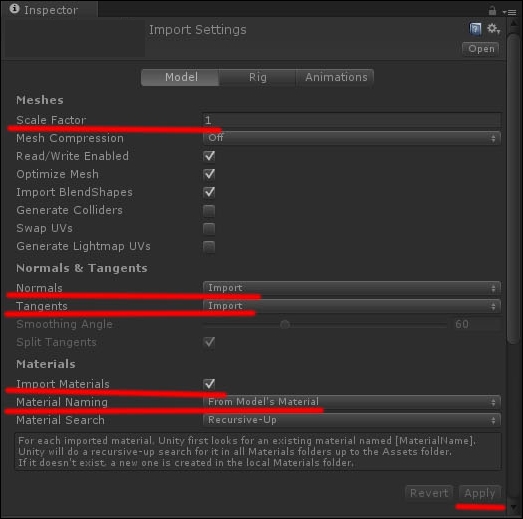
If you remember from the previous chapter, upon importing a model into Unity, we set an option in the Model tab to pick material names from a model's materials, instead of the texture names. Refer to the following screenshot to checkout what we did in Chapter 1, Importing 3D Models and Animations:
We adopt this solution because it helps keep our project clean and has each asset named correctly. As our goal is to have the materials named with a meaningful convention that can help us keep materials and their textures well separated, in the following recipe, we'll show you how to add custom names to materials in Maya, to be exported into Unity.
For this recipe, we need a textured model to be opened in Maya. Use your own models or the ones we have provided with this book.
- Open Maya or your 3D editor of choice, then open the model file in the editor.
- From the main menu, navigate to Window | RenderingEditors | Hypershade to open Hypershade, the panel where materials and their properties are displayed.
- Select a material in Hypeshade to display its properties in the Attribute Editor panel.
- In the text field, type a name you want to assign to that material. Refer to the following screenshot to check whether you are in the right panel/text field:

- Click on Enter to save your edits.
When this model is exported into Unity and the materials' naming property is correctly set in Inspector, a Materials folder will be automatically created to store the materials named with the convention we set in Maya.
A drawback of this practice is that you end up with two instances of each material: one named tex_TexName, which is automatically created by Unity, and another named mat_matName, which is the name you get from applying the settings to the Inspector window. You can simply follow this rule: materials whose name starts with tex* must be deleted from the project.