
To create the game manager functionality, we need a script to initialize a new scene and the state manager. We also need a second scene to be added to our project, to switch between scenes (named Home and Game). Another script is required to create a button that sends the application from the home scene to the game scene. Finally, we need a game object to attach the scripts to, which we are preserving as we switch between scenes. Let's get to work!
- Access the
Scriptsfolder in the Project panel and create a new C# script. Name the scriptStateManager. - Double-click on the file to open it in Monodevelop.
- Add the following lines to the script:
using UnityEngine; using System.Collections; public class StateManager : MonoBehaviour { private static StateManager instance public static StateManager Instance { get { if(instance == null) { instance = new GameObject("StateManager").AddComponent<StateManager> (); } return instance; } } public void OnApplicationQuit() { instance = null; } public void StartState() { Debug.Log ("New scene is being created..."); } } - Save the script.
- Save the scene we built so far and name it
level_01. As we haven't mentioned this before, we advise you to create a new folder in the Project panel before saving, and name itScenes. Use this folder to save thelevel_01game scene and any other game scene you may create. - From the top menu, navigate to File | NewScene to create a new empty game scene.
- Save this game scene too with the name
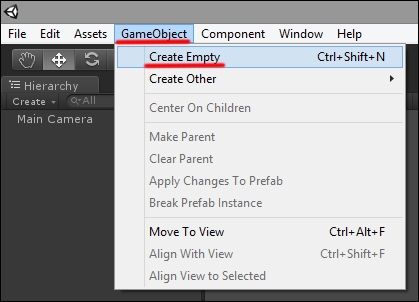
home. - From the top menu, navigate to GameObject | Create Empty. We've added a screenshot showing this in case you don't remember how to do it:
- Name this object
game_starterfrom the Hierarchy panel. - Now create a new C# script and name it the same as the object we will attach it to—
GameStarter. - Open the script in Monodevelop. First, we need a function to create a button with a label on the screen so that we can launch the
lev_01game scene at runtime. Add the following lines to the script:void OnGUI(){ if(GUI.Button(new Rect (120, 120, 150, 30), "Start Game")) { StartGame(); } }In the previous piece of code, we call a
StartGame()function on pressing the button. We need to add this function to the script with the following lines:void StartGame(){ print("starting game..."); DontDestroyOnLoad(StateManager.Instance); StateManager.Instance.StartState(); }Now drag the GameStart script onto the GameStarter game object, inside the home scene of your project.
- Run the game. You should see an empty scene with a Start Game button, as shown in the following screenshot. Press it to launch the game scene we have built so far.
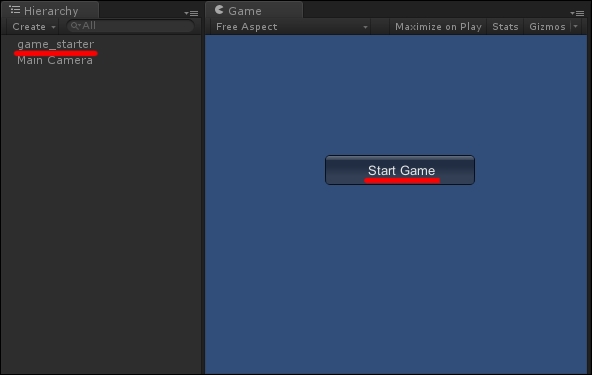
The home scene is the launching game screen of our prototype. The script attached to the GameStarter game object in the scene creates a button. Upon pressing this button, an instance of a game object with the StateManager script is added to the scene. The DontDestroyOnLoad() method takes care of preventing this script from being destroyed whenever we switch between game scenes.
State machines is a fascinating topic for anyone interested in science in general. For game developers, even more for AI developers, it is a must! We recommend digging into this matter, starting with http://en.wikipedia.org/wiki/Finite-state_machine.