
With a state manager that handles multiple games scenes, we can now move on to loading those scenes in the game. In the next recipe, we add the level_1 scene to our project and modify the code so that level_01 is loaded upon pressing the interface button displayed in the game_starter scene.
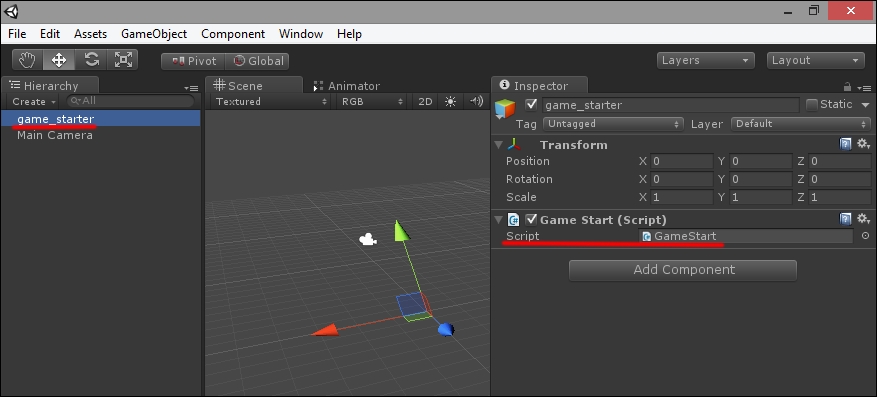
We keep up from where we left at the end of previous recipe. Just be sure that you have the game_starter scene loaded in your project and that an empty game object called game_starter is present in the scene, with the GameStart script attached to it. You can refer to the following screenshot:
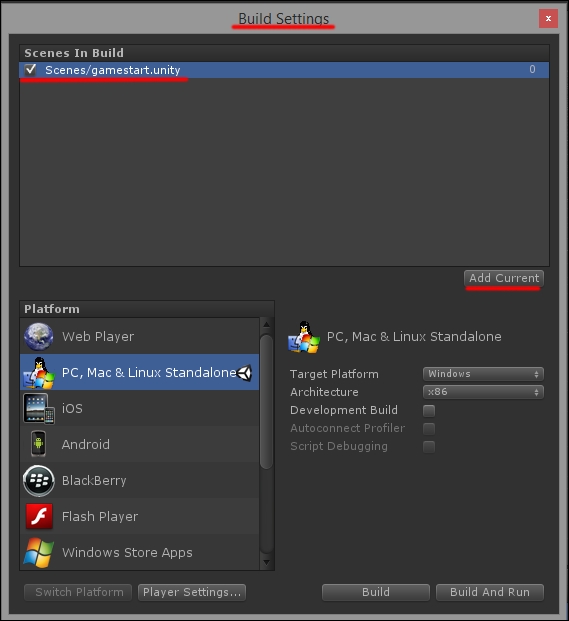
- With Game Start scene loaded in Unity, navigate to File | Build Settings to open the Build Settings panel.
- Click on AddCurrent to add the loaded scene to the game build, as shown in this screenshot:
- Now load the scene called
level_01. Refer to the following screenshot to check out the scene that contains the right game object: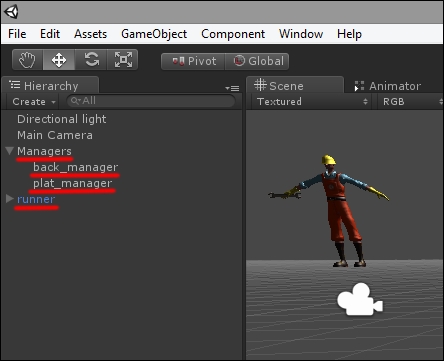
- Add this scene too to the Build Settings panel, just as we did before.
- With a second scene added to the prototype, we need to enter the instructions to actually load
level_01when the button in the Game Start scene is pressed. Open the GameStart script in Monodevelop and modify theGameStart()function as follows:void GameStart(){ print("starting game..."); DontDestroyOnLoad(StateManager.Instance); Application.LoadLevel("level_1");"); StateManager.Instance.StartState(); } - Save the script and go back to Unity.
- Load Game Start scene into the Editor.
If you run the game now, it should begin with Game Start scene, which only consists of an empty scene and a button.
When you press the button, level_01 is loaded and the game begins.
When working with Unity, you generally build up a project of several scenes. Each scene should be designed to host a relevant game phase such as the launching screen, the actual game levels, a "game over" scene, or anything you may need for your game.
It is important to learn how to switch between these scenes efficiently and how to create them in such a way that they remain manageable as the project grows.
DontDestroyOnLoad() and Application.LoadLevel() are the most important functions used to actually build up such a system.