
The first task that has to be performed is to create the application itself. In this recipe, we will show you how a basic websheet application can be created.
Create a user that has enough rights to create and edit websheet applications. The basic information can be entered as follows:
- From the Application Builder overview, navigate to Administration.
- Click on Manage Users and Groups.
- Click Create User.
- Enter a name (for example,
WS_DEV)and an e-mail address in the appropriate fields. - Make sure the select list for Team Development Access is set to Yes.
- Make sure the radio button for User is a developer is set to Yes.
- Enter a password.
- Click Create User.
The starting point for creating a new websheet application is the Application Builder. When you open it, you will notice that besides the standard tab for all applications, there is a specific tab for websheet applications. This tab can be clicked to get a report of all websheet applications in the workspace.
- Click the Create button on any of the tabs in the Application Builder.
- On the first page of the wizard, select Websheet Application and click Next.
- Name the application Sales and enter an unused ID for the application number, or leave the proposed number as it is.
- In the Home Page section, enter a text in the Content textarea.
Welcome to the Sales Websheet application.
Sections are the blocks that a Websheet application is built up of. To some extent, you can compare them to regions in a 'normal' APEX page.
- This text can be just plain, but it can also be formatted. To do this, click the small arrow on the top-right of the Content area. If we hover our mouse pointer over it, the alt text will say Expand Toolbar.
- A new area will open up, allowing many lay-out options for the text. Select the text Sales Websheet and click the B button to make it bold.

- Click Next.
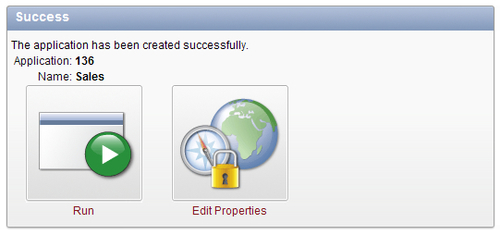
- Click Create.
The basic websheet has now been created. When it is run, we can see that it already looks like an application, despite the fact that we haven't created any pages!
Everything about the websheet can now be managed by the users. The only influence a developer has is some of the basic properties like the logo or authentication.
To change these properties, go to the Application Builder, select the Websheet Application that's called Sales and on the following page, select Edit Properties.
Websheets work a bit different than normal APEX applications. Instead of developers and users, there is a third user level called Websheet Developer. Users with this privilege can create and edit all aspects of the websheet application during run-time, but they cannot use the APEX Application Builder.
Besides this, websheets have three levels of internal users; readers, contributors, and administrators. More on this can be found in the recipe called Multiple users in a websheet.
Most of the content is added to the websheet by its users and not by the APEX developer. With that in mind, we will show some of the differences when logging into a websheet application as a normal user or as a user with Websheet Development rights. More on this can be found in the recipe called Multiple users in a websheet as well.