
You can code JSF by hand, but obviously it is better and more productive to have an IDE that automates repetitive tasks. Popular IDEs support the basic JSF functionalities, so RichFaces components are recognized without a problem. However, as RichFaces is a JBoss product, there is extra support for it in their IDE (they have an open source version and a commercial one, we'll talk about them in the next section), and you can add RichFaces automatically to JSF projects. Furthermore, they have visual component development support that can be useful in some cases.
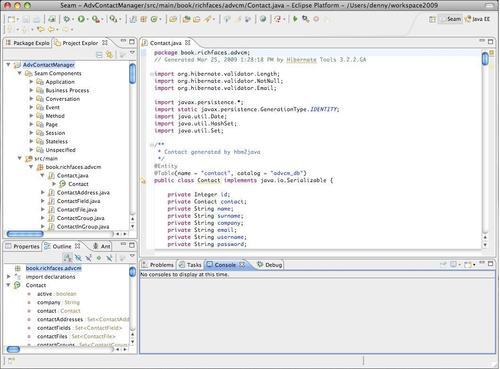
JBoss Tools is a collection of Eclipse Plugins made by JBoss to support most of their own technologies such as RichFaces, Seam, Hibernate/JPA, JBoss Application Server, and jBPM. It adds a lot of features to Eclipse Web Tools Platform (WTP), making life easier for those who want to use those frameworks. Of course, you also have all of the Eclipse platform features and the possibility to add different plugins into the same development environment.
It is completely open source and freely downloadable. The supported platforms are Windows, Linux, and Mac OS X.
You can discover more at http://jboss.org/tools/.
JBoss Tools is a set of Eclipse plugins, so, to install it we have to first install the Eclipse IDE. You can do everything starting from the JBoss Tools web site, by following these simple steps:
- Go to http://jboss.org/tools/.
- Select the Downloads menu, then Stable Releases, then click on the latest one (it is now 3.0 GA).
- You will be redirected to a page with a list of all plugins (you can also install just a subset of all the distribution plugins). Select the first one, that is All Plugins, and download the right version for the platform you are using (the links are on the right side of the table under the Download column).
- While downloading JBoss Tools, click on the link at the top of the table (now the link is Requires Eclipse Ganymede 3.4.2), in order to download Eclipse.
- You are redirected to the Eclipse project web site.
- There is a table with all the Eclipse versions that you can download.
- Download the first one (Eclipse IDE for Java EE Developers), clicking on the link on the right according to your platform by following the download instructions.
Once you finish both the downloads, let's install them:
- In order to install Eclipse, just unzip the Eclipse package and copy the
eclipsefolder into your final drive location and you are done. - Now unzip the JBoss Tools package, you have a folder called
eclipsecontaining two folders (namelyfeaturesandplugins). - Copy the content of the
featuresfolder of JBoss Tools into thefeaturesfolder of the Eclipse installation folder. - Now do the same with the
pluginsfolder (copy it from JBoss Tools to Eclipse installation). - You are done, start Eclipse by entering into the folder and double-clicking on the executable file.
Like JBoss Tools, JBoss Developer Studio provides Eclipse plugin support to JBoss technologies. It uses the same plugins as JBoss Tools, but they are certified with five years RedHat support (JBoss is a RedHat company). It also has an installer that simplifies the installation phase (the installation is a step-by-step wizard).
JBoss Developer Studio is a subscription-based commercial product (but it is very cheap). The supported platforms are Windows, Linux, and Mac OS X.
If you choose to use it for development, you can access the home page http://www.jboss.com/products/devstudio.
After generating a project using seam-gen, if you are using Eclipse (with JBoss Tools or JBoss Developer Studio), you can import it into your workspace.
This is a simple task shown as follows:
- Select Import from the File menu.
- Open the General tree node and select the Existing project into Workspace option.
- Select the parent folder (root directory) where the generated project located is, by clicking on the Browse button.
- The project would be selected for the import.
- Also select the Copy projects into workspace checkbox if the project is not in your workspace directory.
- Click on the Finish button.
- Your project is now ready in your workspace.
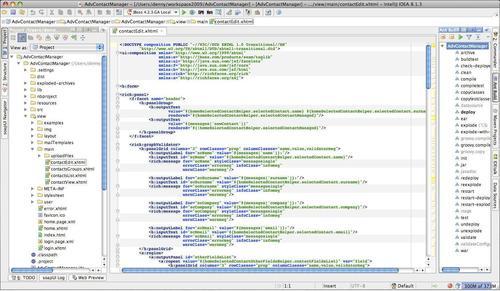
IntelliJ Idea is a very good commercial IDE that supports many features (from J2SE to J2EE and more) and offers good tools to work with. It supports many languages and frameworks (JSF, Seam, Hibernate/JPA, Spring, Struts, Struts 2, and so on.) and they are well integrated into the platform itself.
The developing experience is very good and if you are using JBoss Seam and seam-gen, you'll get out-of-the-box support for this IDE.
If not using seam-gen you have to add and configure the project by hand to add the RichFaces support (however, as we've seen it's a very simple task).
It is a license-based commercial product (there are different prices based on the license type) and it runs on Windows, Linux, and Mac OS X.
You can find more information about this at http://www.jetbrains.com/idea/.
Installing IntelliJ Idea is very simple, just go to http://www.jetbrains.com/idea/download/ and download the version for your operating system:
- On Windows: Run the downloaded
.exefile and follow the installation wizard - On Mac OS X: Mount (by double-clicking) the downloaded
.dmgfile and copy it to your application folder - On Linux: Decompress the
tar.gzfile and runidea.shinside the unpacked folder