
vSphere ESXi Image Builder CLI is a command-line interface that allows for the customization and management of image profiles, software depots, and software packages (VIBs).
A quick overview of the vocabulary before we get into details:
- Image profile: this is the logical collection of VMware and third-party VIBs required for the installation of ESXi. Image profiles can be exported as a ZIP archive or an ISO file.
- vSphere Installation Bundle (VIB): the idea is somewhat similar to a tarball or ZIP archive since it is a collection of files packaged into a single archive for distribution. These typically contain drivers and additional software for ESXi from VMware and third-party partners.
- Software depot: used to package and distribute VIBs, this can be online (accessed remotely using HTTP) or offline (downloaded and accessed locally).
This is a useful tool if there isn't a third-party ESXi image already made for your hardware. With Image Builder, you could take a base ESXi image and modify it by adding VIBs containing drivers specific to your hardware rather than potentially having to install them after the fact.
Image Builder is available as a snap-in for PowerCLI. PowerCLI is a command-line tool that can be used to automate vSphere management.
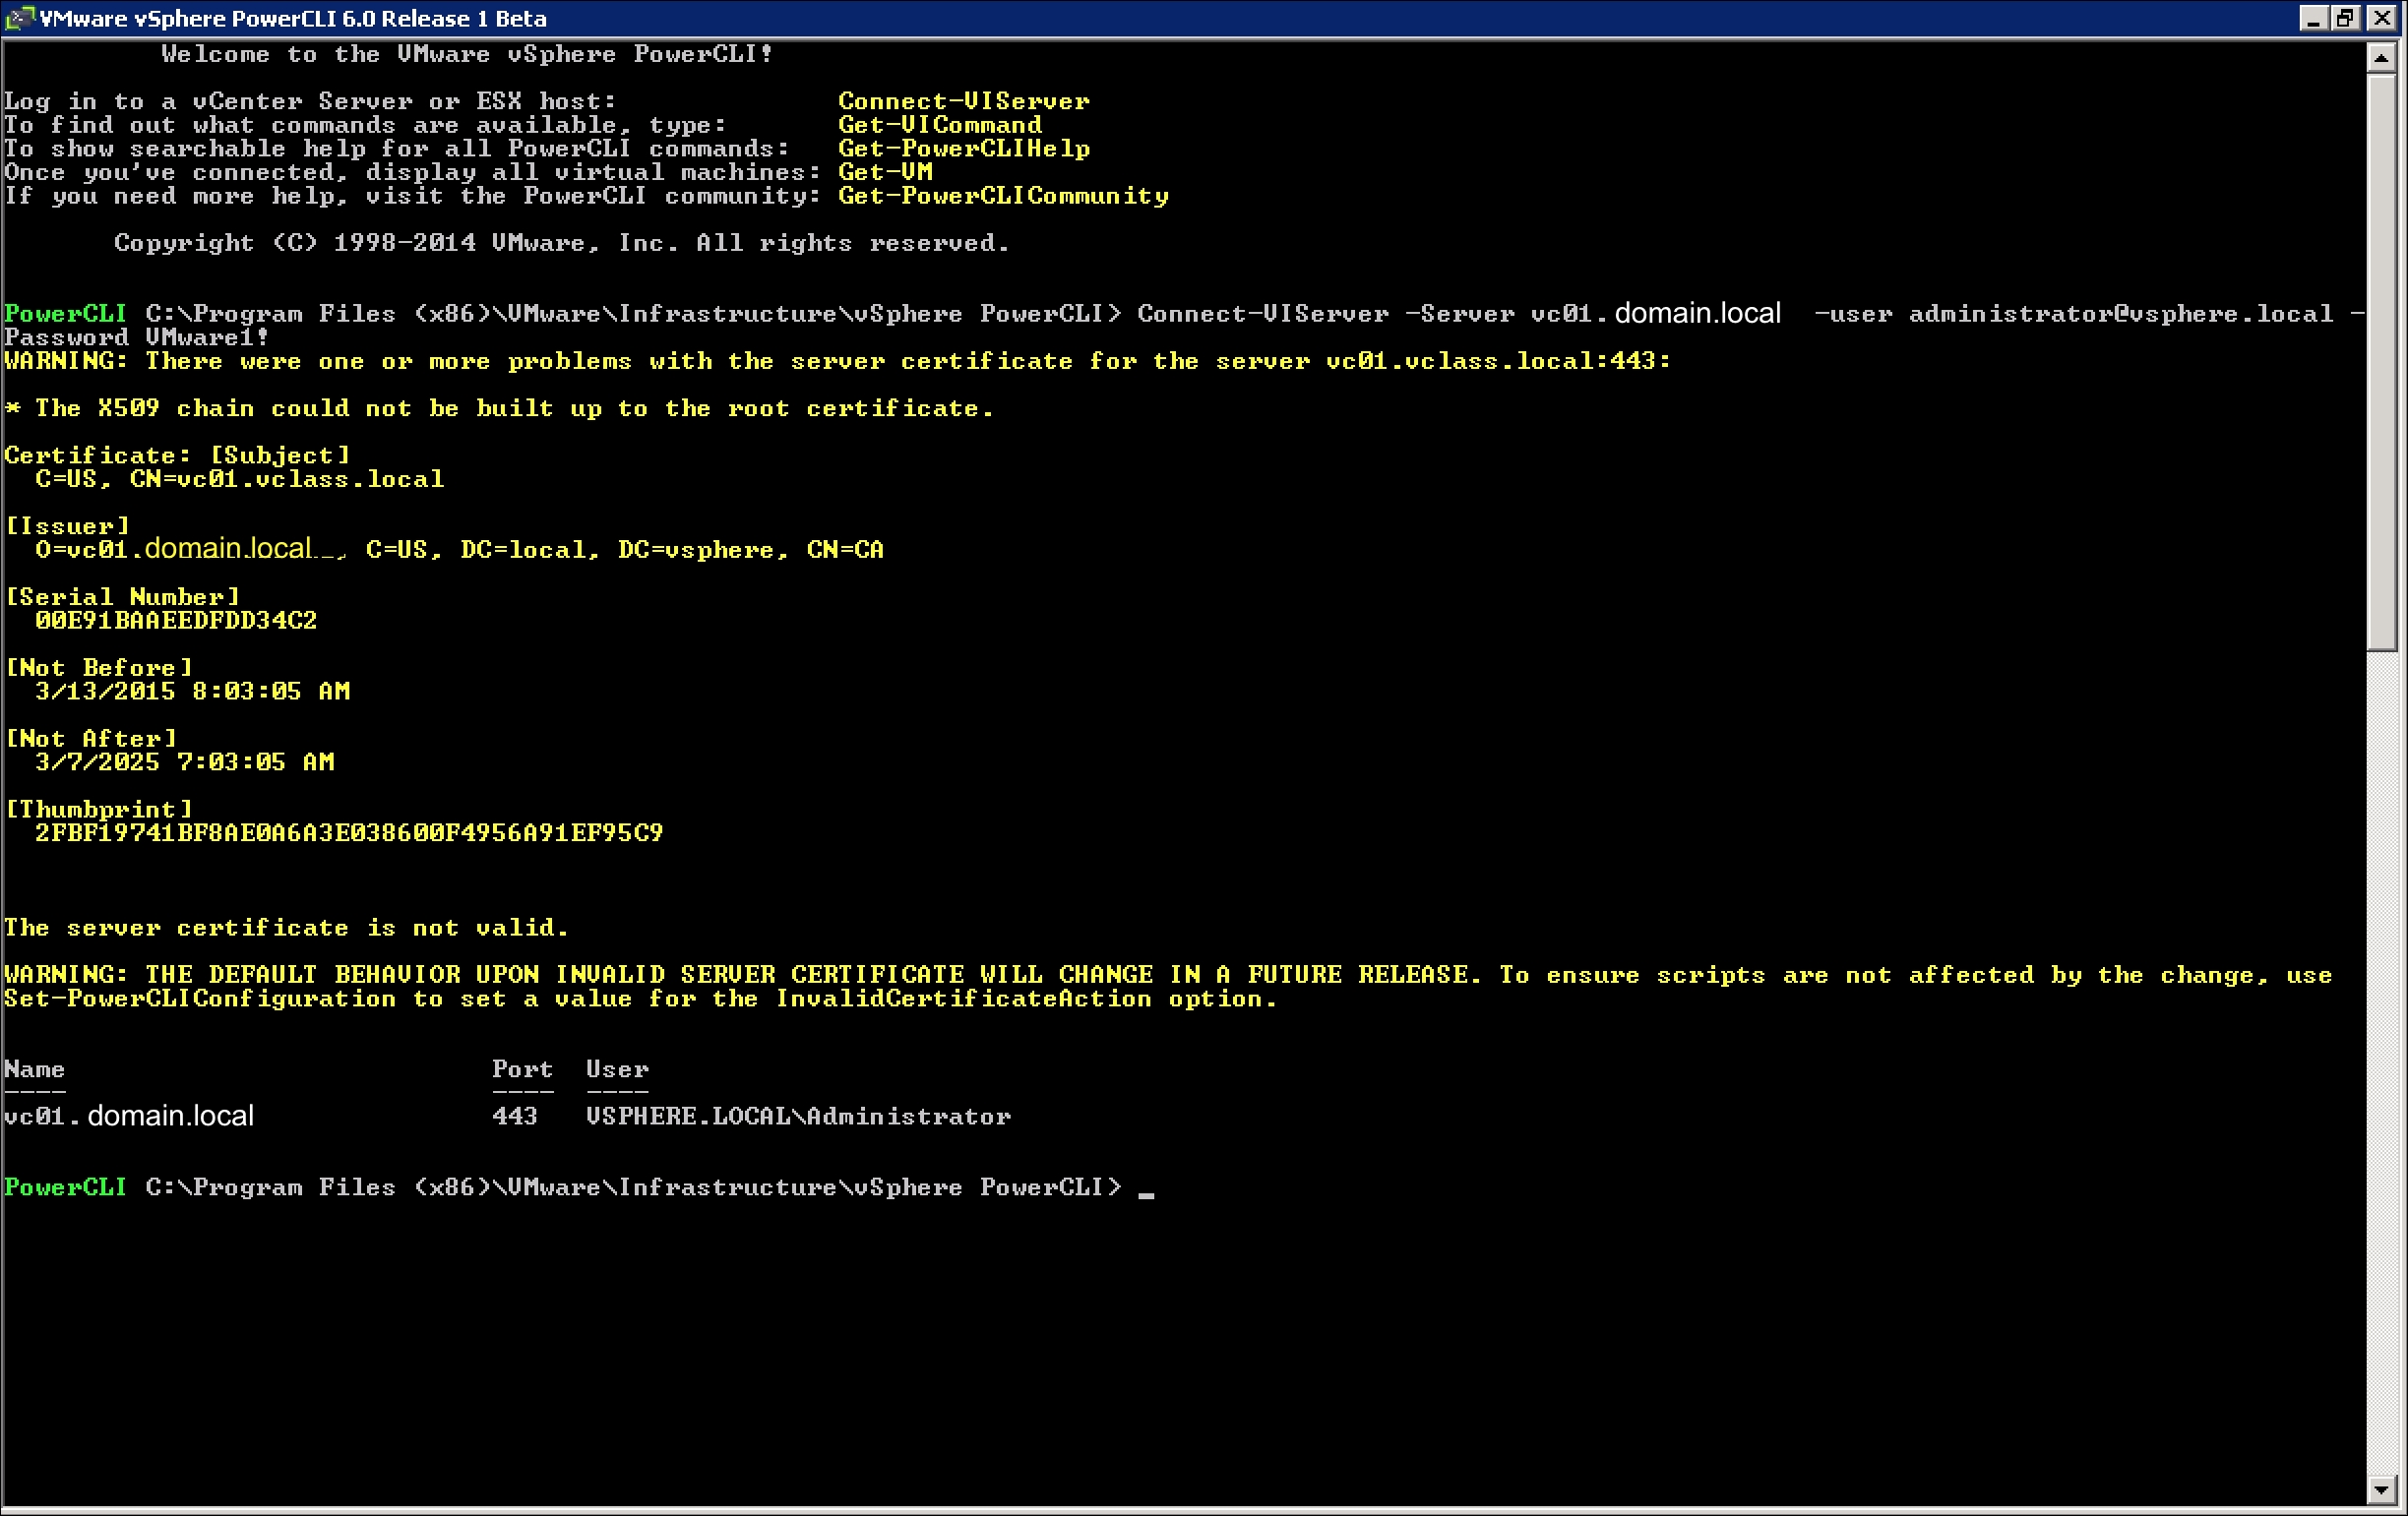
To begin, first use the Connect-VIServer cmdlet to specify a target vCenter Server. In the example we specified vc01.domain.local and used the SSO administrator account to authenticate. The command is:
Connect-VIServer -Server vc01.domain.local -user [email protected] -Password VMware1!
Use Get-ExecutionPolicy to determine the execution policies for the current session. We want to set the execution policy to unrestricted so that scripts can be run if necessary. To do so, type Set-ExecutionPolicy unrestricted. This is demonstrated in the following screenshot:

Next, we need to make sure that PowerCLI can access the software depot so that we can modify the image profiles as necessary. The command used was:
Add-EsxSoftwareDepot C:DepotVMware-ESXi-6.0.0-2445857-depot.zip

Once the software depot has been added, ensure that the image profiles are available by entering Get-EsxImageProfile. We have two image profiles that are available for use; a standard ESXi image and one with no tools:

Once the Software Depot is added and PowerCLI has access to the images, then we are ready to begin modifying our image profiles.
It's recommended to clone an image profile and modify the cloned copy in case any mistakes are made and you need to start over. To do so, use a command similar to the following:
New-EsxImageProfile -CloneProfile ESXi-6.0.0-2445857-no-tools -Name SampleImage -Vendor "VMware, Inc."

The output of this command will show the newly cloned image profile, in this case called SampleImage, created and listed.
Once you have modified the image profile as desired, you may export it as an ISO or ZIP file. To do so, use one or both of the following sample commands:
Export-EsxImageProfile -ImageProfile SampleImage -ExportToIso -FilePath C:DepotSampleImage.isoExport-EsxImageProfie -ImageProfile SampleImage -ExportToBundle -FilePath C:DepotSampleImage.zip

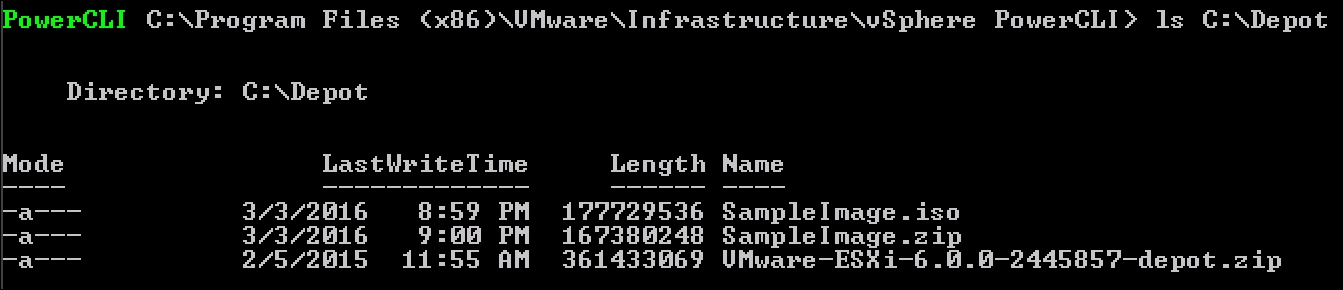
When that command completes, we can use ls to determine the content of the C:depot directory. The following image shows our newly exported image profiles listed:
Now that the image profiles are in an ISO or ZIP format, you can burn that image to disc or even use it for vSphere Auto Deploy.