
Keep in mind that the vCenter Server architecture has changed in vSphere 6. Refer back to Chapter 3, The Management Layer - VMware vCenter for more information.
An infrastructure's vCenter Server 5.1/5.5 configuration will determine its configuration post-upgrade. If the outcome is not desired, consider installing a new vCenter Server rather than completing an in-place upgrade. However, if the vCenter Server is 5.0, there is no Single Sign-On installed and configured, therefore an option will be presented to choose whether the vCenter Server 6.0 configuration should be embedded or external.
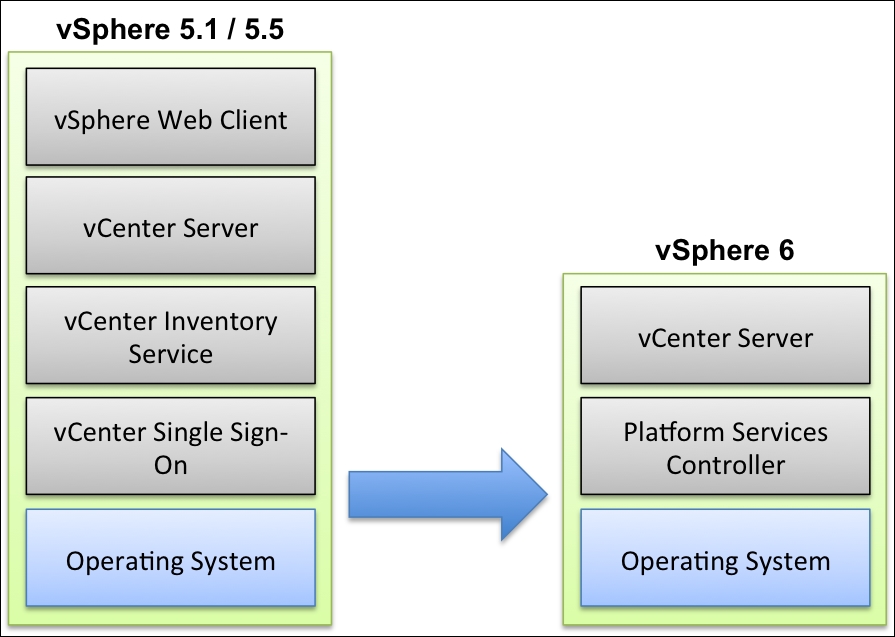
The following image demonstrates a vCenter Server 5.1 or 5.5 simple installation, where all components were installed on the same system. When upgrading to vCenter Server 6.0, the outcome will result in an embedded configuration (with the vCenter Server and Platform Service Controller components co-installed on the same system).
On the other hand, if the vCenter Server 5.1/5.5 is a custom installation with the vCenter Single Sign-On services installed on a separate system, then the vCenter Server 6.0 upgrade will result in a deployment with vCenter Server and the Platform Services Controller on separate systems (external configuration). This is demonstrated with the following image:
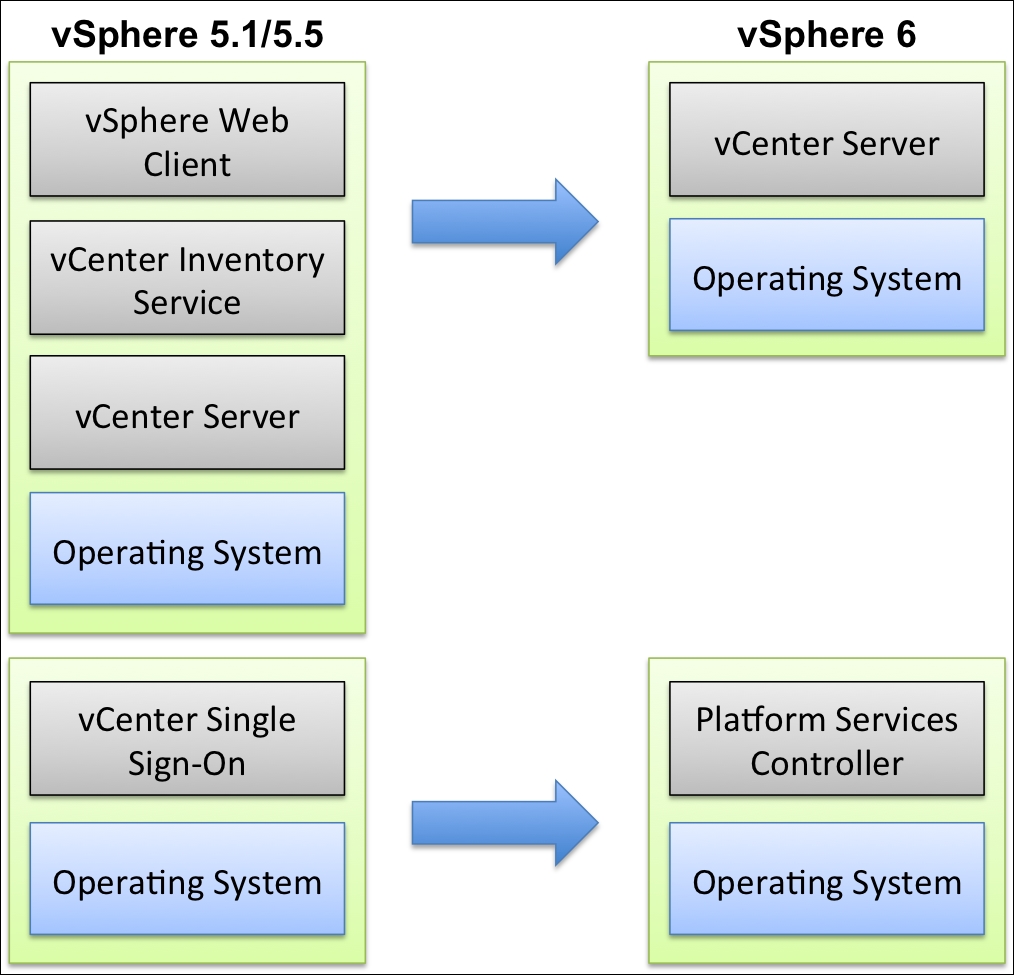
Any variation of the aforementioned configuration where vCenter Single Sign-On is installed separately from the vCenter Server, will result in an external vCenter Server 6.0 deployment.
There are many considerations when upgrading vCenter Server to 6.0 as the architecture and requirements have changed.
A few notes prior to beginning the vCenter Server upgrade:
- vCenter Server 6.0 is able to manage ESXi 5.x and 6.x hosts but not 4.x.
- vCenter Server's clock must be synchronized.
- If deploying the Windows vCenter Server, a 64-bit operating system is required, along with a 64-bit system DSN for database connectivity.
- Each vCenter Server instance is required to have its own database.
- The Windows vCenter Server is bundled with a PostgreSQL database that may be used for an environment with up to 20 hosts and 200 virtual machines (Up to 1,000 hosts and 10,000 virtual machines for the vCenter Server Appliance).
- The following table outlines the minimum required resources for vCenter Server 6.0:
|
Platform Services Controller |
Tiny Environment (up to 10 hosts, 100 virtual machines) |
Small Environment (up to 100 hosts, 1,000 virtual machines) |
Medium Environment (up to 400 hosts, 4,000 virtual machines) |
Large Environment (up to 1,000 hosts, 10,000 virtual machines) | |
|---|---|---|---|---|---|
|
Number of CPUs |
2 |
2 |
4 |
8 |
16 |
|
Memory |
2 GB |
8 GB |
16 GB |
24 GB |
32 GB |
This information is derived from the vSphere Installation and Setup Guide.
Once these prerequisites have been met, the vCenter Server may be upgraded to 6.0.
More information may be found at: http://www.vmware.com/content/dam/digitalmarketing/vmware/en/pdf/techpaper/vmware-vcenter-server6-deployment-guide-white-paper.pdf
To begin the Windows vCenter Server upgrade:
- Log into the vCenter Server system as an administrator.
- Launch the VMware vCenter Installer.
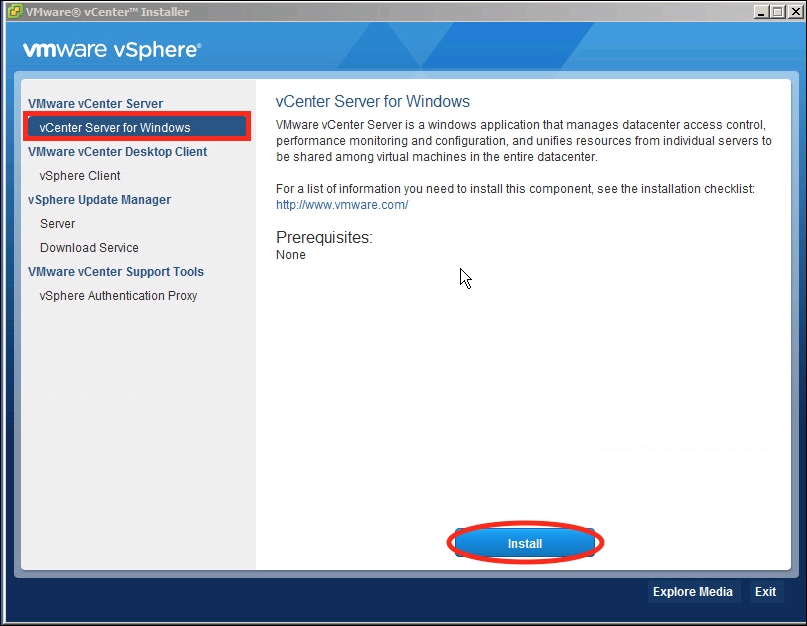
- Select vCenter Server for Windows and press Install:
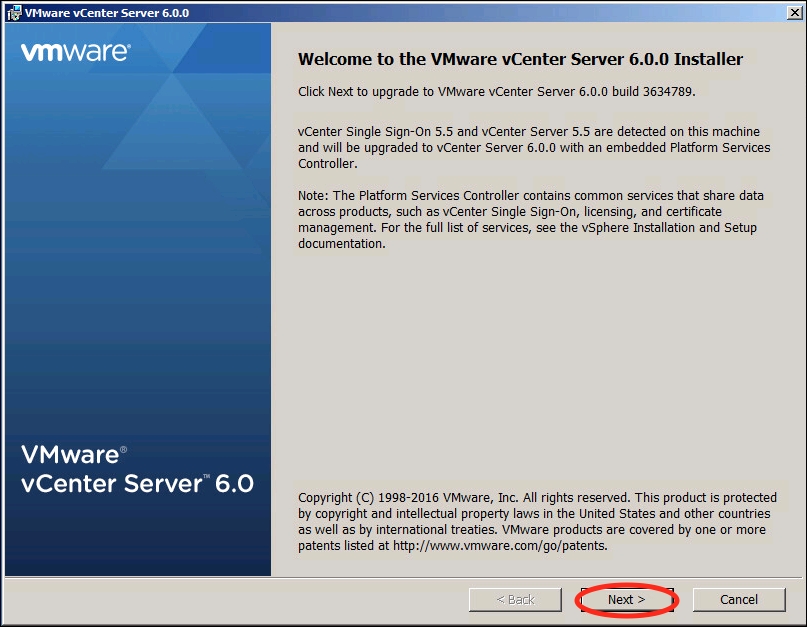
- Once the installer launches, press Next:
- Review the End User License Agreement. Ensure to tick the checkbox next to I accept the terms of the license agreement so that the Next button is available:
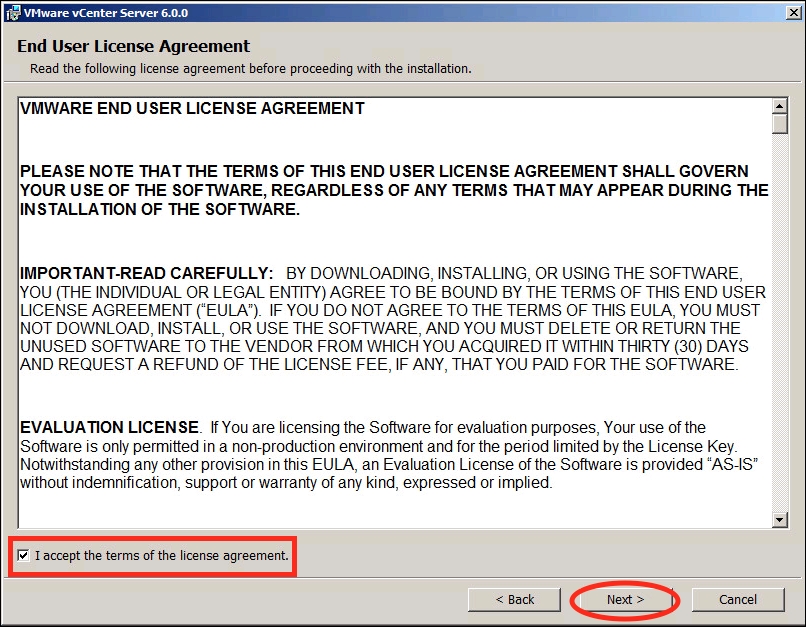
- Press Next.
- Enter the password for vCenter Single Sign-On and select whether or not to Use the same credentials for vCenter Server:
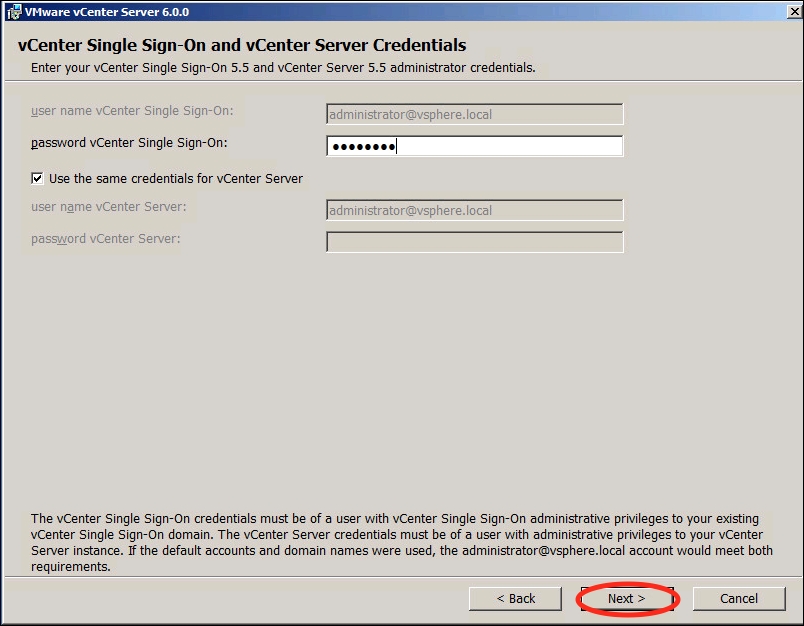
- Press Next.
- A notification dialog will appear (demonstrated in the following screenshot) specifying that pre-upgrade checks are in progress:

- If the embedded Microsoft SQL Express database is in used, a warning will appear as a notification that its contents will be migrated to vPostgreSQL.
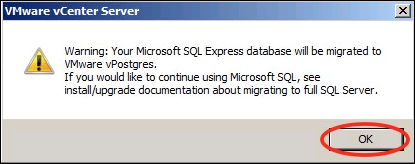
- Press OK.
- On the Configure Ports screen, verify that the default ports will be used:
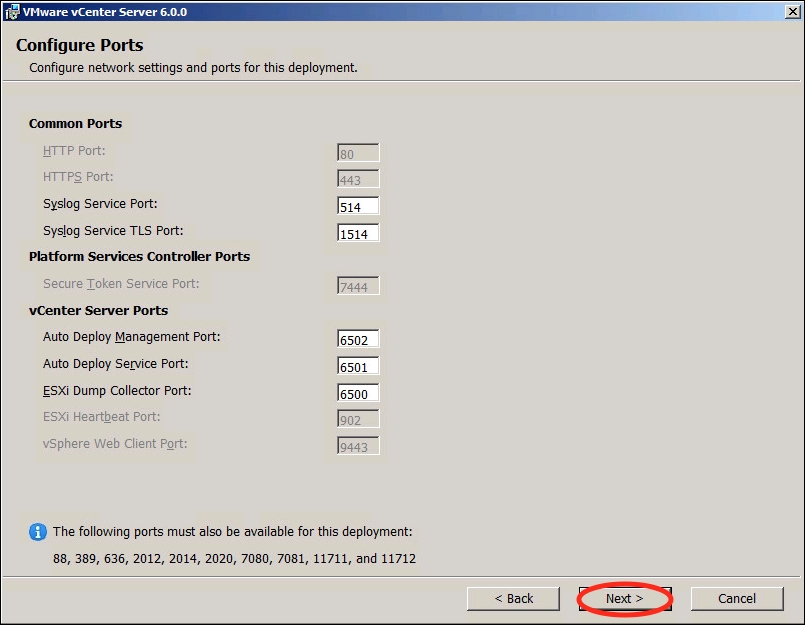
- Press Next.
- The Destination Directory screen will allow modifications to the installation directories and the directory for the 5.x data, if desired:
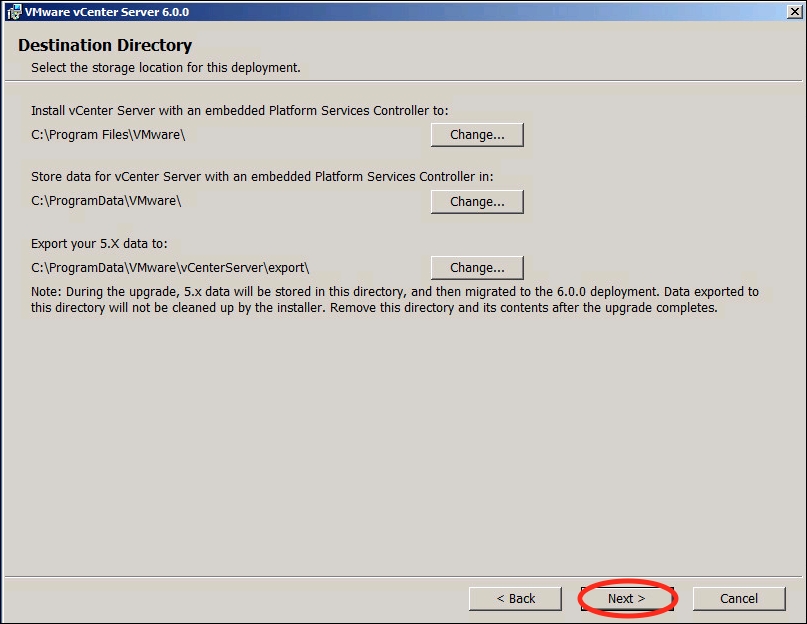
- Press Next.
- Choose whether or not to Join the VMware Customer Experience Improvement Program by ticking the checkbox:
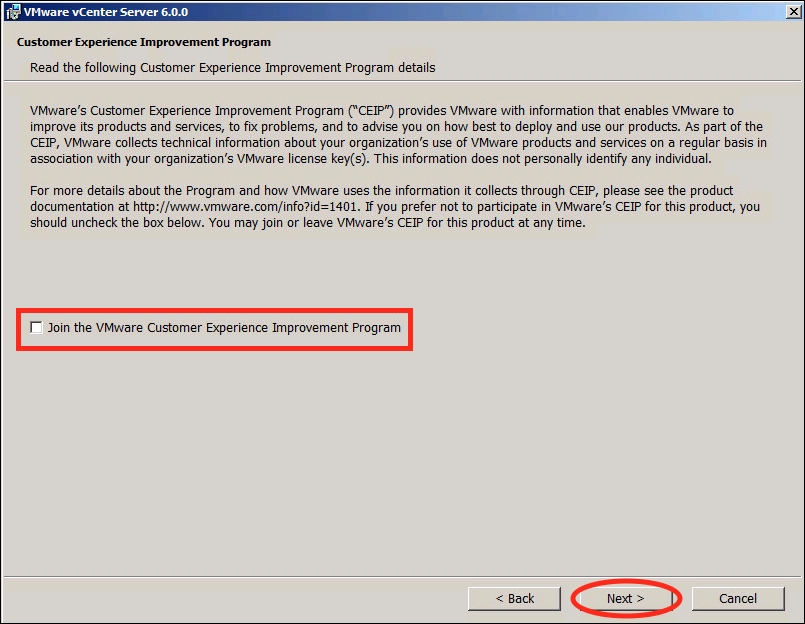
- Press Next.
- The Ready to upgrade screen allows for the review of all upgrade selections.
- Before the upgrade can begin, ensure to tick the checkbox that specifies I verify that I have backed up the vCenter Server machine and the embedded Microsoft SQL Server Express database:
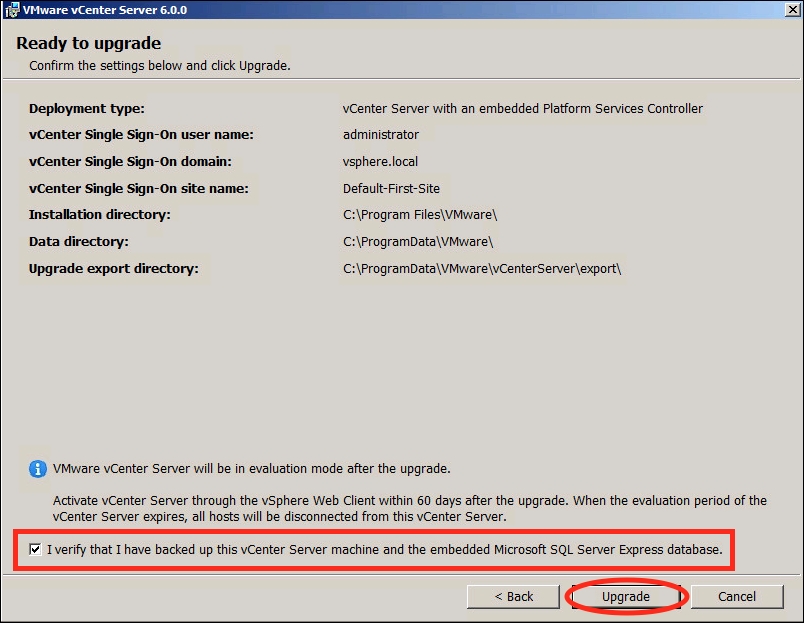
- Press the Upgrade button to proceed.
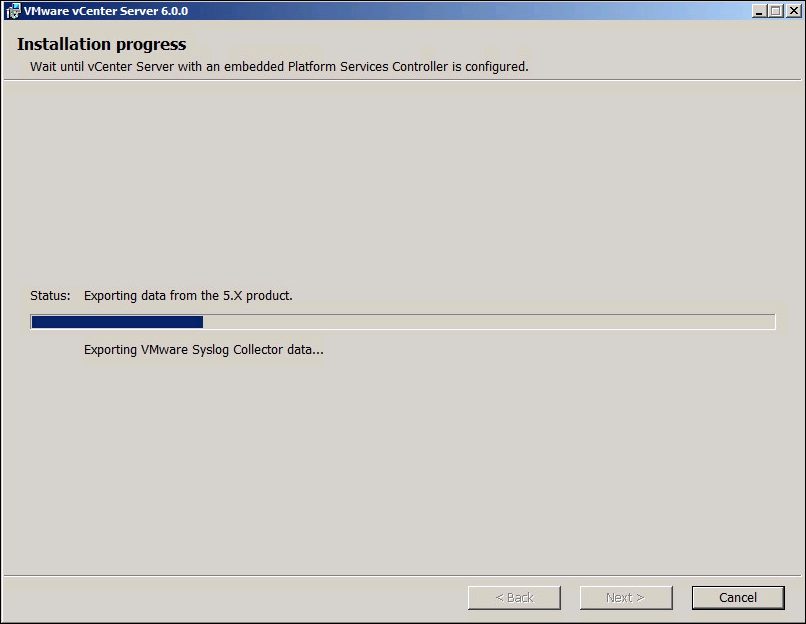
- The following image demonstrates the Installation progress screen that keeps track of the upgrade status:
- Once the upgrade has completed, the Setup Completed screen will appear. It notifies you of the required post-installation steps. Note that vCenter Server 6.0 is in evaluation mode post-upgrade. Ensure to log in and assign valid vSphere 6 licenses:
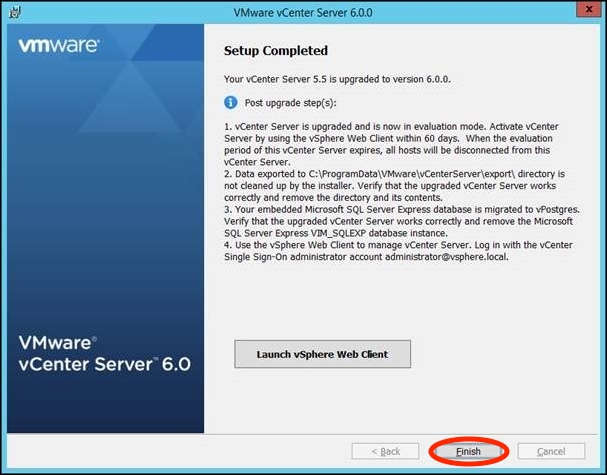
- Press Finish.
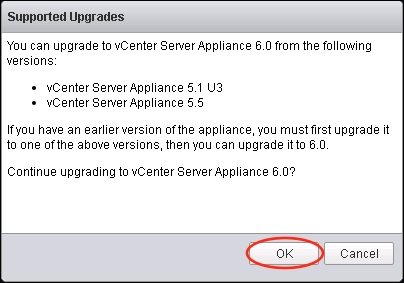
Something to keep in mind regarding upgrading the vCenter Server Appliance is that it's only version 5.1 update 3 or later may be upgraded to vCenter Server Appliance 6.0. In order to upgrade vCenter Server Appliance 5.0, it first has to be upgraded to version 5.1 update 3 or 5.5 update 2. Only then can it be upgraded to vCenter Server Appliance 6.0.
In order to upgrade to vCenter Server Appliance 6.0, the Client Integration Plug-in must be installed. This is included in the installation media for the vCenter Server Appliance. Before installing the Client Integration Plug-in, ensure that at least one of the supported browsers is installed:
- Microsoft Internet Explorer, version 10 and 11
- Mozilla Firefox, version 30 or later
- Google Chrome, version 35 or later
To install the Client Integration plug-in:
- Mount the installation
.isoto a Windows machine. - Browse to the
/vcsadirectory and launch the VMware-ClientIntegrationPlugin-6.0.0.exe file to begin: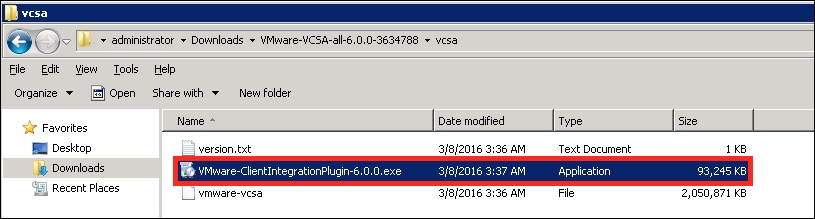
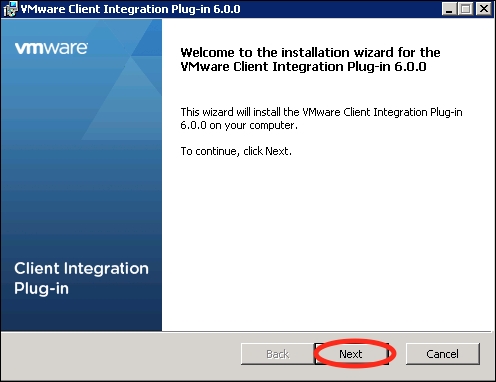
- The installer will launch. Press Next to start this process.
- On the End-User License Agreement screen, select I accept the terms in the License Agreement option:
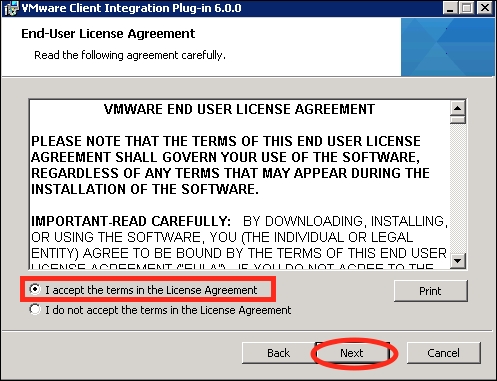
- Press Next.
- Verify the installation directory on the Destination Folder screen:
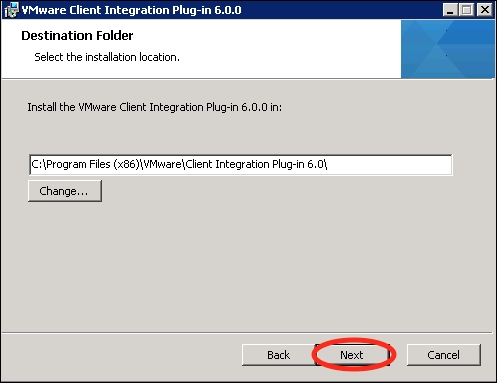
- Press Next as highlighted in preceding screenshot.
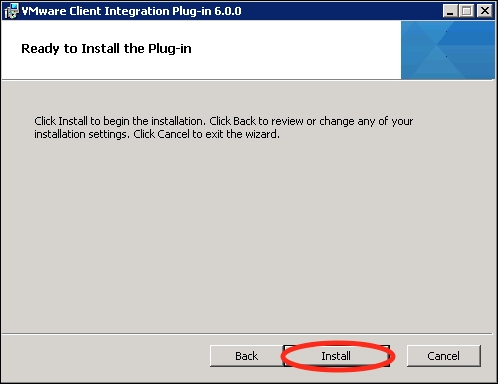
- Press Install as highlighted in the preceding screenshot.
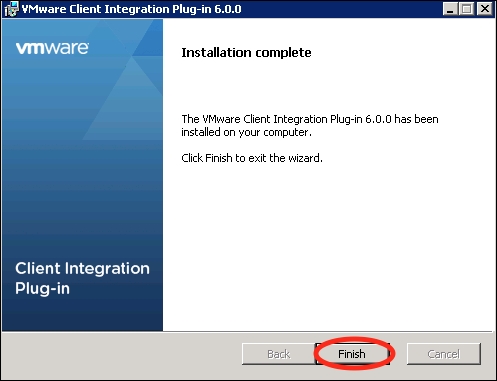
- The following screen demonstrates the installation process. This will take a few minutes.

- Press Finish once the installation has completed.
Once the client integration plug-in has been installed, the vCenter Server Appliance may be upgraded. Of note, the vCenter Server Appliance is always upgraded to an embedded vCenter Server Appliance; this means that the Platform Services Controller will be co-installed with the vCenter Server software. If an external Platform is desired, a new vCenter Server Appliance should be deployed.
To begin:
- In the root directory of the software installer, select
vcsa-setup.html: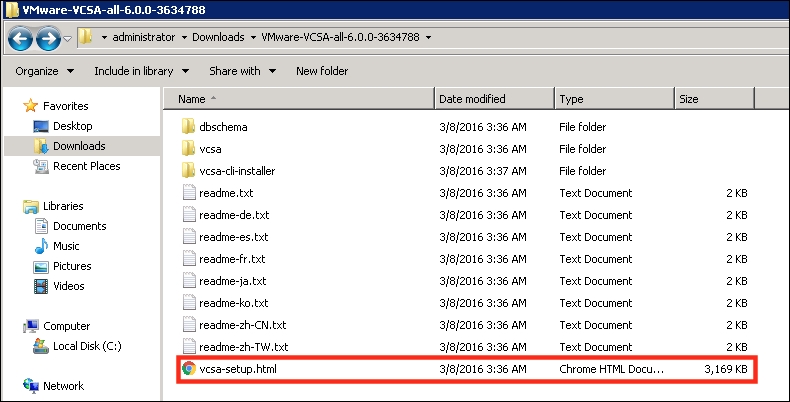
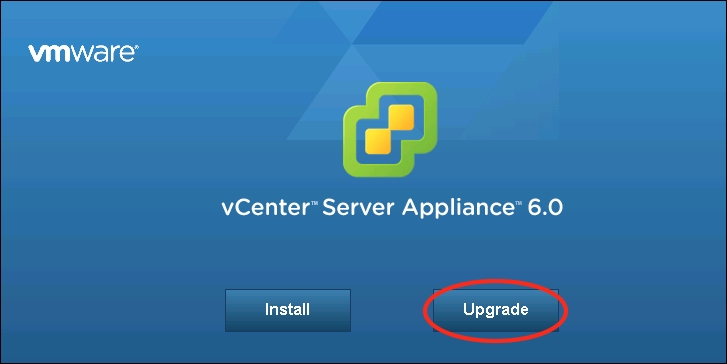
- Once the Client Integration Plug-In has started, select the Upgrade button on the page loaded in the browser:
- Review the Supported Upgrades dialog box. Press OK to continue to upgrade:
- Review the End User License Agreement. Tick the checkbox next to I accept the terms of the license agreement:
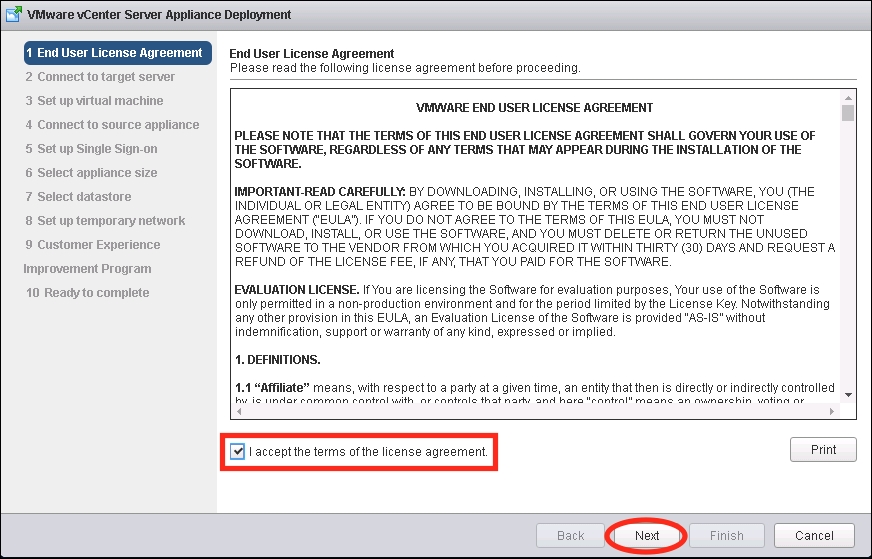
- Press Next.
- On the Connect to target server screen, input the FQDN or IP address, Username, and Password of the ESXi host on which the vCenter Server Appliance should be deployed:
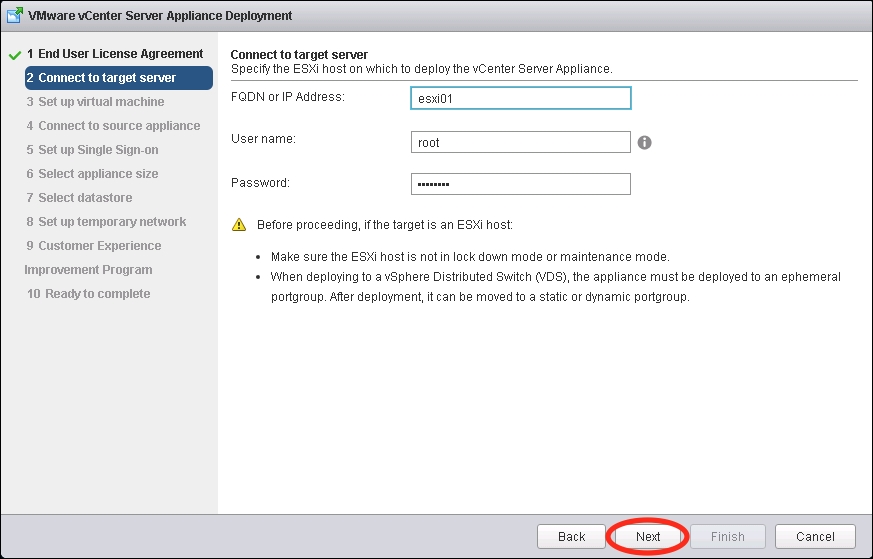
- Press Next.
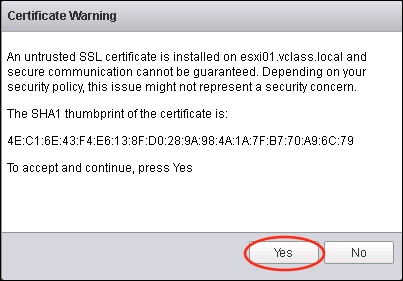
- A Certificate Warning dialog will appear. Press Yes to continue:
- Enter the desired Appliance name of the vCenter Server on the Set up virtual machine screen. Select the checkbox to determine whether or not SSH is enabled:
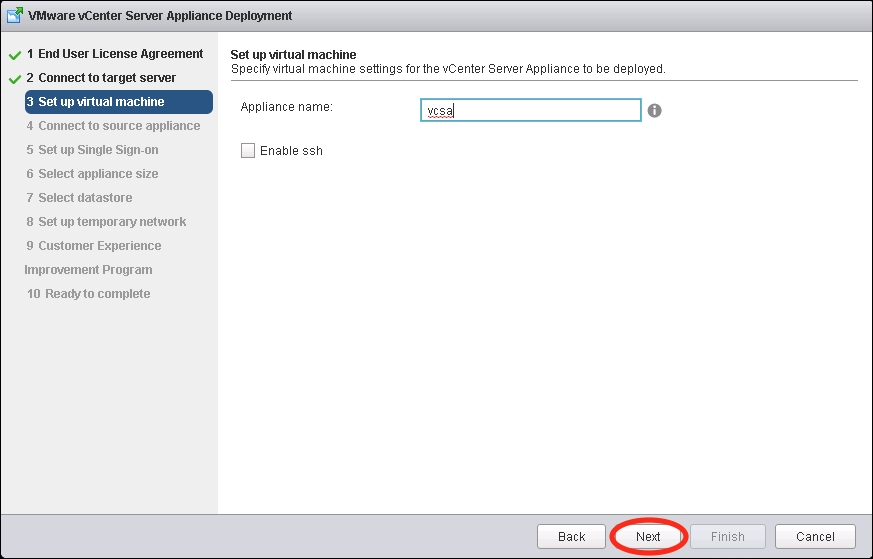
- Press Next.
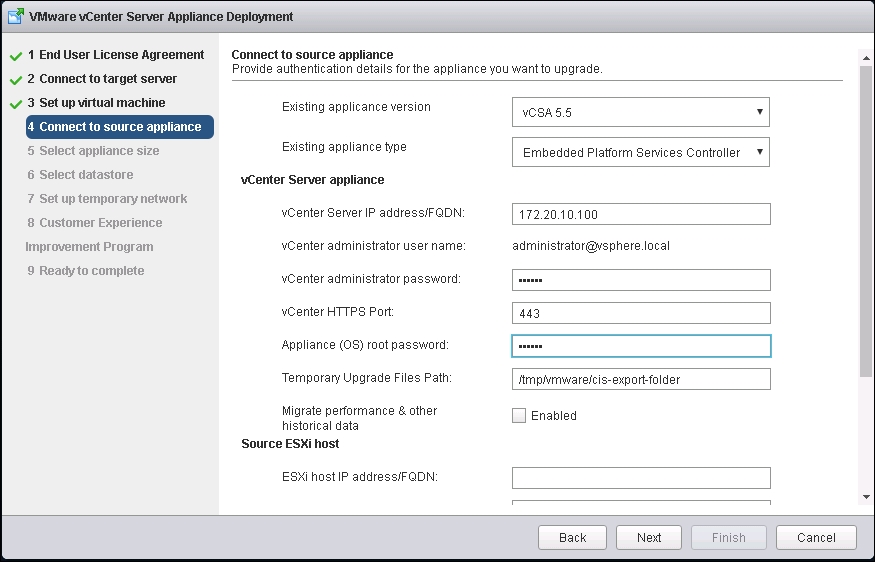
- There's quite a bit of information to enter on the Connect to source appliance screen. Starting at the top, select the drop-down box next to Existing appliance version. vCSA 5.5 or vCSA 5.1 U3 may be chosen.
- Under the vCenter Server Appliance section, enter the vCenter Server IP Address/FQDN and set the vCenter administrator password. The default vCenter HTTPS Port is
443but may optionally be modified. Enter the Appliance (OS) root password. - The Temporary Upgrade Files Path is
/tmp/vmware/cis-export-folderby default. This path specifies the directory to temporarily store the configuration data. Optionally, the checkbox to enable Migrate performance & other historical data may be ticked. This selects whether or not the performance and historical data that is stored in the database should be migrated. This migration may slow the upgrade process. - Scroll down in the screen to complete the rest of the required information:
- Underneath the Source ESXi host section, enter the ESXi host IP address/FQDN, ESXi host user name, and ESXi host password. The source ESXi host is the host that the vCenter Server Appliance to be upgraded is currently located at:
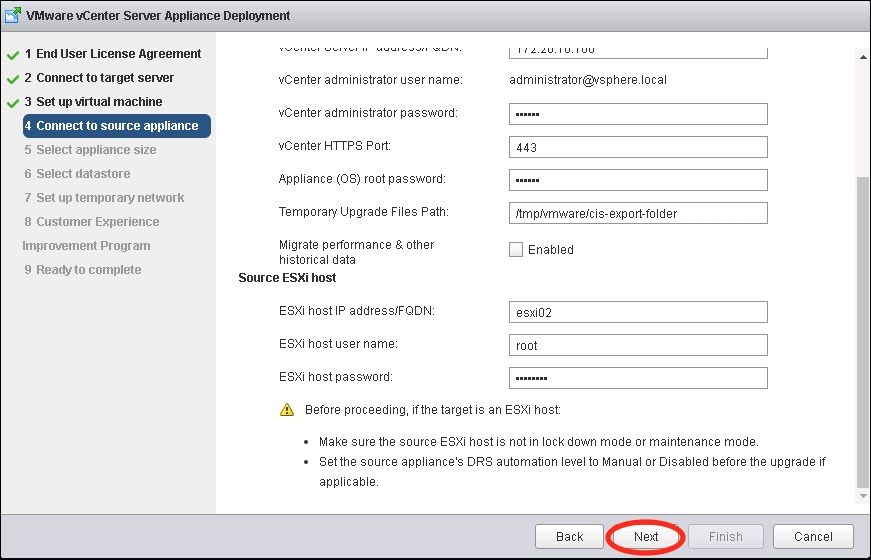
- Press Next.
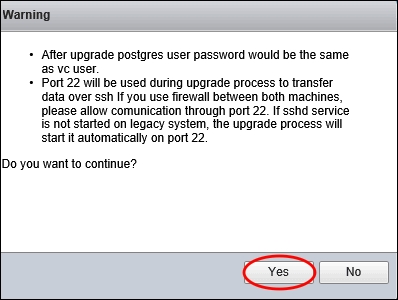
- A Warning dialog will appear. Press Yes to accept and continue the upgrade process:
- If upgrading from vCenter Server Appliance 5.1 U3, an additional screen will appear to configure the Single Sign-On settings. If upgrading from vCenter Server Appliance 5.5 these settings will be automatically migrated.
- On the Select appliance size screen, choose the drop-down box to select the Appliance size. In the following screenshot, Tiny (up to 10 hosts, 100 VMs) has been chosen. Be aware that this selection dictates the virtual hardware configuration of the appliance. In this case, a Tiny vCenter Server Appliance results in the appliance being deployed with 2 vCPUs and 8 GB of memory:
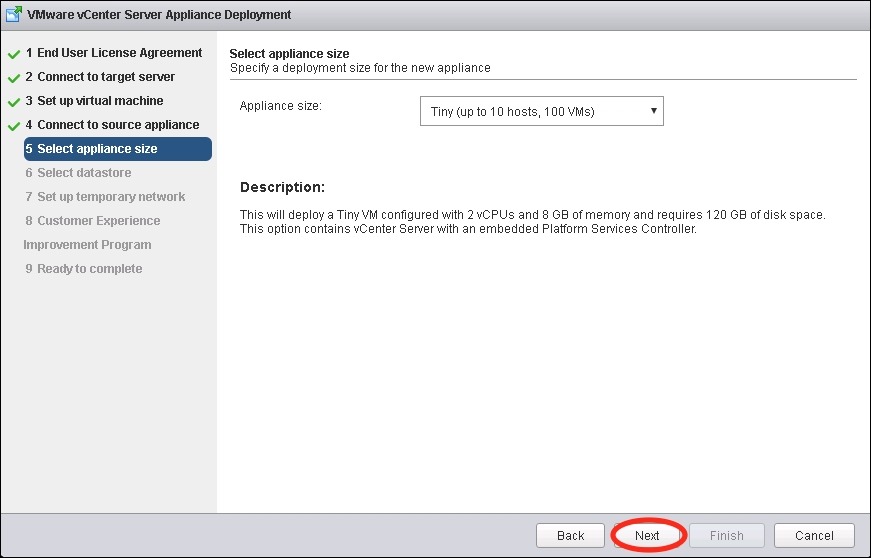
- Press Next.
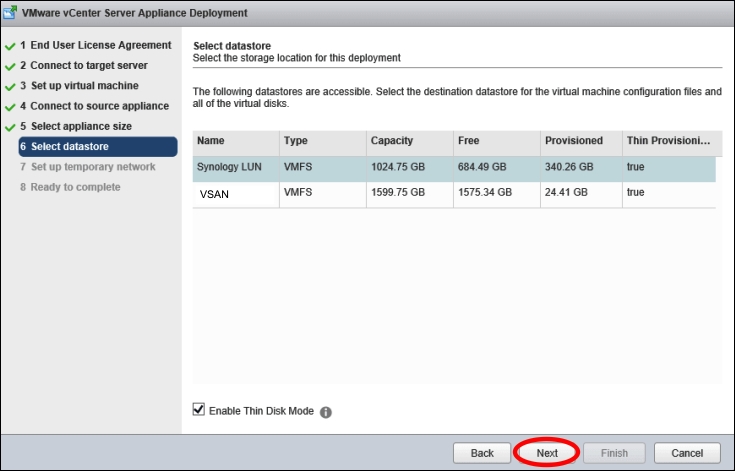
- Select the appropriate datastore on which to store the virtual machine files. Choose whether or not to Enable Thin Disk Mode (thin provisioning) by ticking the checkbox:
- On the Set up temporary network pane, select the drop-down box for Temporary network and choose a portgroup. This network is used for communication between the vCenter Server Appliance being deployed and the vCenter Server Appliance to be upgraded.
- For Network type, select DHCP or static. If static is chosen, enter the Network address, Subnet mask, Network gateway, and Network DNS Servers:
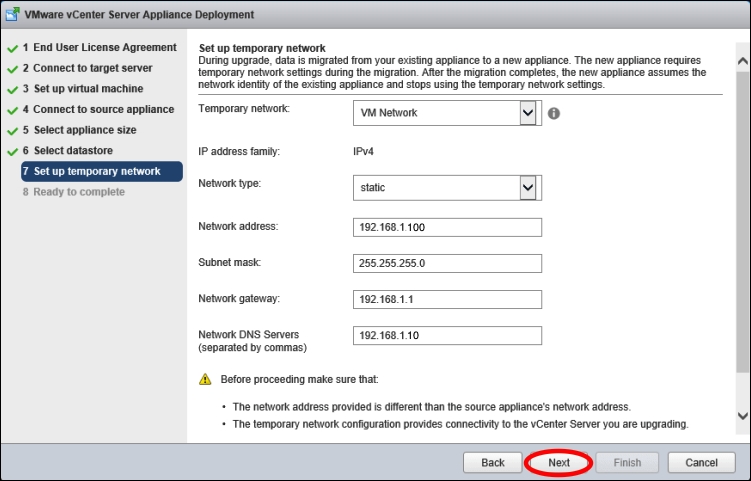
- Press Next.
- Review all of the settings on the Ready to complete screen.
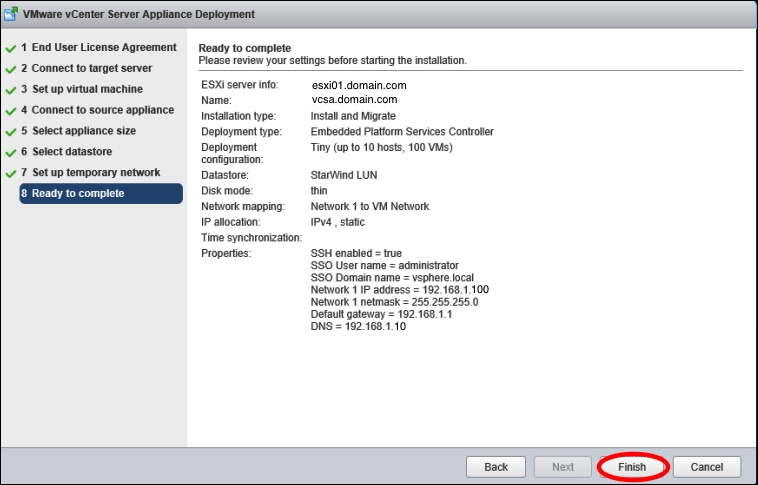
- Press Finish to begin the upgrade process.
- This process will take several minutes. Progress may be monitored, as demonstrated by the following screenshot:
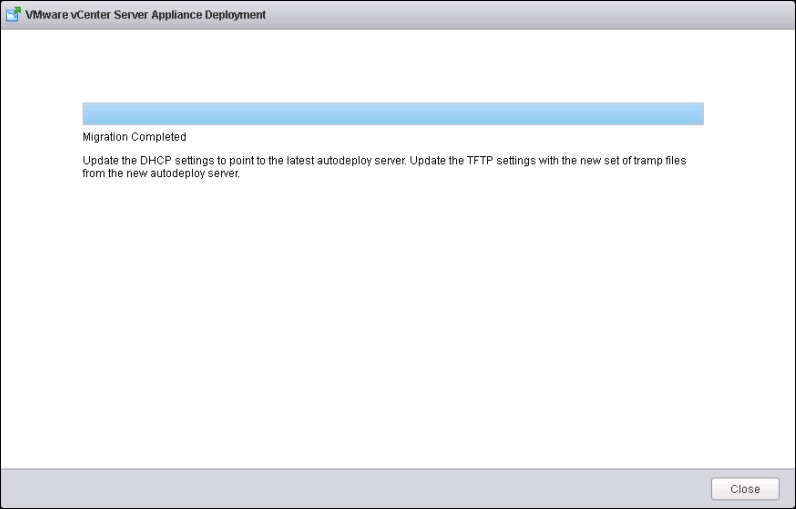
- Once the upgrade is complete click Close.
At the end of the upgrade, the old vCenter Server Appliance is powered off and the new vCenter Server Appliance is started.