
The next stage in configuring Analytical Accounting is to set up the options, which control the behavior of Analytical Accounting.
To amend the Analytical Accounting options:
- Open the Analytical Accounting Options window in Dynamics GP by selecting Administration from the navigation pane on the left, and then clicking on Options in the area page under Setup | Company | Analytical Accounting.
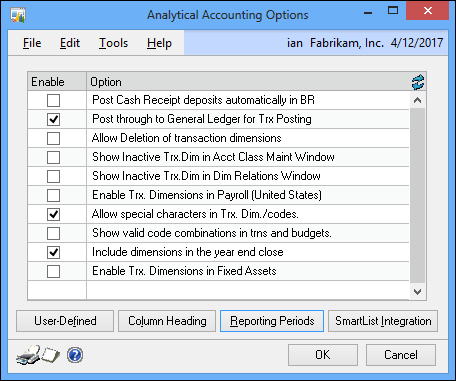
- Mark the checkbox next to Post through to General Ledger for Trx Posting to allow transaction posting to post through the GL. A batch is automatically created and assigned to the transaction, during the transaction posting process.
- Mark the Include dimensions in the year end close checkbox to transfer analytical data to history, during the year-end close process.
- Click on the User-Defined button to change the field labels for the twenty user defined fields, which can be used for adding more information to the alphanumeric transaction dimensions.
- Click on the Column Heading button to amend the column heading labels used on inquiries and reports.
- Click on the Reporting Periods button to view the Fiscal and Calendar Views used in reports.
- Click on the SmartList Integration button to select which SmartLists should be installed. To install a SmartList, mark the checkbox next to the SmartList folder in the scrolling window or, to install all, click on the Mark All button. Once all selections have been made, click on Process, then close the window.
- Click on OK to close the Analytical Accounting Options window.
..................Content has been hidden....................
You can't read the all page of ebook, please click here login for view all page.