To connect a Macintosh computer running OS X to your network, follow these steps:
If it's not already in place, install an Ethernet cable between the computer and the network's hub, switch, or router.
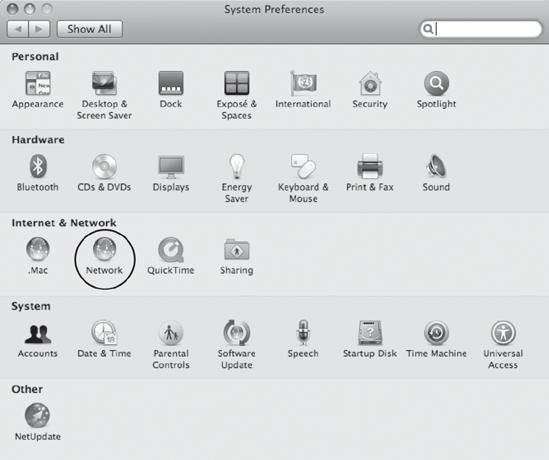
From the Macintosh desktop, click the Apple icon at the extreme left side of the Menu Bar to open the Apple Menu. The System Preferences window shown in Figure 11-10 will appear.
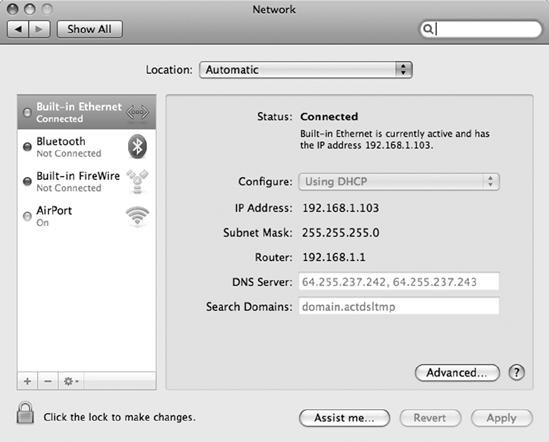
Click the Network icon in the Internet & Network group. The Network window shown in Figure 11-11 will appear, with detailed information about your network connection. If your network has a DHCP server providing IP addresses, the settings will automatically appear in the Network window.
If the settings that appear in the Network window are not the ones you want to use, click the padlock icon in the lower-left corner of the window to change them. The icon will change to an open padlock.
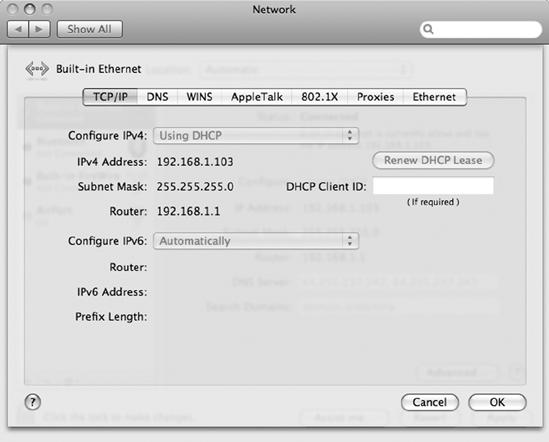
To change the network configuration settings, click the Advanced button near the bottom of the window. The Built-in Ethernet window shown in Figure 11-12 will appear.
The bar along the top of the window contains seven network options. Click TCP/IP to enter or change your Internet connection settings.
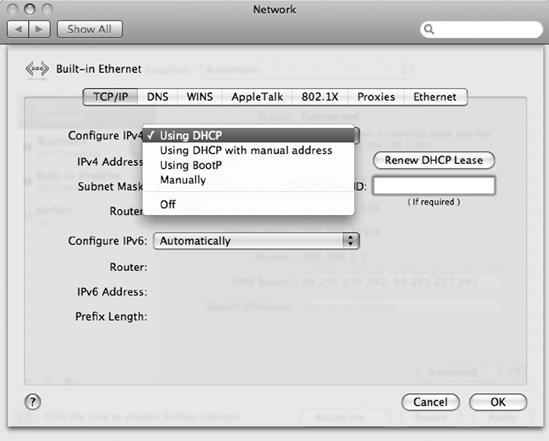
The Configure IPv4 field is a drop-down menu. Click the arrows at the right of the field to open the menu shown in Figure 11-13.
Select the option you want to use to assign IP addresses on this computer. Select Using DHCP to obtain an address from the network's DHCP server, or select Manually to assign a fixed address.
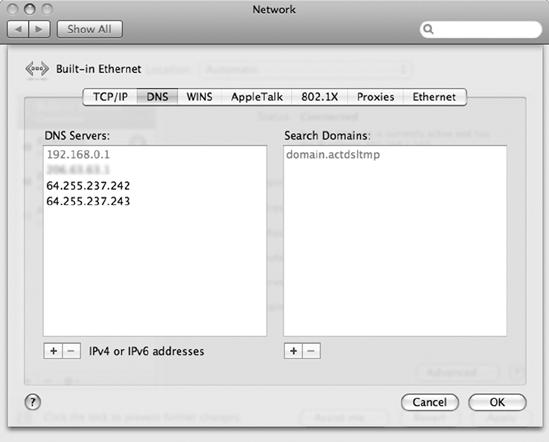
If you select the Manually option, enter the numeric IP address, the subnet mask, and the gateway router address in the appropriate fields, and click DNS in the menu bar along the top of the window. The window shown in Figure 11-14 will appear.
Click the plus sign (+) at the bottom of the DNS Servers box, and type the IP addresses of one or more DNS servers. You should obtain these addresses from your Internet service provider.
Click OK to save your changes and close the Advanced Network window. The main Network window will appear with your current settings in place.
Click the open padlock icon at the lower-left corner of the window to lock the settings, and then click Apply to save your settings and close the Network window.