Fixing Foreshortening
Any time you take a picture of tall objects they will appear to taper toward a very high central point. This is called foreshortening and can easily be fixed using a variation of Free Transform.
You can see the foreshortening effect in fig. 11.4. Duplicate the layer using Control/Apple + J, then create a Free Transform frame with Control/Apple + T. Normally, you would only be able to transform the image as a rectangular shape, but if you hold down the Control or Apple key, the frame toggles into Distort mode, allowing you to click and drag on a corner handle. With an image such as this, dragging the top right corner slightly to the right and the top left corner slightly to the left straightens the image content (fig. 11.5).
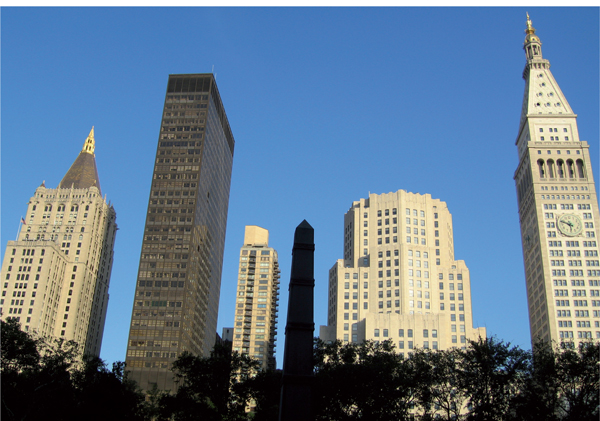
11.4 Foreshortening makes tall objects taper toward a vanishing point.

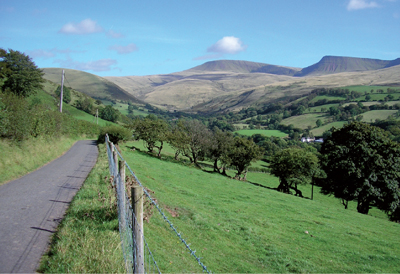
11.6 The RGB image, showing all three component channels in transparent color: Red, Blue, and Green.
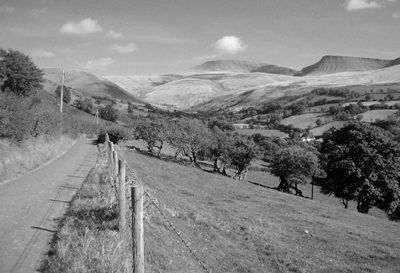
The “morning” version, i.e. the blue channel.
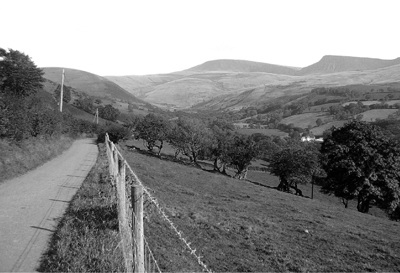
The “midday” version, i.e. the green channel.