
Let's say that you need to leave your fellow agents a message in a particular location, but you don't want anyone else to know what it contains. You could write the encoded message on a piece of paper so it could be decoded by hand, but it would be much more convenient to show the encoded message electronically on a display, so it can easily be changed—even from a remote location.
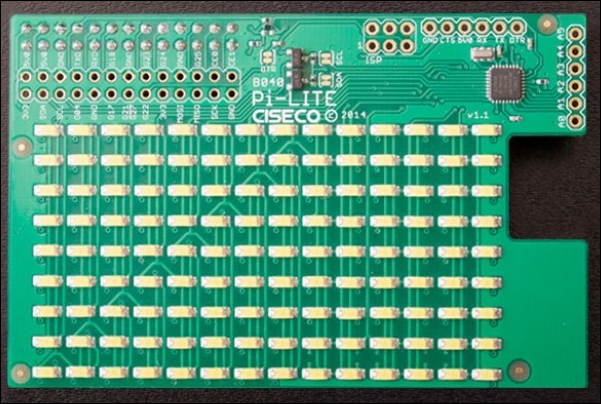
For this project, we're going to use Ciseco's Pi-Lite board, which sits on top of the Raspberry Pi, plugged into the GPIO connector. It features a matrix of 126 LEDs combined with a small microcontroller enabling the device to be easily programmed using the Pi's serial port:
Before we can access the serial port we need to enable it for our own use on the Pi, as by default, it's used for the terminal console. Fortunately, this is now straightforward on the latest Raspbian releases:
- Launch the Raspberry Pi configuration tool with the following command:
pi@raspberrypi ~ $ sudo raspi-config - Select option
9-Advanced Options. - In the next screen, select option
A7 Serial. - Select
Noto disable the console serial port. - Reboot your Pi to apply the settings.
Make sure your Pi is switched off and connect the Pi-Lite to the GPIO connector. Note that the connector only has 26 pins, as it will work on older Pis that didn't feature the 40-pin GPIO port, so just plug it into the first 26 pins if yours has 40 pins.
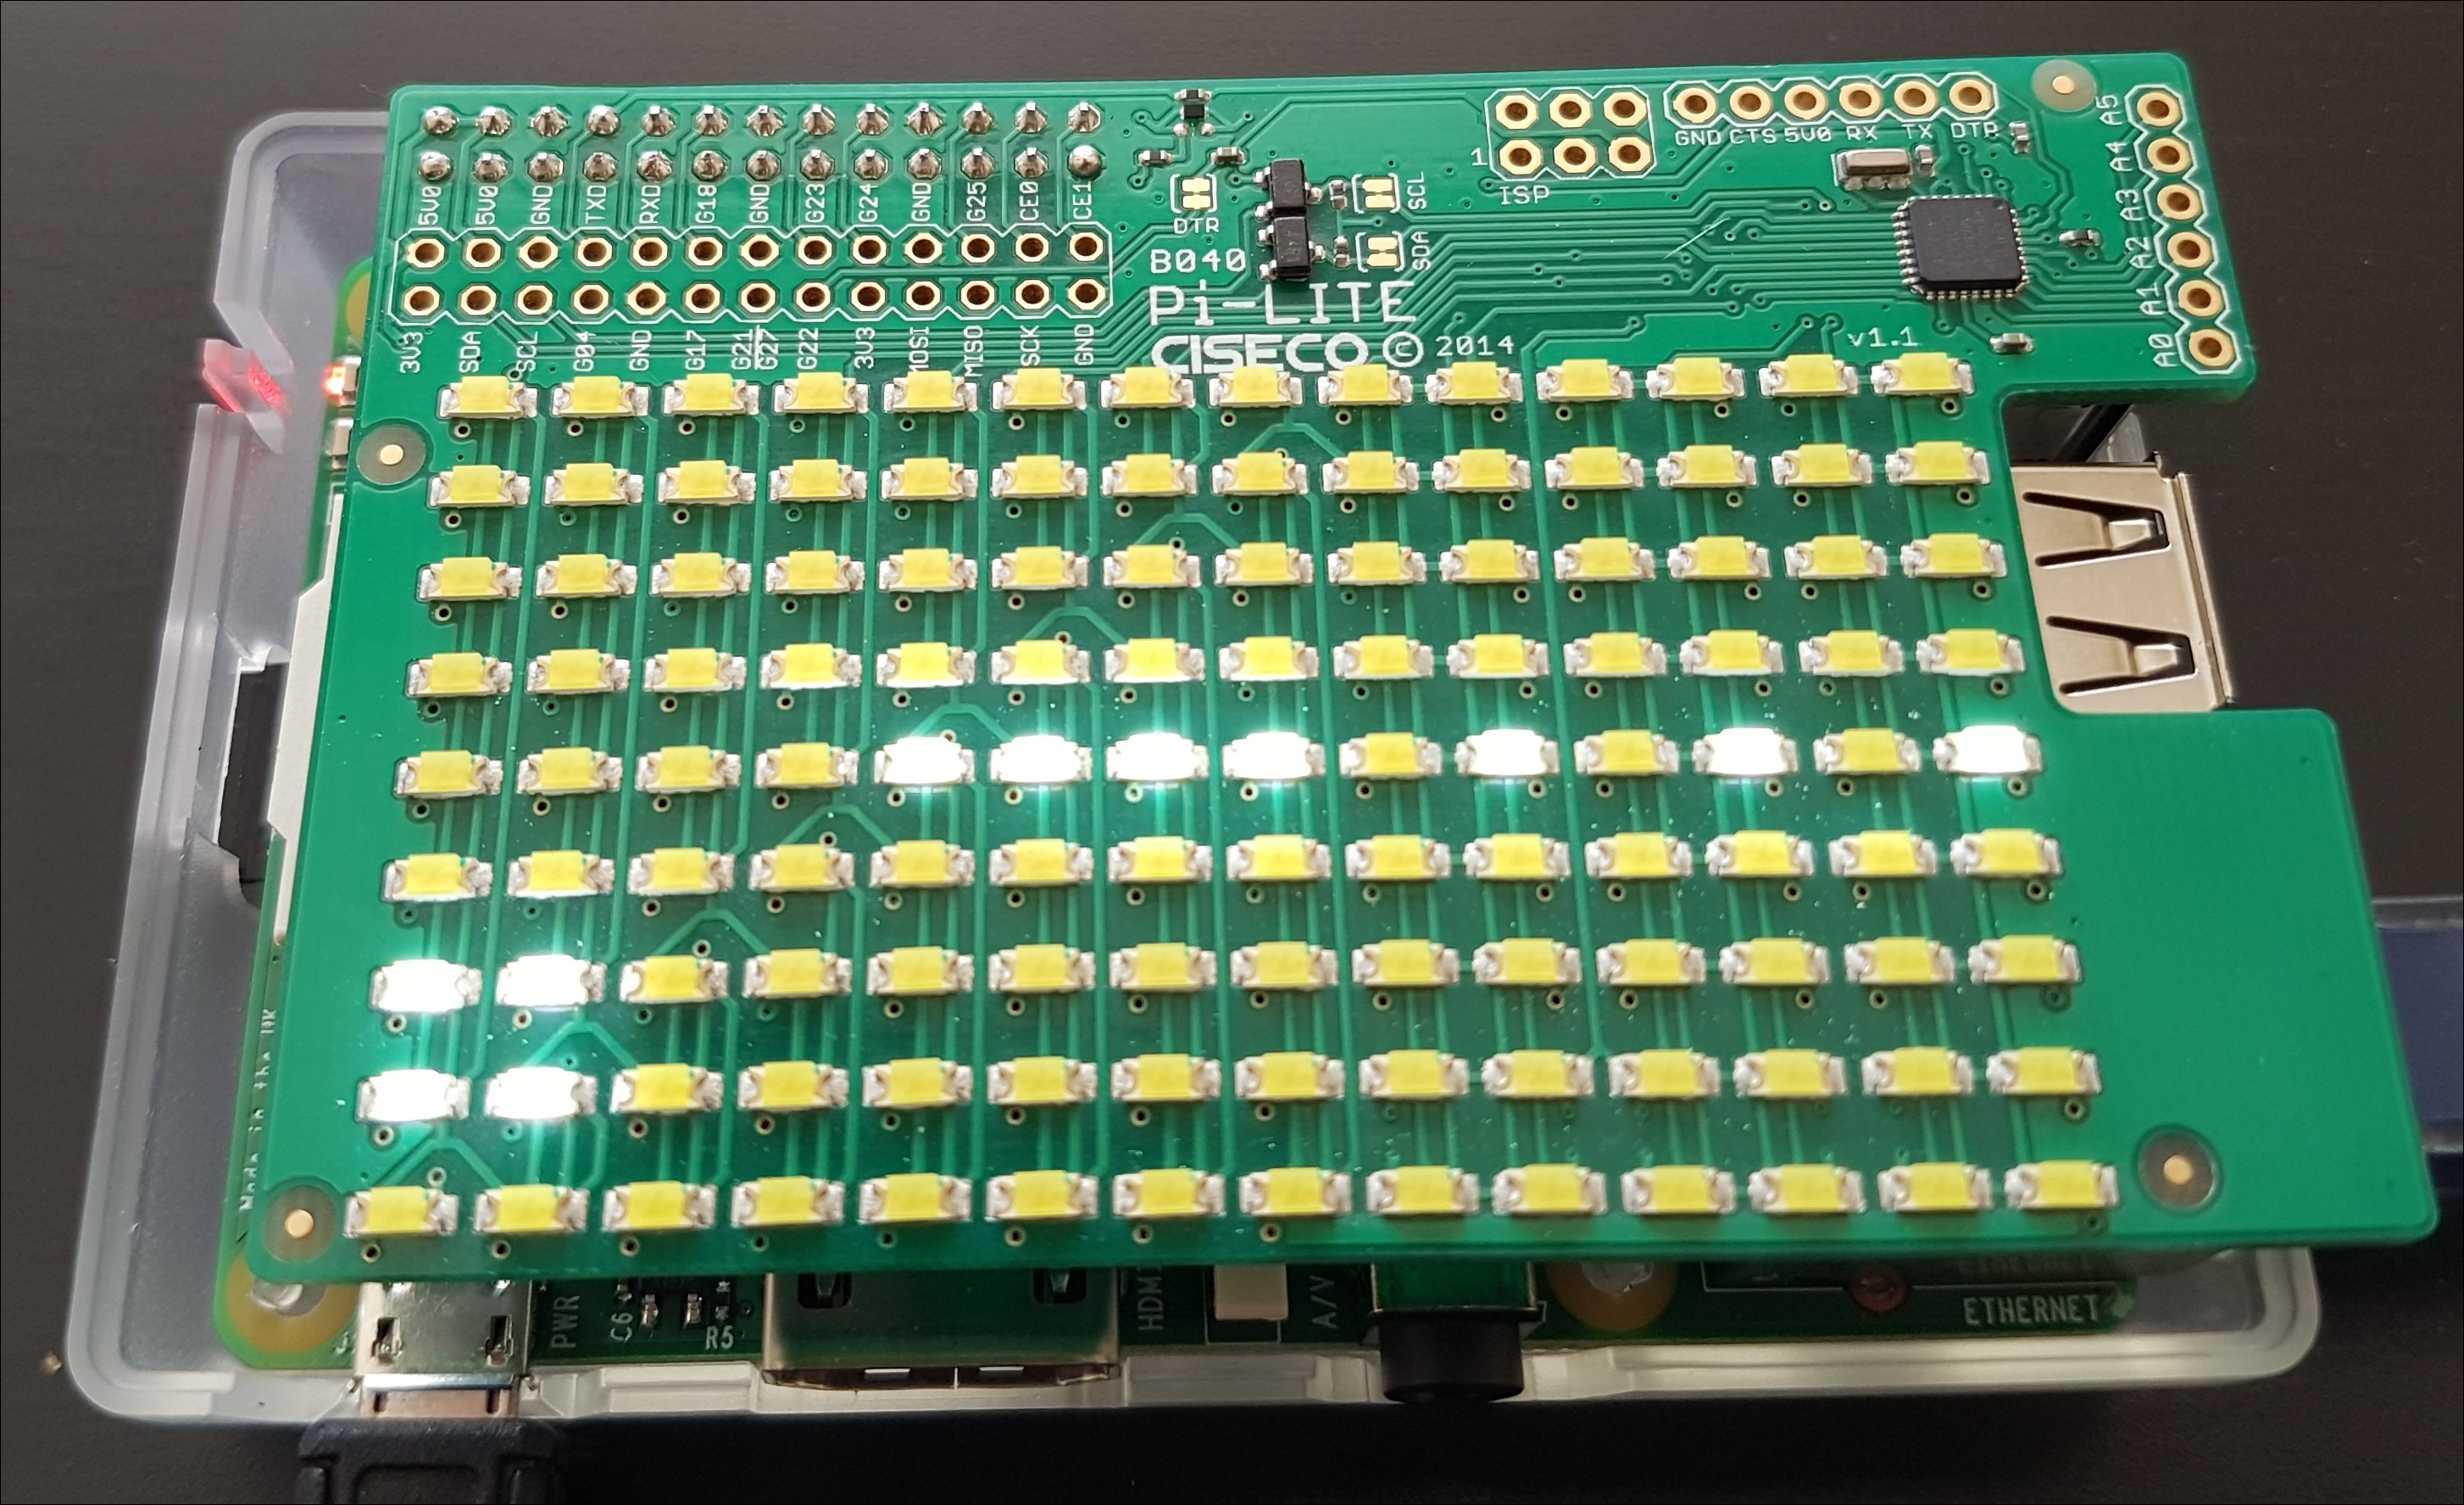
When you power up your Pi, the Pi-Lite LEDs will display a start-up sequence, and finish by displaying the words Pi Lite.
The Pi-Lite is a serial device and should show up as /dev/ttyAMA0. To start playing with our display, we use the Minicom utility to send messages to it.
If you don't already have minicom installed, then run the following command:
pi@raspberrypi ~ $ sudo apt-get install minicom
Launch Minicom with the following:
pi@raspberrypi ~ $ minicom -b 9600 -o -D /dev/ttyAMA0
Once in the Minicom terminal, we can enter command mode by typing $$$ followed by Enter.You should then see the response OK. We then need to send our command within a few seconds. Command mode is used to set things like the scroll speed, or switching on and off individual pixels. The full list of commands can be found at: http://openmicros.org/index.php/articles/94-ciseco-product-documentation/raspberry-pi/280-b040-pi-lite-beginners-guide#examples.
If you just start typing into the terminal window, you'll see whatever you type scroll across the Pi-Lite display. This is how we're going so show our secret messages—by writing to the serial port.
We want to make our message encoder flexible enough that we can change it to suit the secret language we use to communicate with our fellow agents. In this example, we are going to use Morse Code notation as our communication method.
Morse Code, created by Samuel Morse, was designed to transmit a string of letters across telegraph wires to form words and sentences, with frequently used letters having short codes and less frequently used letters having longer codes. Each letter's code is a sequence of dots and dashes, which could be heard audibly and decoded at the other end.
In our project, we're going to represent these dots and dashes visually in order to transmit our message.
First we need to write a script that will take our sentence or string of letters and convert them to an encoded output. The script below will allow you to change the code represented by each letter to something different if you decide to use a different encryption method.
In nano, enter the following Bash script and save it as text-encoder.sh:
#!/bin/bash
#read the input parameter
sText=$1

#replace all spaces with an underscore
sText=$(echo ${sText//' '/_})

#get the string length
nLen=$(echo ${#sText})

#add each character to an array
aText=()
for i in $(seq 0 $(($nLen - 1)))
do
   aText+=(${sText:$i:1})
done

#build the character encoder
#spaces are encoded as ~
declare -A asEncode
asEncode=([_]='~'
        [A]='.-'
        [B]='-...'
        [C]='-.-.'
        [D]='-..'
        [E]='.'
        [F]='..-.'
        [G]='--.'
        [H]='....'
        [I]='..'
        [J]='.---'
        [K]='-.-'
        [L]='.-..'
        [M]='--'
        [N]='-.'
        [O]='---'
        [P]='.--.'
        [Q]='--.-'
        [R]='.-.'
        [S]='...'
        [T]='-'
        [U]='..-'
        [V]='...-'
        [W]='.--'
        [X]='-..-'
        [Y]='-.--'
        [Z]='--..'
        [a]='.-'
        [b]='-...'
        [c]='-.-.'
        [d]='-..'
        [e]='.'
        [f]='..-.'
        [g]='--.'
        [h]='....'
        [i]='..'
        [j]='.---'
        [k]='-.-'
        [l]='.-..'
        [m]='--'
        [n]='-.'
        [o]='---'
        [p]='.--.'
        [q]='--.-'
        [r]='.-.'
        [s]='...'
        [t]='-'
        [u]='..-'
        [v]='...-'
        [w]='.--'
        [x]='-..-'
        [y]='-.--'
        [z]='--..'
        [0]='-----'
        [1]='.----'
        [2]='..---'
        [3]='...--'
        [4]='....-'
        [5]='.....'
        [6]='-....'
        [7]='--...'
        [8]='---..'
        [9]='----.'
        [.]='.-.-.-'
        [,]='--..--'
        [:]='---...'
        [?]='..--..'
        [-]='-....-'
        [/]='-..-.'
        [=]='-...-'
        ["'"]='.----.')

#encode the text for outputing
sOutput=""
for i in $(seq 0 $((`echo ${#aText[@]}`-1)))
do
   sOutput=$(echo $sOutput ${asEncode[`echo ${aText[$i]}`]})
done
#restore spaces and output encoded text
echo $sOutput | tr '~' ' '
text-encoder.sh
Next we need to give the script execute permissions:
pi@raspberrypi ~ $ chmod +x text-encoder.sh
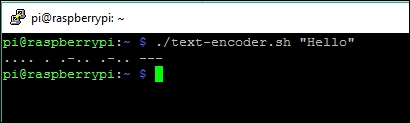
We can test our script by giving it some text and display the encoded output:
pi@raspberrypi ~ $ ./text-encoder.sh "Hello"
Which should give the following Morse Code response:
.... . .-.. .-.. ---
Here's what it looks like in the terminal window:
Note
If you want to explore more encryption techniques, which can be used to replace the letters in the above script, then visit Tyler Akins' Cypher Tools site at http://rumkin.com/tools/cipher, which is a great resource for many types of encoding.
Now that we can generate our secret messages, we need to be able to send them to the Pi-Lite display:
First set up the serial port for the right data rate supported by the display:
pi@raspberrypi ~ $ sudo stty -F /dev/ttyAMA0 9600
Now send some encoded text to the display via the serial port:
pi@raspberrypi ~ $ ./text-encoder.sh "The lagoon is green today" > /dev/ttyAMA0
Obviously, this will just display the message once, but ideally, we need to just run it continuously, unattended. So, let's write a simple script that will loop endlessly, ready for when our fellow agents turn up to pick up the message:
#!/bin/bash

sEnc=$(./text-encoder.sh "The breeze is blowing east")
echo $sEnc
sudo stty -F /dev/ttyAMA0 9600
while true; do
  echo -e -n "#START# " >/dev/ttyAMA0
  echo -e -n $sEnc > /dev/ttyAMA0
  echo -e -n "#END# " > /dev/ttyAMA0
  sleep 30
done
Note
As an alternative to the Pi-Lite device, you could also try Pimoroni's smaller Scroll pHAT device, which also fits nicely on a Pi Zero. You need to talk to it through the I2C interface, so changes to the previous code examples will be required (https://shop.pimoroni.com/products/scroll-phat ).