Game Modes in Unreal Engine are a set of instructions that inform the engine which objects to use for things such as the players default pawn (default character to use), the game rules, and what state objects to use for processes such as HUD, Player states, and Game states. We will not only be creating custom game modes but also custom objects for each of the game mode classes. To create a game mode, simply open the blueprint wizard by right-clicking on the appropriate content browser folder and choose to create Game Mode Blueprint.
As we are creating a new category of objects, I would also advise creating a Game_Mode folder in our content browser. Name this new game mode BH_GameMode and save it within the new Game_Mode folder. When you open the game mode blueprint, you will be presented with the standard Blueprint window. You will notice that this object does not have many components, only itself and a default scene root. This is because game modes will not be placed in the scene, they are simple objects that we will set as an engine parameter and do not require a physical form within a 3D scene.
By selecting the BH_GameMode(Self) component, you will see the Details panel houses and the aforementioned game mode classes. Under the Classes section, in the Details panel, you can see a field titled Default Pawn Class. Click on the drop-down field and select our BH_Character. This drop-down list will automatically populate with any objects that can be used as
Default Pawns. We will eventually be setting most of these class references to our custom objects, but for now, everything else can remain as is. What we have just done is create a game mode that informs the engine that when a controllable player is spawned into a world to use our BH_Character object by default.
All we need to do now is set the game mode in the engine so that when we press the Play button our BH_Character is used instead of the free flying first person avatar. To do this, go to the Edit drop-down menu at the top left hand side of the Editor window; from this window, select project settings. This will bring up a Project Settings window. This is where you can set a multitude of options on both your current project and the engine itself.
On the left-hand side of the panel is a list of categories, one of which is Maps & Modes; choose this now. Here, you can set which Map to use, how Local multiplayer will be laid out, and the Default Game Mode. We are only concerned with the latter at this stage. Under the Default Modes section, you can see a Default Game Mode field, click the drop-down menu, and select our BH_GameMode.
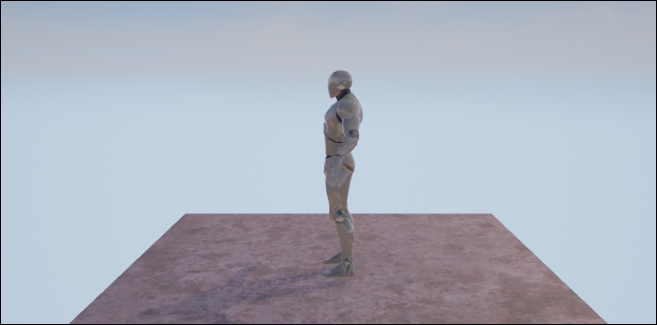
Now, navigate back to the main level editor window and select the Player Start object within the scene. This will be where our player spawns. Rotate this Player Start object to 90 degrees on the z-axis. This will rotate the Player Start so that the arrow is pointing up the y-axis. Now, press play and you should see our new character standing side on to the camera!