
A common method to accessing host systems is by identifying and exploiting vulnerabilities in the operating system, installed applications, and other programs. Tools such as Nessus are automated methods to evaluate systems for known vulnerabilities. This section will cover how to install and run Nessus against a target system. Exploitation tools covered in Chapter 3, Server-side Attacks, can be used to take advantage of vulnerabilities identified by Nessus.
Nessus does not come pre-installed with Kali. You will need to obtain a registration code from Tenable to use Nessus. Tenable gives a home feed option, but is limited to scanning 16 IP addresses. If you would like to scan more IPs, you must purchase a professional feed from Tenable.
Nessus HomeFeed is available for non-commercial, personal use only. If you will use Nessus at your place of business, you must purchase Nessus ProfessionalFeed. To get an activation code for Nessus go to http://www.tenable.com/products/nessus/nessus-homefeed.
Nessus does not come preloaded with Kali and will need to be installed. You will need to download and install Nessus. There is not a version specific to Kali Linux, but the Debian 6.0 version works well.
- Download Nessus for Debian. Go to the site http://www.tenable.com/products/nessus/select-your-operating-system to download Nessus for Debian 64-bit.
- Go to the directory where you downloaded Nessus and issue the following commands:
ar vx Nessus-5.2.1-debian6*

tar -xzvf data.tar.gz

tar -xzvf control.tar.gz

ar vx Nessus-5.2.1-debian6*,

tar -xzvf data.tar.gz

tar -xzvf control.tar.gz
There will now be an
etcdirectory and anoptdirectory. - Copy the
nessusdirectory in/tmp/opt/to the/optdirectory; make the/optdirectory if it doesn't exist. Issue the following commands:mkdir /opt (You may get an error stating the /opt directory exists however, move to the next command). cp -Rf /<installed folder>/opt/nessus /opt cp -Rf /<installed folder>/etc/init.d/nessus* /etc/init.d

- You can delete the contents of the Nessus download from the
/tmpdirectory. - To start Nessus, issue the following command:
/etc/init.d/nessusd start - Log onto the Nessus management interface. Open a browser and navigate to
https://127.0.0.1:8834.
The first time you log into Nessus, you will be greeted with a few welcome messages, and a SSL warning will pop up letting you know you are connecting to a self-signed certificate. After some initial self-explanatory screens, you will be prompted to enter your activation code and download the latest plugins.
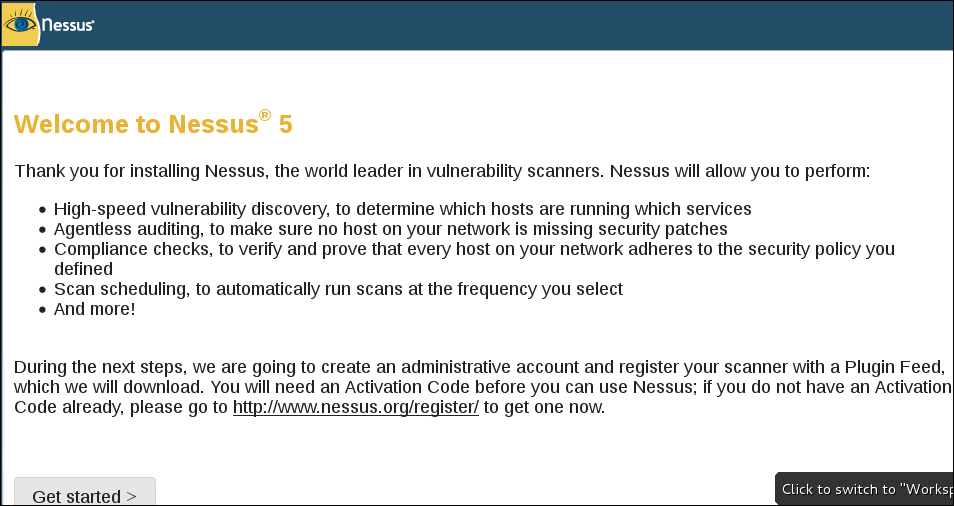
You will also set a username and password that will be used to manage the Nessus application. The following screenshots show setting up an account and providing the activation code e-mailed by Tenable after registering:


Initial download of the plugins can take some time, so be patient.

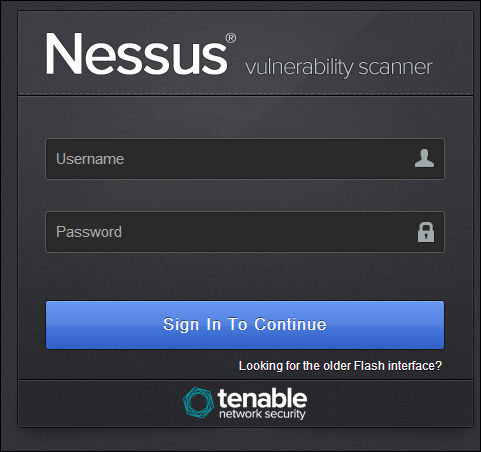
Once all the updates have been downloaded and initialized, you will be presented with the login screen. Use the username and password you set up during the initial installation.
To start a scan, click on the Scan tab on the top ribbon and select New Scan. You will be then prompted to enter details of the target. You will also be asked to select what template you would like to use. Nessus has a few built-in templates. In this example, we are choosing external network scan.
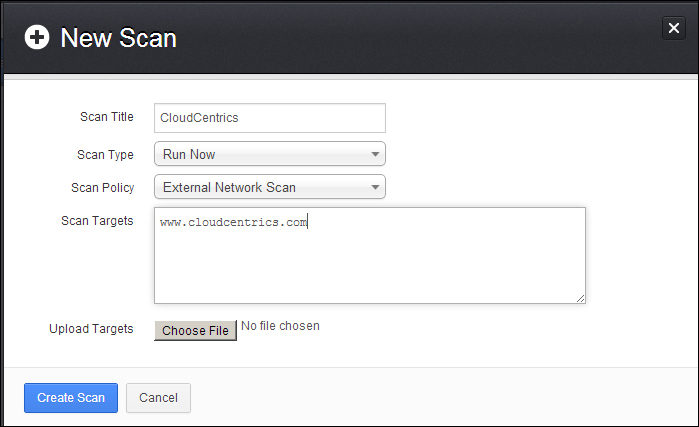
After you select Create Scan, the scan will launch at the scheduled time. The default schedule will run instantly, so in most cases, the scan will start to immediately run.

After the scan is completed, the results can be viewed by clicking on the Results tab. This will provide the administrator a report of what Nessus found.

We can examine the completed scans as well as any results collected so far in any active scans as shown in the following screenshot:

As a Penetration Tester, you want to pay attention to any vulnerabilities. Vulnerabilities identified by their Microsoft patch or vulnerability reference number can be searched in the Metasploit framework to use an exploit on a target host. Refer to Chapter 3, Server-side Attacks, on how to use Metasploit for more information.
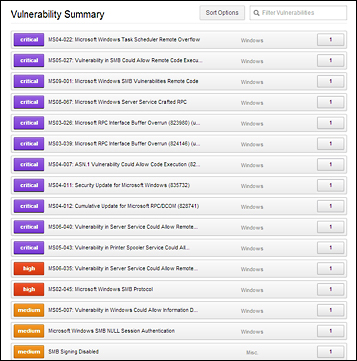
The preceding example shows some extremely dangerous vulnerabilities (don't worry, we went back and patched the systems). All of these vulnerabilities can be used to exploit a system using Metasploit or other attack tools. For more on exploiting vulnerabilities found by Nessus, see Metasploit in Chapter 3, Server-side Attacks.
Nessus offers options for exporting details about vulnerabilities identified. You can export findings as HTML, CSV, PDF, and many other common file types. To export findings, go to the Results section and select a completed scan. The third tab on the left provides options for exporting scans, as shown in the following two screenshots:

Nessus Export Scan