
Some network switches don't allow the connected computers to set their own static IP address if they are using a dynamic configuration, so in that case we should proceed to the switch's configuration and set up the static IP addresses ourselves. The following procedure relates to the HP 1910-8 managed switch from your parts list. First, remove your router's Ethernet cable from the switch (see the following figure); otherwise, you will be prompted (during attempted login to the switch) for your router's login information:
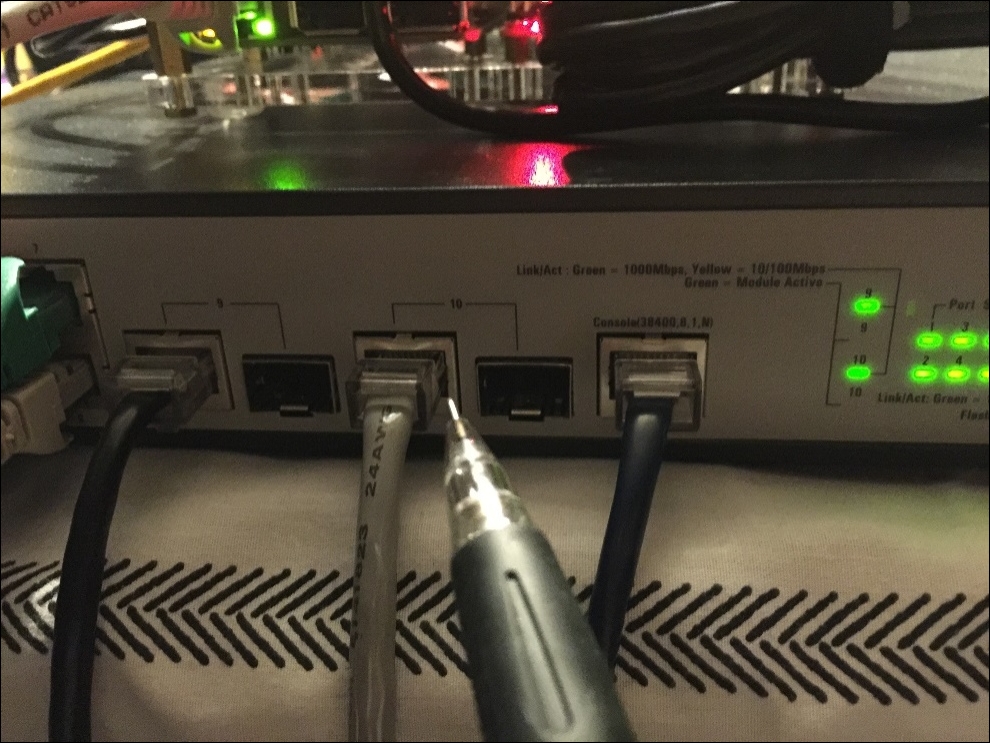
Router Ethernet cable
Next, connect the other end of the switch's Ethernet cable to the main PC USB port (see the following figure). This special cable is supplied with the switch:

Switch Ethernet cable
The following figure shows the extra Ethernet patch cable extending from the main PC Ethernet port, and connecting to the switch's Ethernet port used for communicating with the Pis:

Main PC Ethernet cable
Unplug the switch's power cord for a couple of seconds, and then reinsert the plug. This action causes the switch to reboot. The reboot will last approximately 2 minutes, as the switch learns/generates the MAC addresses of the two Pis, and allows access to the switch's configuration window. Once the switch comes back online (as indicated by the green blinking LED lights on the front panel), go back to your main computer, and open a web browser (in the Windows environment) of your preference. Enter the switch's IP address in the browser (consult the user's manual for the login IP address for your device; the author's switch's IP address was 169.254.76.230). Upon entering the IP address, a login window appears. Enter admin for the username, and then type the password shown on the right side of the input field.
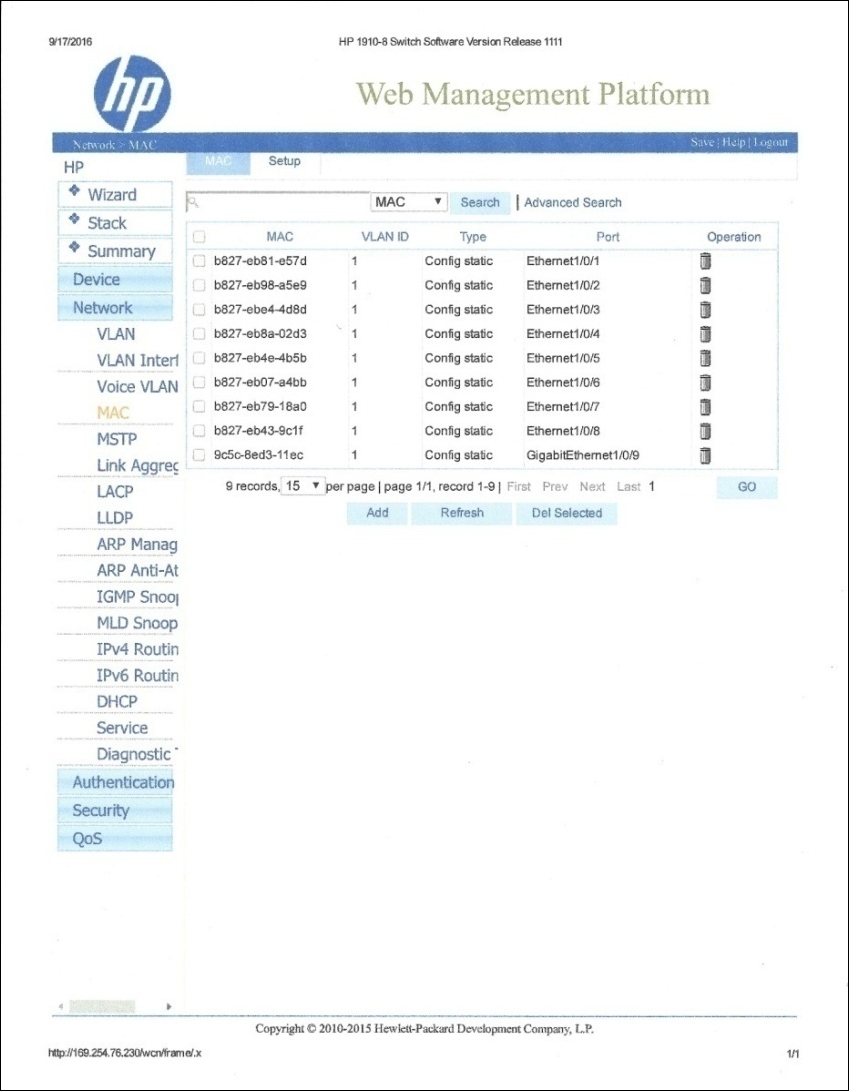
You now have access to the switch's configuration window depicted in the following screenshot. Click on the Network tab. You are now presented with a drop-down menu. Click on the MAC tab. This opens a window similar in appearance to the screenshot. The screenshot shows the MAC address settings of the author's eight Pis in his Pi2 super cluster. Initially, the addresses were learned, and designated dynamic. You should convert these addresses to the static setting.
You achieve this by clicking on the Add button and then filling in the appropriate fields to make each address static. At this point, however, you will see only two MAC addresses, as you have not yet powered up the remaining six Pi2s or Pi3s for their MAC address to be learned:
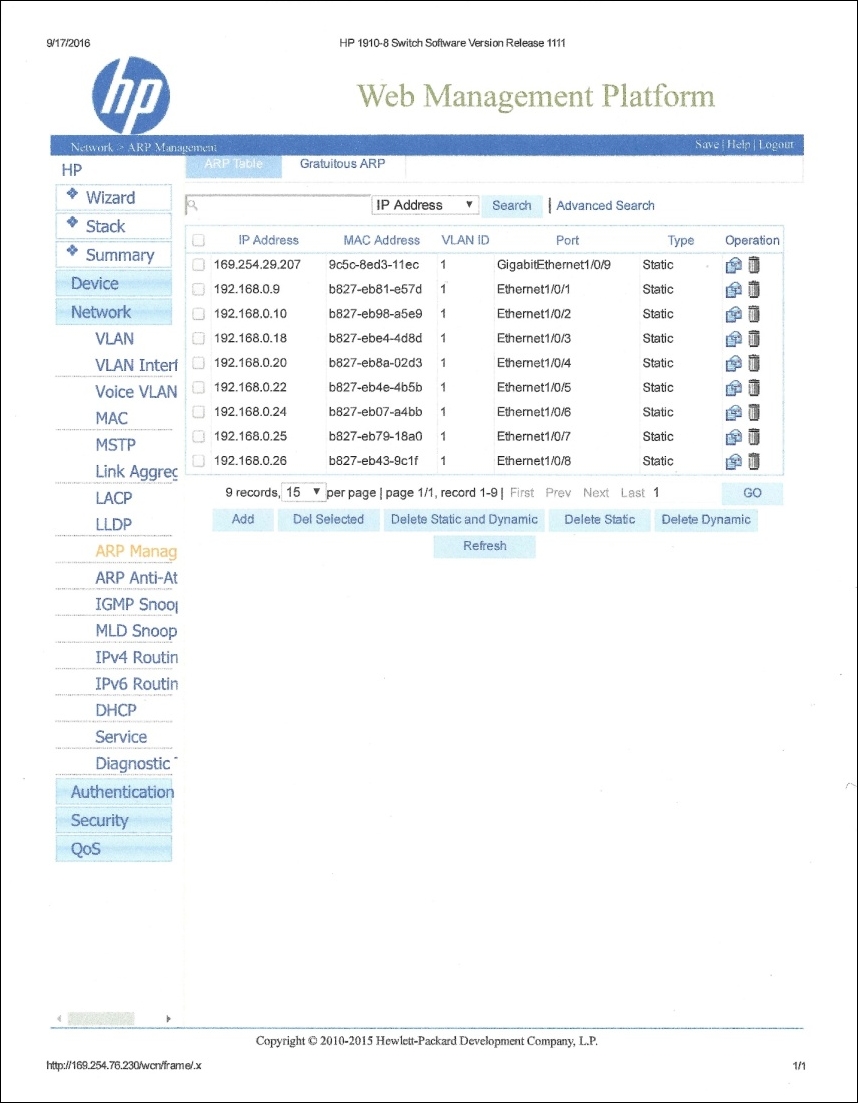
The next step is to type in the static IP address associated with the static MAC address. Move down the menu to ARP Managed, select this tab. A window appears allowing you access to the IP settings.
Again, click on the Add button, and fill in the appropriate fields for making the address static. Save these settings by clicking on the Save link at the top-right-hand side of the web page. Wait a few moments while the information is being saved, then click on the Logout link. If you encounter difficulties, contact HP customer service. They will be more than happy to assist you:
Close the browser and unplug the switch's power cord. Re-insert the router's Ethernet cable into the switch, and disconnect the switch's Ethernet cable from the main PC. Re-insert the switch's power cord. This will reboot the switch, which takes a few minutes. We are now poised for some intense geeking. Okay, so return now to your main PC, and check that your Pis are still alive. Open the terminal window in the Linux environment, and enter ping 192.168.0.9 (or your equivalent master IP address) to see whether the master Pi responds. If it is still alive, you should see a series of statements, as shown in the following screenshot. Terminate the ping run by entering
Ctrl+C
. Do this also for the slave Pi:

Ping responses displayed in terminal window
Once you have determined that the Pis are alive, ssh [email protected] into the master Pi node. Once you are in the master node, ssh into the slave Pi node using the command you used before, that is, ssh [email protected]; however, because we are using the master node, and because we are using the pi user, it is not necessary to use pi@ before the IP address. So instead type ssh 192.168.0.9 and it will log you in from the master node to the slave node (see command statements highlighted in red in the following screenshot):

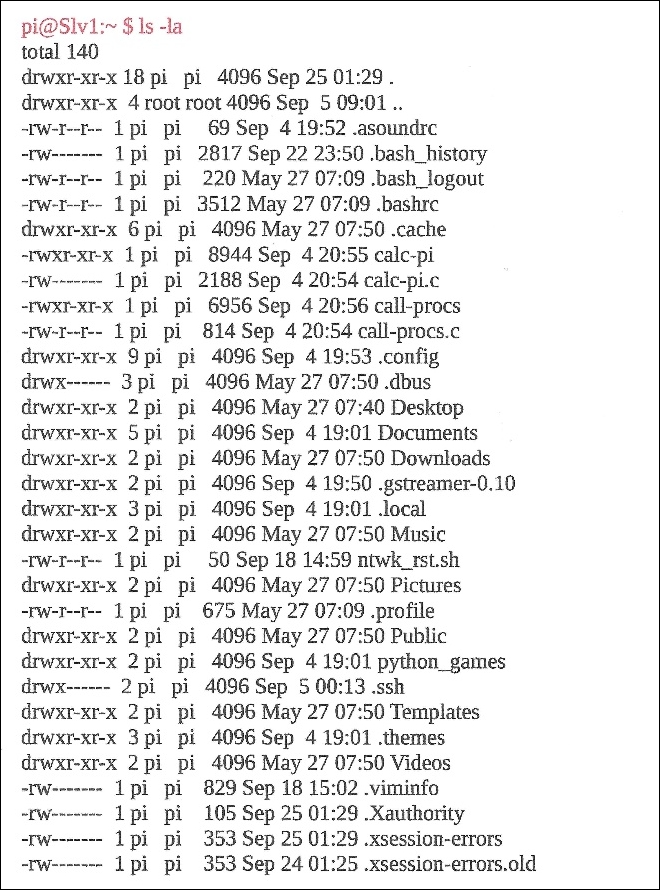
Go ahead and list the files on the slave node (see the following screenshot):
Now ssh back into the master node:

Go ahead and list the files on the master node (see the following screenshot):


This is great, because you can now access one node from another node, and you will also be able to do this from any node in the cluster. This also means that you can log in to any of the nodes in the cluster and reboot, sudo reboot, or shut them down, sudo shutdown -h now, remotely, without having to plug in any of the nodes into the Pi Monitor. Now, having to ssh into IP addresses all the time can get rather tedious, so let's try something new; that is, let's give each node a short name, such as Mst0 for master and Slv1 for slave node1, which will now allow you to ssh into a name instead of an IP address. To accomplish this, you will need to modify the hosts file.