
This chapter discusses how to create a mountable drive on the master node. Effective, error-free operation of the Pi supercomputer requires that the slave nodes have the ability to mount the master node export drive/folder that contains the MPI code, so that each node will have their own identical code for carrying out a given task. In addition, you will be introduced to the powerful -H command, which can be employed to willfully task any or all threads, nodes, and cores to solve a given problem.
In this chapter, you will learn:
- How to use the
mkdircommand to make anexportdrive (used as an MPI code repository) on the master node. - How to use the
chowncommand to change ownership of theexportdrive from therootuser to a new user. - How to use the
rpcbindcommand, which will allow the master Pi to export theexportdrive on the master node to the slave nodes. - How to edit the
exportsfile that will facilitate exporting theexportdrive on the master node to the slave nodes. - How to use the
nfs-kernel-servercommand. - How to edit the bootup script
rc.localfile. On bootup, this file makes theexportdrive on the master node mountable for use by the slave nodes. - How to use the
mountcommand to manually mount theexportdrive containing the MPI codes. - How to use the
catcommand for displaying the contents of a file. - How to use the
cp -acommand to copy files/codes to theexportdrive. - How to use the
-Hcommand to task any or all nodes and cores to work on a given problem.
Go ahead now and list all the folders/files in the root directory (see the following screenshot):
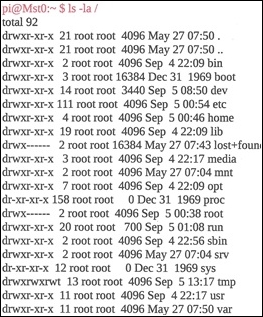
Let's now make a new drive in the root directory. We will call it beta, or whatever name you prefer. Enter sudo mkdir /beta, and again list all the files in the root directory (see the following screenshot). Enter ls -la /. You see now that we have a brand new beta drive:

You now want to change the owner, because we want it to belong to the alpha user. So go ahead and enter sudo chown alpha:alpha /beta/. We use sudo because the previous ownership was the root user. Go ahead and relist the files in the root directory (see the following screenshot):

You see that beta is now set to the alpha user and alpha group. The next thing we want to do is to set up the rpcbind service. This will allow the master Pi to export the beta drive to the other slave nodes. So go ahead now and enter sudo rpcbind start. We also want to make sure that this service is always running every time you bootup the master Pi, so use the command; sudo update-rc.d rpcbind enable. This command will set a specific service to run whenever the Raspberry Pi boots up. Next, we need to specify which folder on the master node to make available for other nodes to mount, so you need to edit the exports file. Enter sudo vim /etc/exports. This opens the file for editing (see the following screenshot). Go ahead and add the text highlighted in red:

The first highlighted statement # beta, is a comment for the beta drive. The first argument /beta, is the folder on the master node that we want to export. The second argument 192.168.0.0/24 signifies that the IP addresses ranging from 192.168.0.0 to 192.168.0.255 will be allowed to mount the beta drive. rw means readable and writable. Enter Esc :wq to save the updated file.
You now need to restart the nfs-kernel-server service. So go ahead and enter the command; sudo service nfs-kernel-server restart (the author automated this command by inserting it at the bottom of the bootup script file rc.local. See highlighted text in the following screenshot). Enter sudo vim /etc/rc.local to edit this file, and then Esc :wq. Once this runs, the drive will be mountable:

Let's test this, switch to the slave Slv1, using the command; ssh Slv1. You should now be on the slave drive as indicated by the prompt pi@Slv1:~ $. Now enter the general command for mounting the export drive. Enter sudo mount Mst0:/beta /beta (see the following screenshot):
Oops! We got an error message. The local mount point beta does not exist, so we must create this folder. Go ahead and list all the files in the root directories on the slave Pi (Slv1). See the following screenshot:
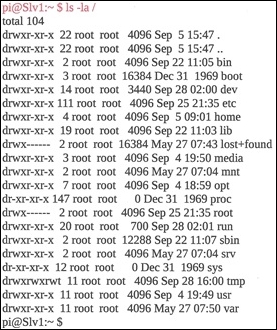
You will see that there is no beta folder. So go ahead and make a folder called beta in the root directory, similar to what you did on the master node. Enter the command; sudo mkdir /beta at the $ prompt. Next, change the owner in the group to the alpha user. Enter the command; sudo chown alpha:alpha /beta. Relist the files in the root directory (see the following screenshot):

You see now that the beta drive was created and set to the alpha user. Let's try to remount the drive. Re-enter the command; sudo mount Mst0:/beta /beta. You should not see any more errors. List the content of the beta drive:

You see that there is nothing in the drive. This is because you did not put anything in it yet. Let's do a little experiment. Switch over to the alpha user by entering the command; su - alpha, and change the directory to the beta directory, enter cd /beta. Create and edit a filename testing.x. Use the vim command; that is, enter the command; vim testing.x. Press i, and then write the phrase; Two atomic explosions..., then write and quit: Esc :wq. Relist the files in the beta drive (see the following screenshot):
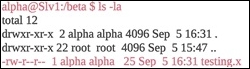
We now see the newly created testing.x file. Read the file using the cat command (see highlighted text in the following screenshot):

Enter exit and ssh into the master node Mst0, and list the files in the beta drive (see the following screenshot):

You also see the testing.x file in the beta drive on the master node. Read the content in the file using the cat command:
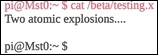
You see the same content as before, which shows that the drive was successfully mounted. Let's go ahead and run the first real test using open MPI on both the master node and the slave1 node. First, list the files in the home directory:

Here we see all the C programs and their executables. You now want to copy those files to your beta folder so that they can be accessed by all the nodes in your supercomputer. So let's once again change the user to alpha, using the; su - alpha command, and then change the directory to the beta directory by entering cd /beta. Create a new folder called gamma for storing all your future codes. Enter mkdir gamma. Re-list the files in beta (see the following screenshot), you can now see the gamma folder:

Change the directory into the gamma directory using cd gamma and copy the codes from home pi to this new code folder. At the alpha@Mst0:/beta/gamma $ prompt, enter the command cp -a /home/pi/call-procs* ./. The cp means copy. -a is an argument that uses the same permissions as the files we are copying from. The * means both the file and its executable. ./ signifies copy to this current folder. In this case, the gamma folder. Copy all your codes and their executables using this command. Now list the files to see if they were copied (see highlighted text in the following screenshot):

Excellent! The files are all there. So now go ahead and run the call-procs program on the master node (see the following screenshot). Again, the processes were called randomly. Each execution will produce a different sequence of processes:

At this point, we will make a slight modification to the processor call command, whereby you can call the processes on, not only a single node, but any of the cores/processes in the cluster (master and slaves) to assist with computation. The command is as follows:

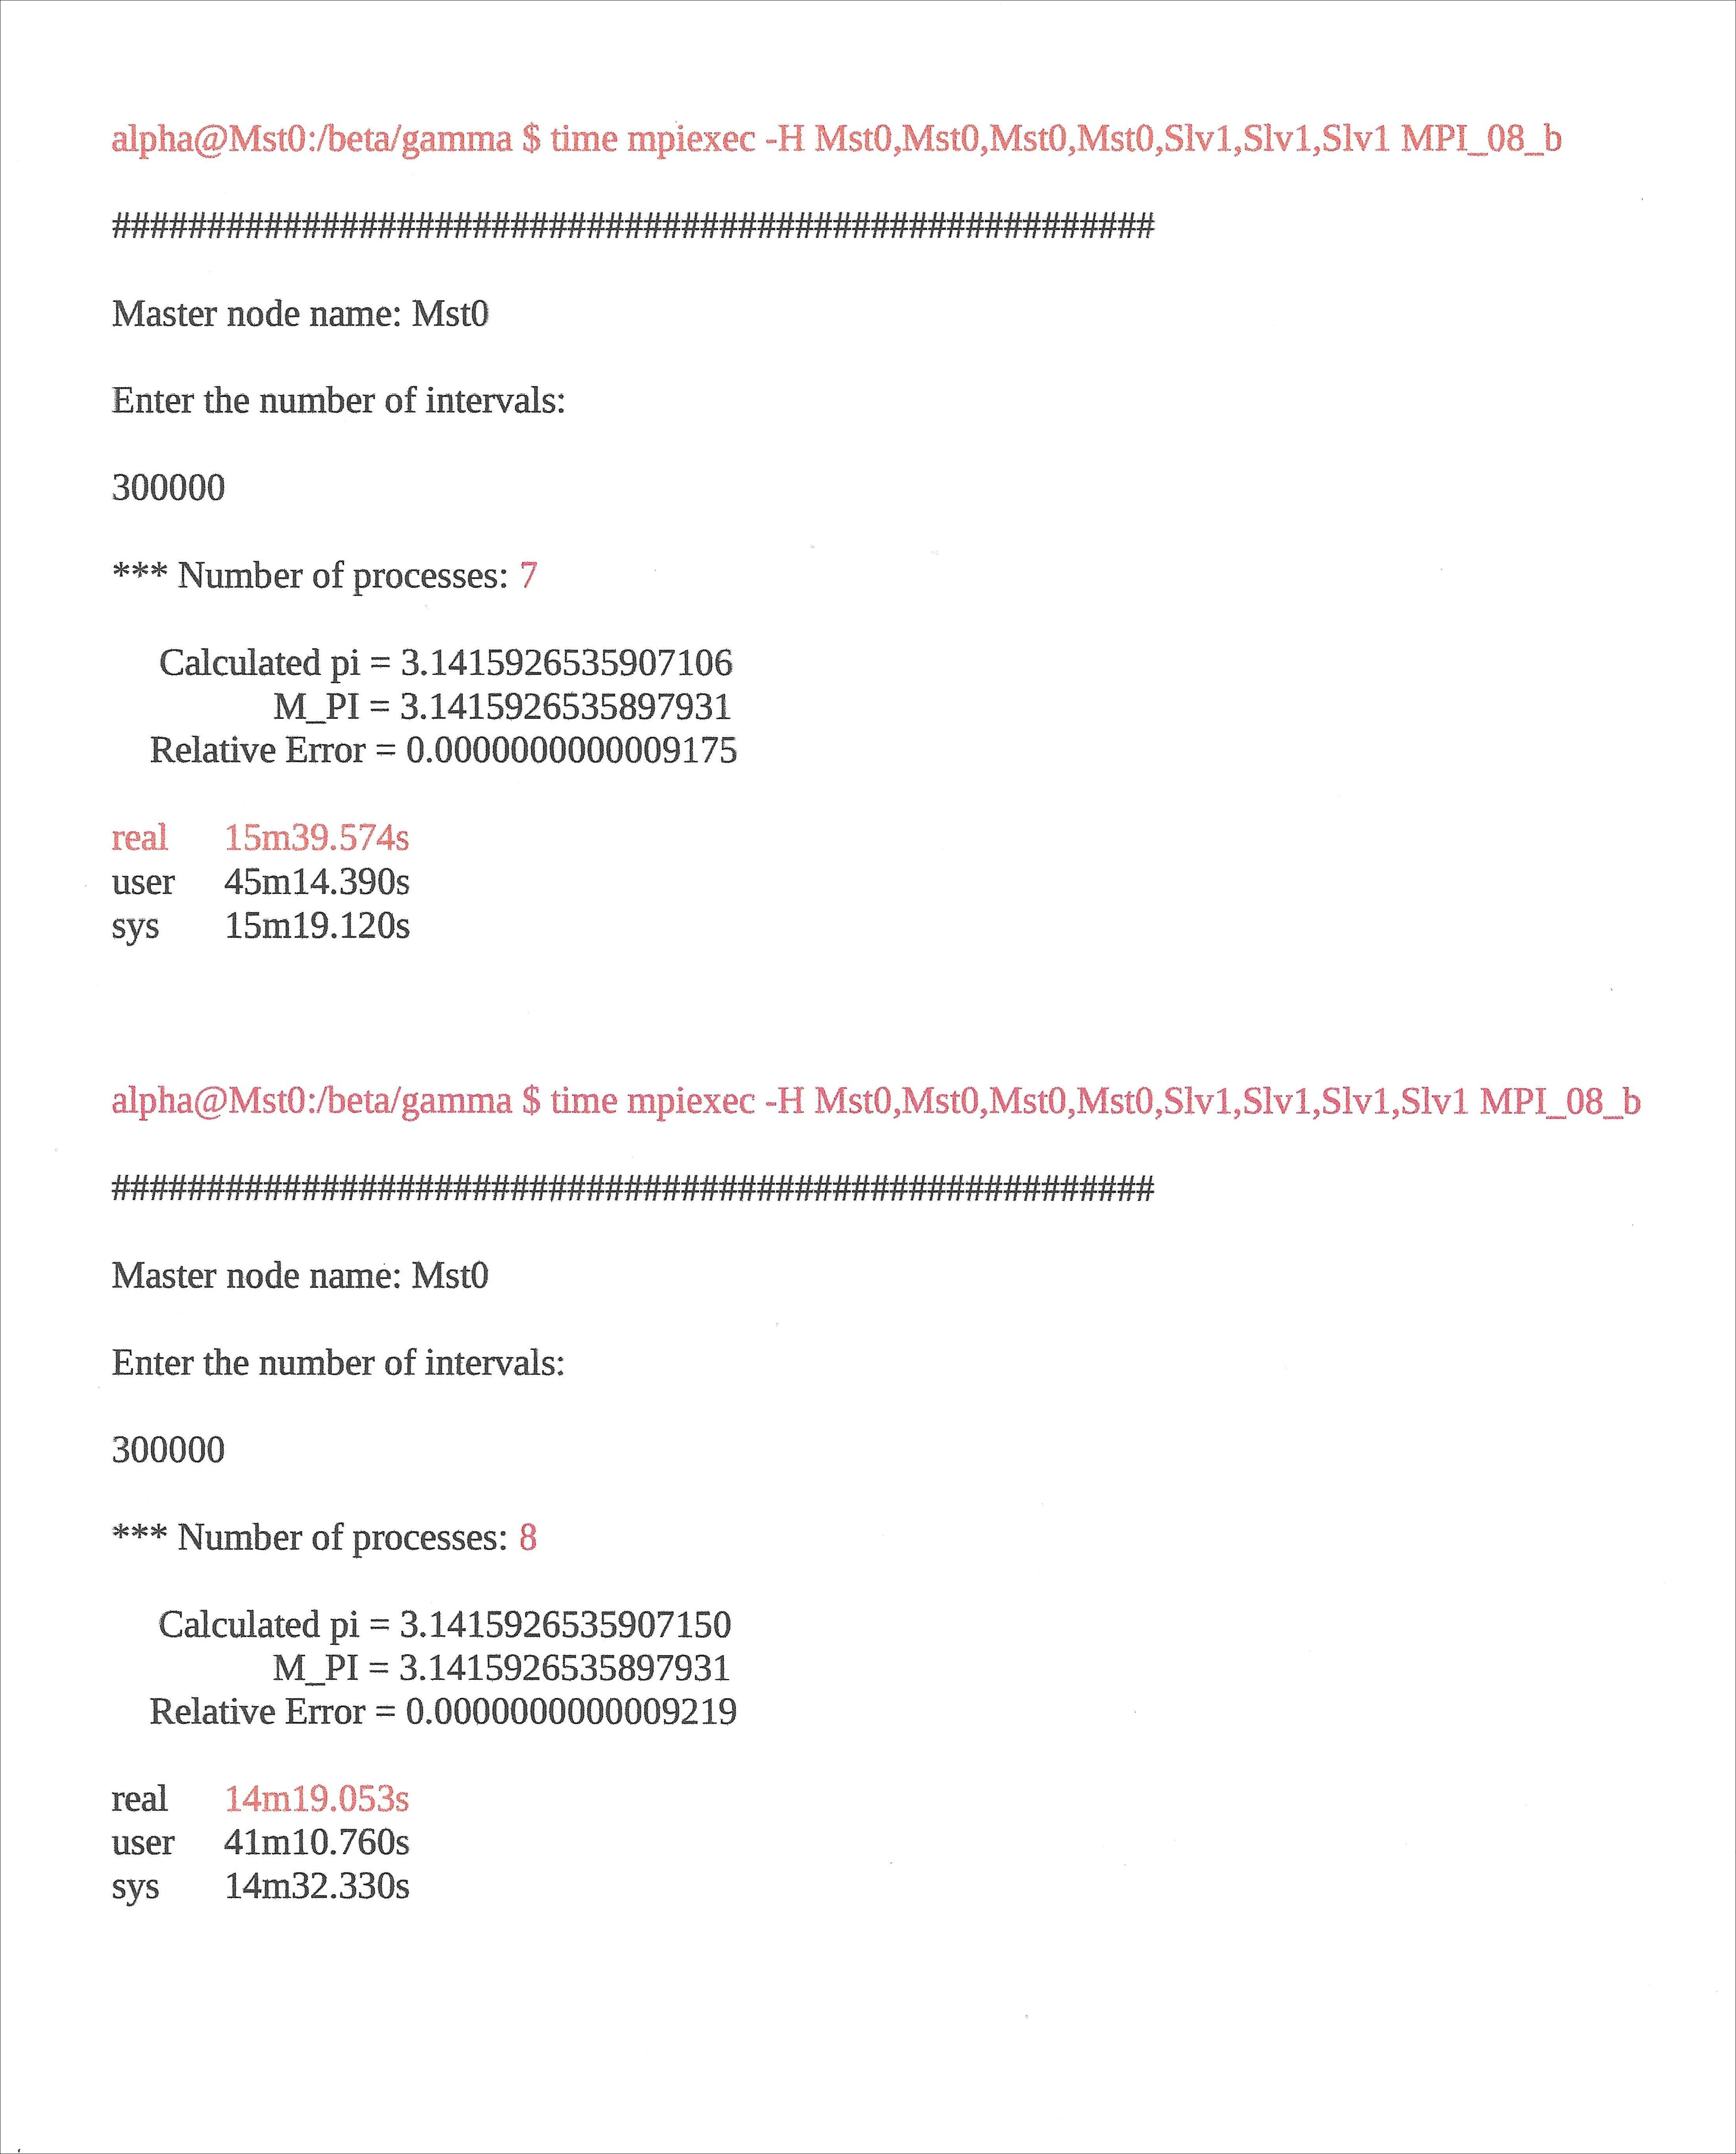
The -H signifies the host core you want to run your program on, followed by the hostname of the cores. Here, the command is calling all eight cores between the master and slave. Feel free to experiment by eliminating some of the cores/processes between the two nodes to see what happens. Let's now use this same command to instruct the cores on your two-node supercomputer to calculate π. Enter the following command (feel free to use a smaller number of iterations or intervals to reduce the initial processing time):


The elevated processing time at the transition point is, in fact, related to the latency between the communication ports in the switch. However, this problem becomes less of a factor with higher iteration values. This latency bugaboo is, indeed, a bane to high speed computing involving multiple nodes, and is a limiting factor for achieving the theoretical upper limit in supercomputing. Nonetheless, this problem can be mitigated by using state-of-the-art high speed switches:
In this chapter, we learned how to create a mountable drive on the master node. To accomplish this task, we employed several Linux commands, such as mkdir, used for making an export drive folder, chown, used for changing ownership of the export drive from the root user to a new user, and rpcbind, which allowed the master Pi to export the MPI codes to the slave nodes. We also learned how to edit the exports file that was used to facilitate exporting the MPI codes on the master node to the slave nodes. We learned how to use the nfs-kernel-server command after editing the exports file. We edited the rc.local file, which is a bootup script, that was used to make the master node mountable. We learned how to use the mount command to manually mount the export drive containing the MPI codes, cat the command for displaying the contents of files, the cp -a command for copying files/codes to the export folder, and finally, the -H command, used to task any or all cores/nodes to work on a problem. In Chapter 7, Configuring the Eight Nodes, we will discuss how to configure the eight or sixteen nodes in your Pi supercomputer.