
So let's get some content onto the screen. We have covered a lot of ground already; negotiated a couple of tricky hurdles and gained a good overview of the project. It really is time to create something more interesting to look at in the Watch Simulator than the less-than-inspiring black screen that shows the time in one corner.
Follow the given instructions to prepare the interface:
- Open a new tab in Xcode (Command-T). In the project Navigator, select the
Interface.storyboardfile from the HelloWatch WatchKit App group (make sure you don't select theMain.storyboardfrom the HelloWatch group). - From the Editor menu, select Show Document Outline if it is not selected already.
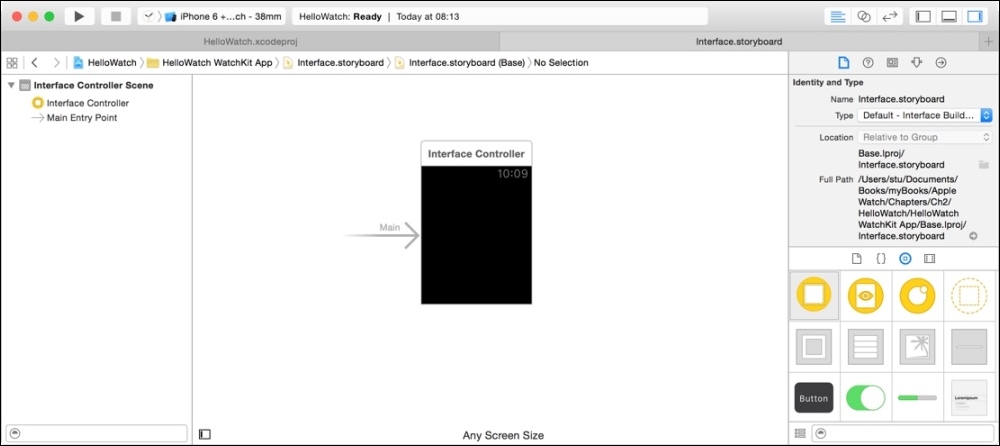
- Open the Interface Controller Scene in the Document Outline as shown, which will help you navigate around the interface as you add UI elements to it (selecting some of the smaller elements directly can get a little tricky and the outline will help you here).
- As we drag UI elements from the Object menu into the Interface Controller view, the changes will be reflected in the Document Outline.
An arrow labelled Main points to the interface, indicating that it is the app's initial controller, and thus the point at which your custom code takes over from the (many) processes that need completing to get your UI onto the watch's screen. When there are multiple interface controllers, this arrow can be moved to whichever controller should load first after app launch. If only it were this simple in iOS.
To add a button, please follow these steps:
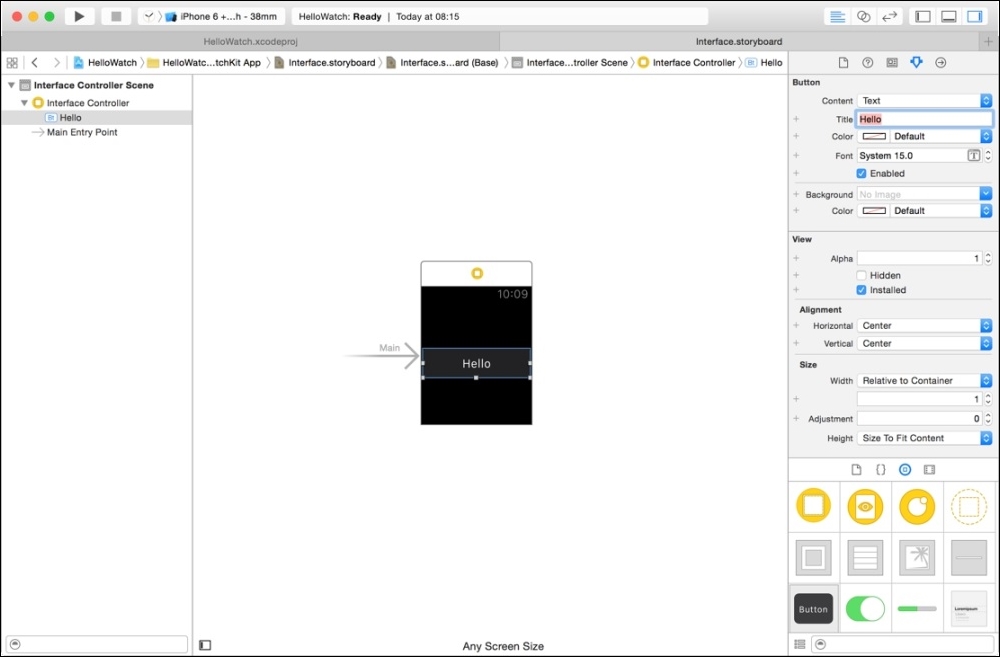
- Drag a Button object from the Objects menu onto the interface. Select the Attributes Inspector (Command-Option-4) and change the button Title to Hello.
- Set the Alignment attributes, both Horizontal and Vertical to Center.
- If you hit Run now, you'll see the app now has a functioning button, but let's hook it up to a little code first, so that we get at least a small visual result of having tapped it.
- Select
InterfaceController.swiftin the project Navigator (possibly in a new tab?) and add the following code to theclass InterfaceControllerthat was created by the template, immediately after the opening curly brace:class InterfaceController: WKInterfaceController { @IBOutlet var helloButton: WKInterfaceButton! - Delete the functions
willActivate()anddidDeactivate(), as we will not be using them here. - Add the following function to the code after the
awakeWithContextfunction:@IBAction func helloButtonTapped() { helloButton.setTitle("World") }
Now we have an instance variable, helloButton, by which we can refer to the button, and a method, helloButtonTapped(), that it will call. Your class should now look like this:
class InterfaceController: WKInterfaceController {

@IBOutlet var helloButton: WKInterfaceButton!
override func awakeWithContext(context: AnyObject?) {
super.awakeWithContext(context)
}
@IBAction func helloButtonTapped() {
        helloButton.setTitle("World")
    }
} However, we still need to connect the button to the relevant sections of code.
- Open the assistant editor (Command-Option-return) to display the source code alongside the interface, Control-click on the
helloButtonyou have just created in order to bring up the connections panel, and drag from the New Referencing Outlet circle to thehelloButtonvariable in the source code: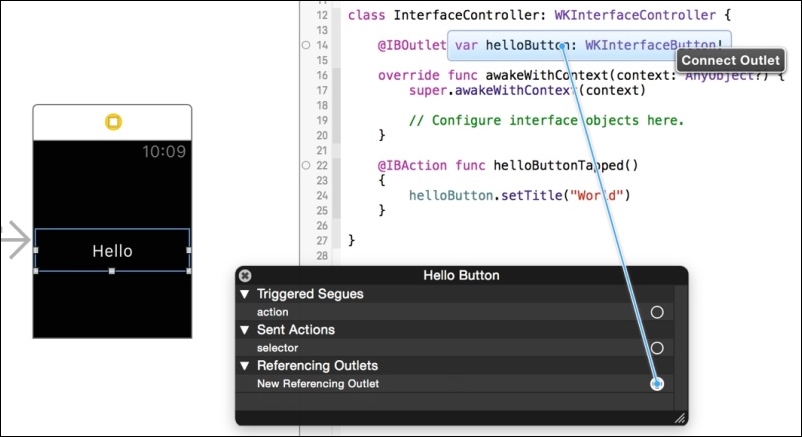
- Do the same to connect a selector from the connections panel to the
helloButtonTapped()function.
As the number of UI elements increases and the interface becomes crowded, you may find that the easiest way to do this is to Control-drag from the button in the Document Outline to the source code in the assistant editor.
Now when you run the app, you will see that the title of the button changes when you tap it; from Hello it turns to World.
Congratulations! You have designed, coded, compiled, built and run an app. Everything from here on in is just building upon the foundations you have just laid. In common with every Hello World application ever written, you won't find many buyers for this one, but we have covered some important material.
And we're not done yet.