Chapter 39. Office Client Configuration of PowerPivot and Power View
With three released versions of PowerPivot, it can be confusing as to which version to choose and what the process for implementing them is. In this chapter, we will clear up the confusion and walk through the implementation of the PowerPivot version 2 for Office implementation.
The topics include:
What you need to get started and where to get the pieces
The Light-Up story for PowerPivot and Power View in Office 2013
Power View Implementation
Upgrading versions of Office in an enterprise can prove challenging; however, in order to capitalize on the latest and greatest features you must have the latest and greatest product. When PowerPivot version 1 was first released, it was a little known add-in to a highly saturated product. Excel macros and add-ins had long since peaked and essentially jumped the shark. People were finding ways to leverage the newer native functionality rather than looking for an add-in to solve a specific, singular need.
Then along came PowerPivot, which by the nature of being a new product integration from Microsoft directly garnered some attention—but it wasn’t until the product reached its adolescence with PowerPivot version 2 and the addition of Power View that people truly stopped and took notice. Often, executives are still a bit leery to make a real commitment to a technology that is still a separate download and where the sexy new feature is only available in SharePoint—the exception being that you can do an export from SharePoint to PowerPoint, if you are able to connect to the data sources.
A new dawn is about to break on the client side with PowerPivot version 3, as Power View moves out of being a separate product and is now a native feature of Office 2013. While still a COM+ add-in, it is now a native feature of the product that only needs to be activated to operate.
Getting Started
This book covers examples for SharePoint 2010 and 2013, but because at the time of this revision, 2013 has not yet been released to manufacture. We are therefore going to cover the requirements of the product that is designed to be used against SharePoint 2010, which is PowerPivot version 2.
PowerPivot Version 2
Unlike the server-side implementation of PowerPivot, PowerPivot for Excel can be installed into any version of Office 2010 in both 32-bit and 64-bit modes. There are some prerequisites that must be met before performing the installation however:
For Windows Server 2008 and Windows Vista, there is a required platform update
Once the prerequisites have been met and a version of Office 2010 is installed, you can download and install the “Microsoft SQL Server 2012 PowerPivot for Microsoft Excel 2010” package.
From the downloaded package, run the installer and you will then find that there is a new tab in your Excel ribbon called PowerPivot, as shown in Figure 39-1.

The Light-Up Story for PowerPivot and Power View in Office 2013
As previously stated in Chapter 30, PowerPivot for Excel and Power View are now COM+ add-ins out of the box in the Office 2013 version of Excel. As this book is being written, the Office 2013 Preview is currently public and in most cases, people currently have both Office 2010 and Office 2013 Preview installed. This has led to a coexistence that can be confusing at times.
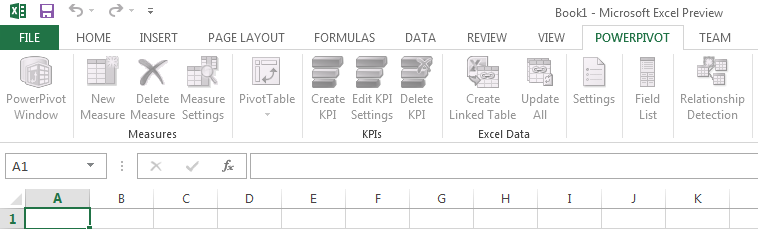
When Excel 2013 is installed on a client that already contains Excel 2010 and PowerPivot version 2, the user experience is a bit puzzling.
As you can see from the ribbon in Figure 39-2, PowerPivot appears to be nonfunctional. This is not the case, but instead is simply the version 2 PowerPivot showing up in Excel 2013 and the product being smart enough to know that it cannot interoperate with the older version. Optimally, this ribbon should be hidden, but as of when this book was written, that is not an option.
Additionally, Power View shows up upon install (see Figure 39-3), but is not clickable without activation. If you attempt to use Power View before the add-in is active, you will get the error in Figure 39-4.

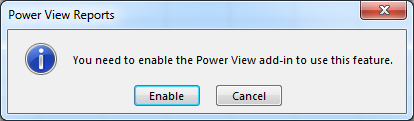
If you click to enable Power View you will be prompted to install Silverlight if you have not already done so (see Figure 39-5).
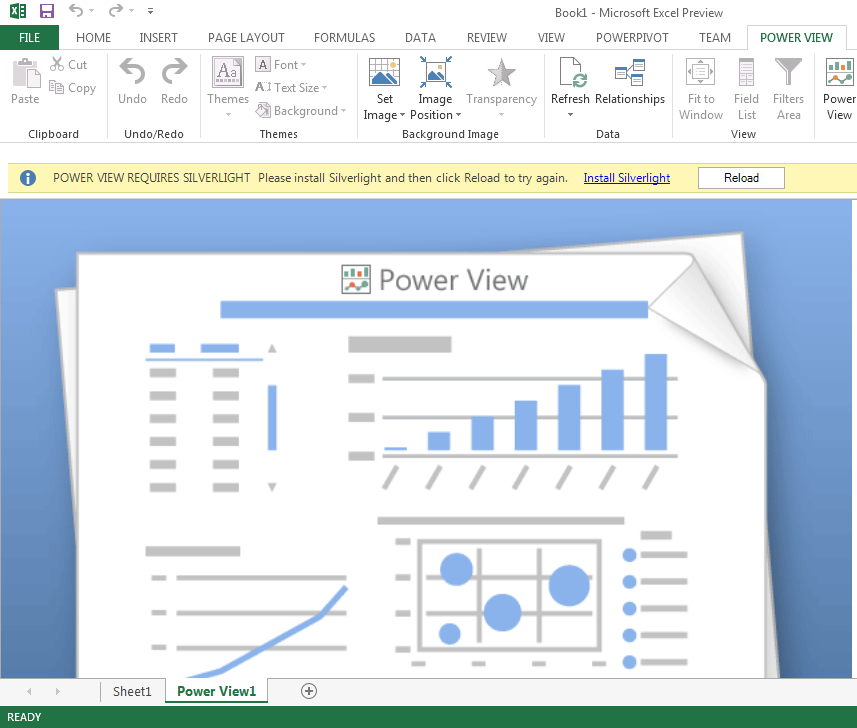
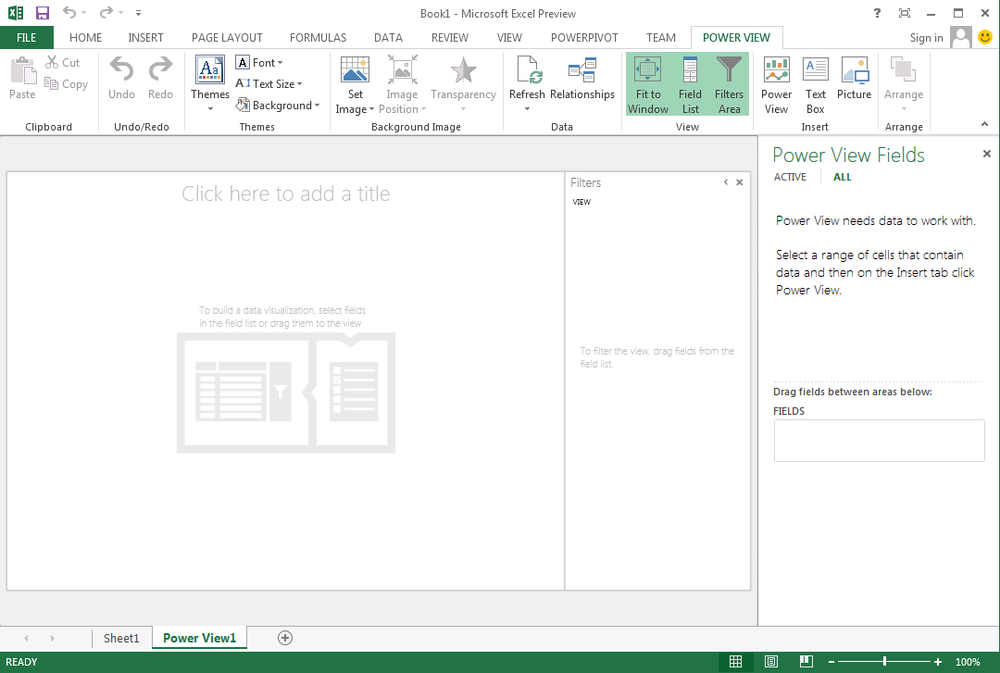
After installing Silverlight and clicking reload, you will be able to select data to add to a Power View sheet, as shown in Figure 39-6.
The reason for running both Excel 2010 and Excel 2013 at the same time is to be able to work on both version 2 and version 3 PowerPivot and Power View models from the same client. If you disable the PowerPivot version 2 add-in in the Excel 2013 client, it also disables it for the Excel 2010 client. This is not an optimal user experience either.
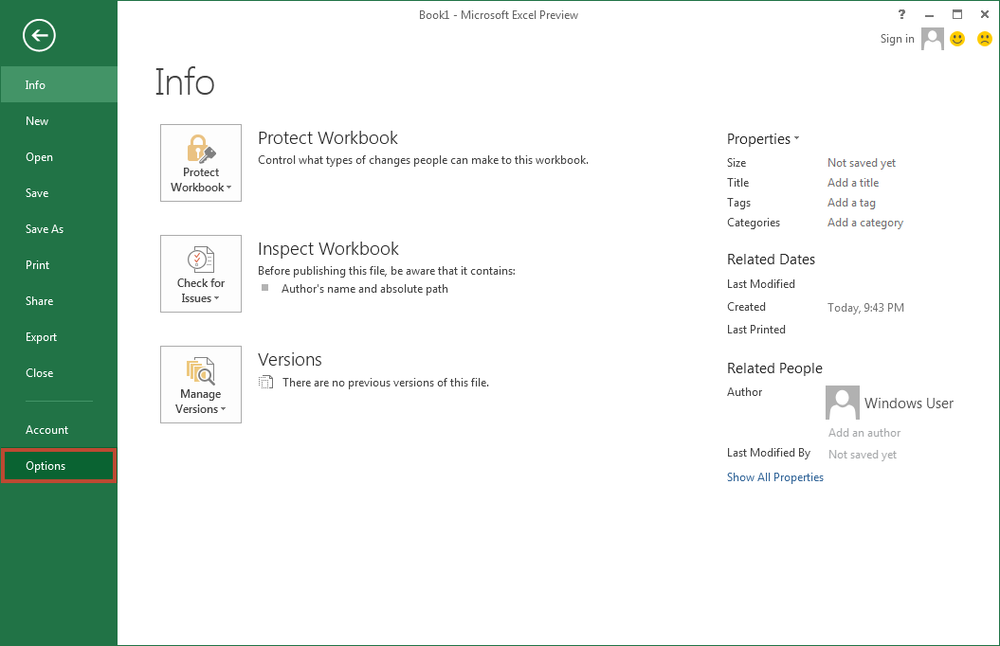
To enable the PowerPivot add-in for Excel 2013, you will need to open Backstage by clicking on File → Options (see Figure 39-7).
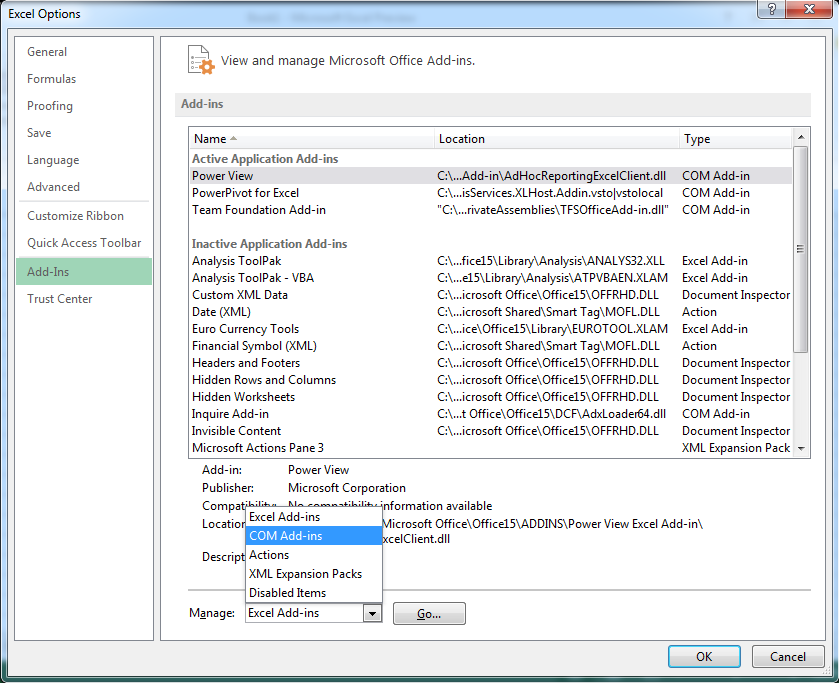
From the Excel Options menu, select Add-ins and change the Manage option to COM Add-ins (see Figure 39-8).
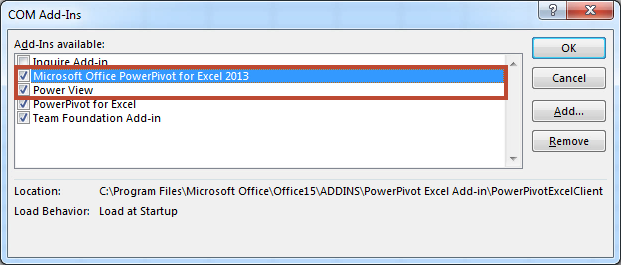
To activate PowerPivot and Power View, select them in the Add-ins window and click OK (see Figure 39-9).
Once this is completed, you will see two PowerPivot tabs in your ribbon with the correct version now lit up (see Figure 39-10).

Power View Light Up on SharePoint
The Power View implementation is uncomplicated, but it seems to remain a source of confusion and requires troubleshooting in many environments. The key to successful deployment of the Power View solution is to ensure that the Microsoft SQL Server 2012 Reporting Services add-in for SharePoint is installed on all servers that run the Web Role.
Note
As a general rule, it is a good practice to install this on all web and application servers in your farm to ensure that if you turn on the Web Role on any of them, you will not run into any issues.
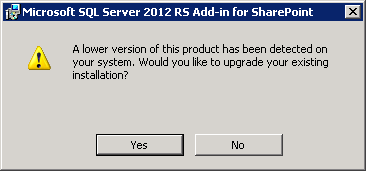
If you have a previous version of the Reporting Services add-in for SharePoint installed, the upgrade process is fairly straightforward. You can deploy this add-in either from your SQL Server Setup media or by downloading the add-in directly from Microsoft as an independent installer package.
When you launch the installer, if you have a previous version you will be prompted with the message in Figure 39-11.
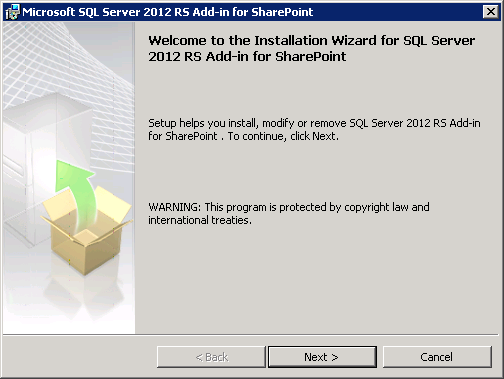
Clicking Yes will take you into the installer (see Figure 39-12).
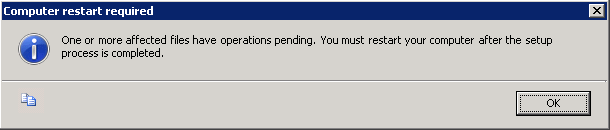
Once complete, you will be prompted to restart your system (see Figure 39-13).
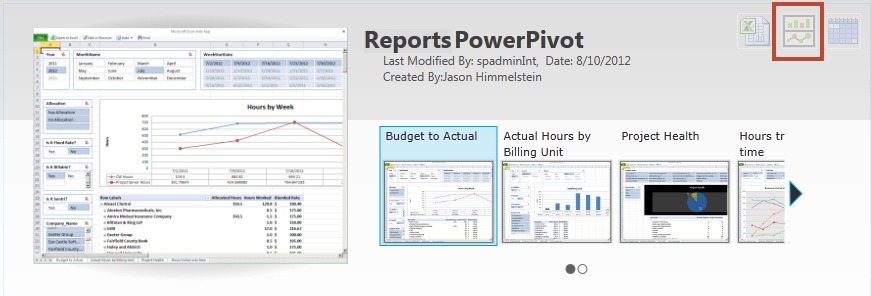
When this is successfully done on all servers running the Web Role, you will notice that the Power View icon will show up in your PowerPivot Gallery, as shown in Figure 39-14.