In this chapter, we will talk about a very important part of this book, creating a web page that can control different kinds of devices from a dashboard. In an automated home there are different kinds of devices that could be controlled, for example: lamps, doors or windows, washing machines, and so on.
In this chapter, we will cover the following topics:
- Configuring MySQL database server
- Installing phpMyAdmin for administrating databases
- Datalogger with MySQL
- Dimming a LED
- Controlling the speed of a DC motor
- Controlling lights with electrical circuits
- Controlling door locks
- Controlling watering plants
- Remote access from anywhere to your Raspberry Pi Zero
- Controlling lights and measuring current consumption
- Controlling and monitoring Arduino, Wi-Fi and Ethernet shields, connected devices, and sensors from the Raspberry Pi Zero
In this section, you will learn how to configure MySQL server in order to create a database and integrate everything in your dashboard, for recording data in a database.
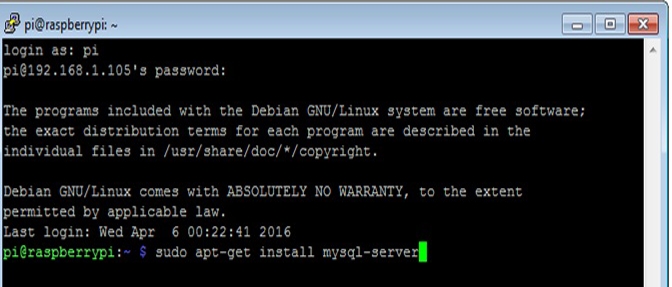
Our Raspberry Pi Zero is being configured like a web server. In this section, we will install MySQL database server with the following command, so we can receive connections from clients, display data stored in a database, and use queries in SQL:
sudo apt-get install mysql-server
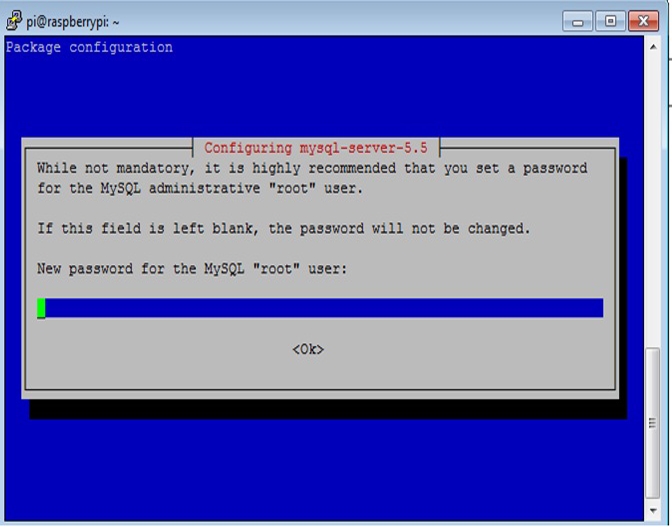
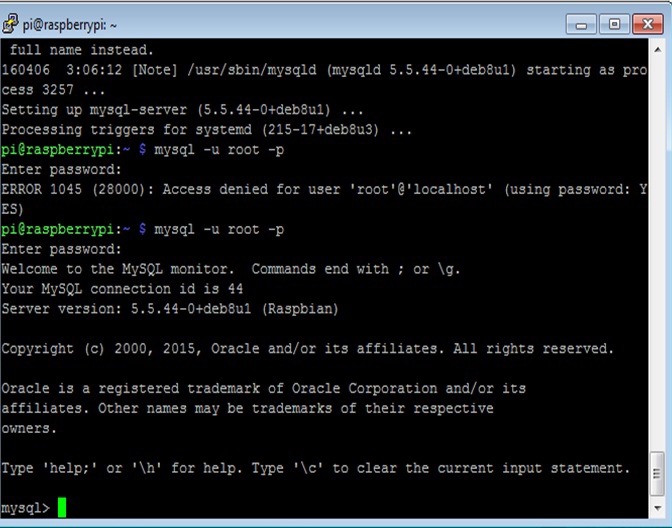
In the middle of the process it will ask you for the password of the root user:
After the installation is complete, connect to MySQL and type the following command:
mysql -u root -p
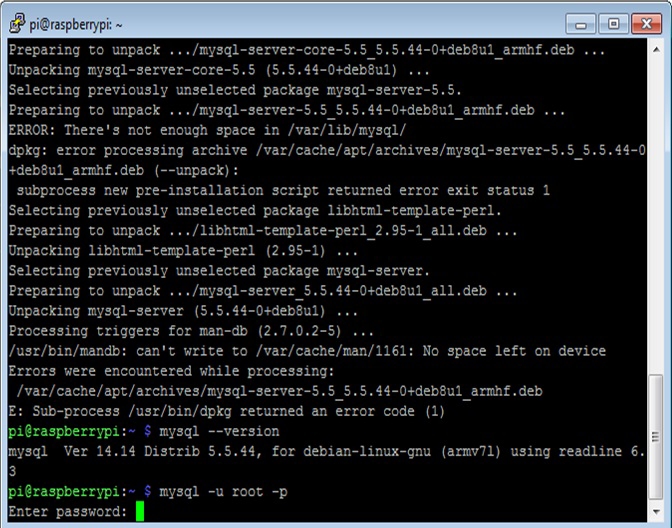
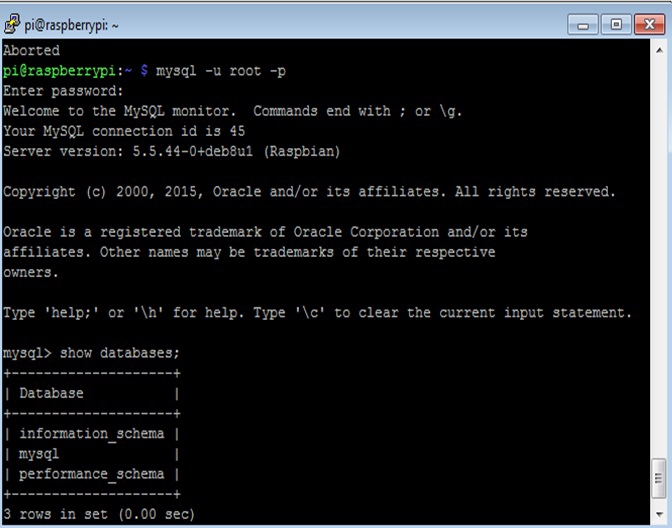
Type the following command:
show databases;
Here we can see databases of the system that are now installed in the server:
It's important to install our driver to communicate PHP5 with MySQL database server, to do that we will need MySQL driver for PHP to access MySQL database, execute this command to install PHP-MySQL Driver.
sudo apt-get install php5 php5-mysql
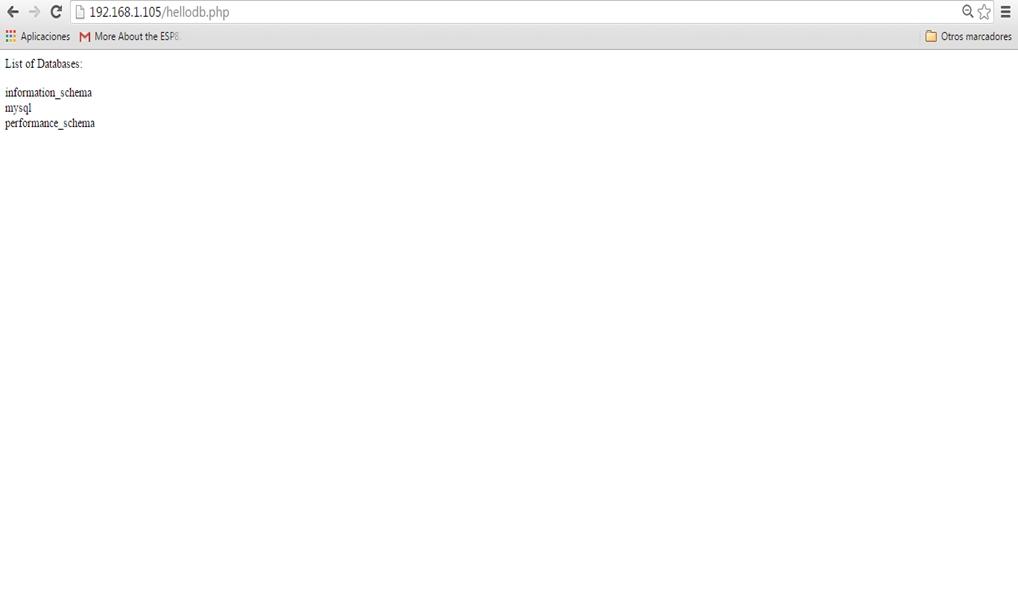
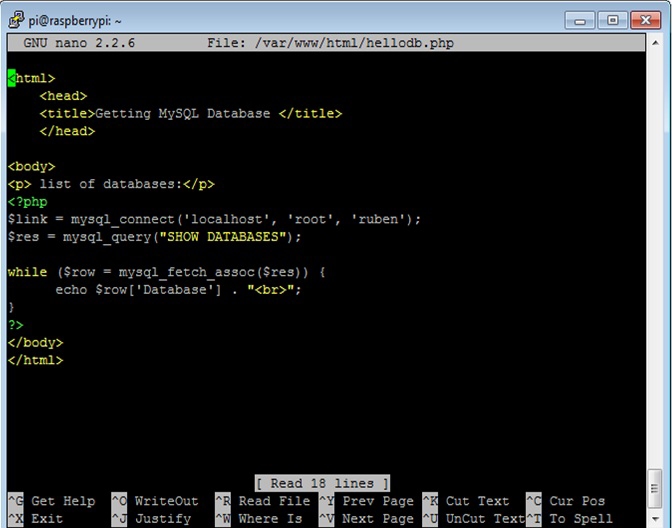
In this section, we will make a simple page to test PHP and MySQL with the following command:
sudo nano /var/www/html/hellodb.php

The following screenshot has the script that has the code to access the database, connect to the server, and get the data from it:
To test the page and connection between PHP and MySQL, type the IP address of your Raspberry Pi: http://192.168.1.105/hellodb.php . The page that should similar to the following screenshot: