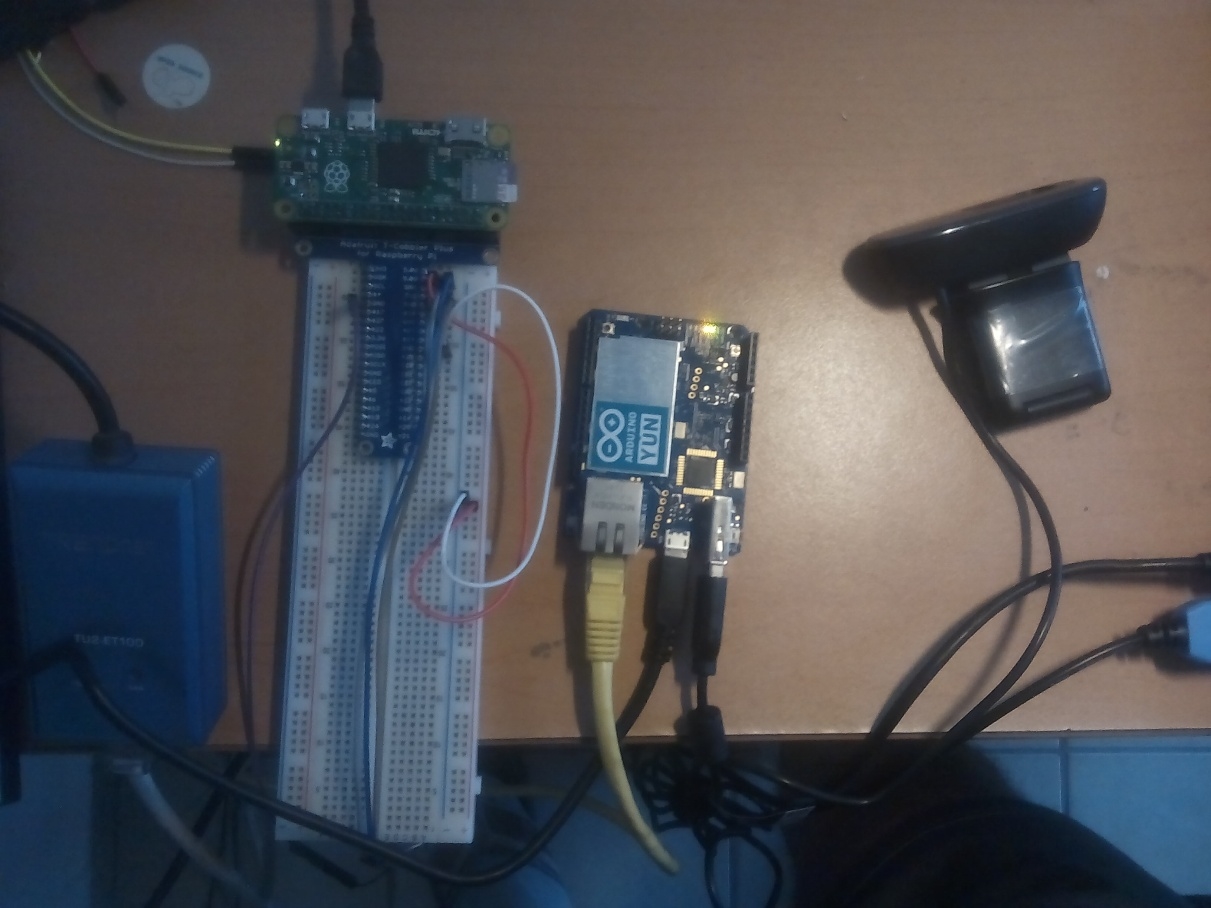
In this section, we will create a project that allows us to monitor a USB camera that is connected to an Arduino YUN, which has a USB port and includes communication with Ethernet and Wi-Fi. So, it has many advantages. We will work on making a network between the Raspberry Pi and the Arduino YUN, so the main idea is to monitor the camera from a web page, from the Raspberry Pi. The page will be stored in the Raspberry Pi.
We will use a Logitech camera that supports the UVC protocol:
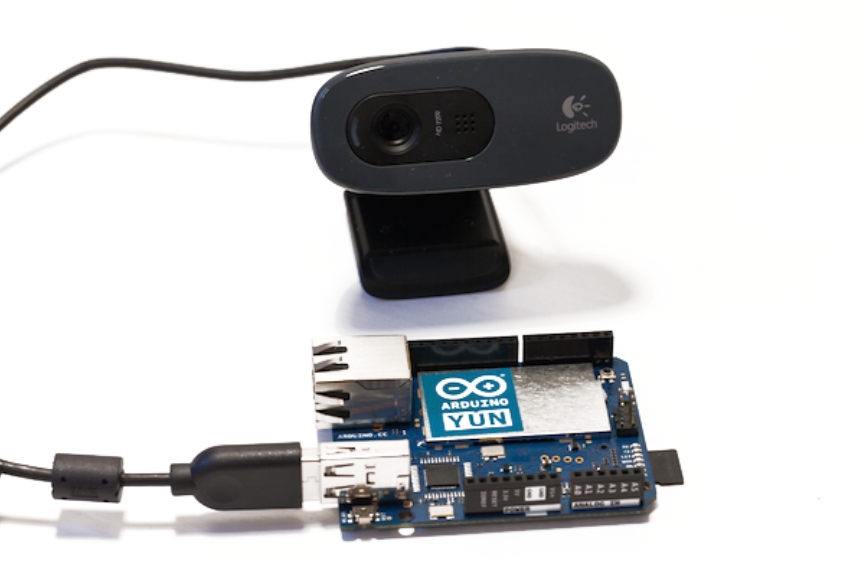
Now we will explain the steps to install our camera in the Arduino YUN:
- Connect the board to your Wi-Fi router
- Verify the IP address of the Arduino YUN
After we type the IP address, the following screen appears:

We will now issue a series of commands at the Command Prompt to complete the setup:
Update the package:
opkg update
Install the UVC protocol:
opkg install kmod-video-uvc
Install the camera driver:
opkg install fswebcam
Download the Mjpgstreamer:
wget http://www.custommobileapps.com.au/downloads/mjpgstreamer.Ipk
Install the Mjpgstreamer:
opkg install mjpg-streamer.ipk
To start the camera manually, use the following code:
mjpg_streamer -i "input_uvc.so -d /dev/video0 -r 640x480 -f 25" -o
"output_http.so -p 8080 -w /www/webcam" &
To start the camera automatically, we will use the following code:
Install the nano program:
opkg install nano
Enter the following file:
nano /etc/config/mjpg-streamer
Configure the camera with the following parameters:
config mjpg-streamer core
option enabled    "1"
option device    "/dev/video0"
option resolution  "640x480"
option fps    "30"
option www    "/www/webcam"
option port    "8080"
Use the following command to start the service:
/etc/init.d/mjpg-streamer enable
/etc/init.d/mjpg-streamer stop
/etc/init.d/mjpg-streamer start
Once you have accessed the server of the Arduino YUN, type the IP Address of your Arduino YUN, http://Arduino.local:8080, in your web browser. The results of the configuration are shown in the following screenshot:

With the camera connected to the Arduino YUN, now we can monitor in real time from a web page published in the Raspberry Pi.
Provide a title for the web page:
<html>
<head>
<title>Monitoring USB Camera</title>
We call the camera image by putting the IP address of the Arduino YUN:
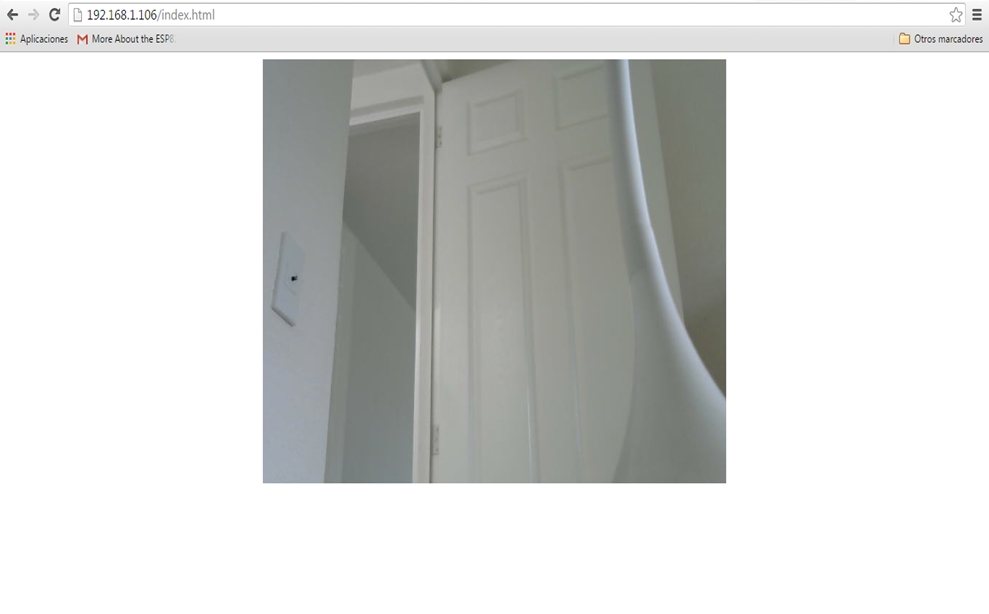
</head>
<body>
<center>
<img src="http://192.168.1.107:8080/?action=stream"/>
</center>
</body>
</html>
Access the web page from a browser by typing the IP address of the Raspberry Pi ( http://192.168.1.106/index.html):
In the next section, we will look how to configure the connected devices and the hardware that will be interacting in a network.
The following image represents the network that we created with devices that can be monitored; for example, we monitor each room of a house, connect all the devices with a Wi-Fi network, and monitor them from the Raspberry Pi: