In the previous chapters, we talked about topics such as sensors connected to the Arduino and monitoring from the Raspberry Pi Zero, using a network across devices, the importance of our home security projects, and domotics to monitor what's happening in the real world. For that, we have a proposal for this chapter.
In this chapter, we will configure our Raspberry Pi Zero to monitor a web camera and install a TTL serial camera to interact with Arduino boards; we will achieve that with the following topics:
- Interaction between Arduino and Raspberry Pi
- Controlling an output connected to Arduino from Raspberry Pi Zero
- Connecting a TTL serial camera to Arduino and saving pictures to a Micro SD
- Detecting motion with the serial TTL camera
- Controlling a snapshot from Raspberry Pi
- Controlling your camera from a web page
- Monitoring your USB camera for security in a network
In this chapter, we will look at how the Raspberry Pi can work as a terminal computer to program, not only having the device as a server and deploying pages or applications but also have an IDE for programming the Arduino board. To do this we need to have the Raspberry Pi connected to the Arduino, so that they can communicate with each other.
Here are some interfaces that the Raspberry Pi has, all of these which included in the device: I2C protocol, SPI communication, USB ports, and serial UART ports. In this case, we will use the USB port to communicate between Arduino and the Raspberry Pi.
These are the steps to configure Arduino and Raspberry Pi to interact with each other:
- Install Arduino IDE for the Raspberry Pi
- Open your terminal with PuTTY and check the IP address of your Raspberry Pi
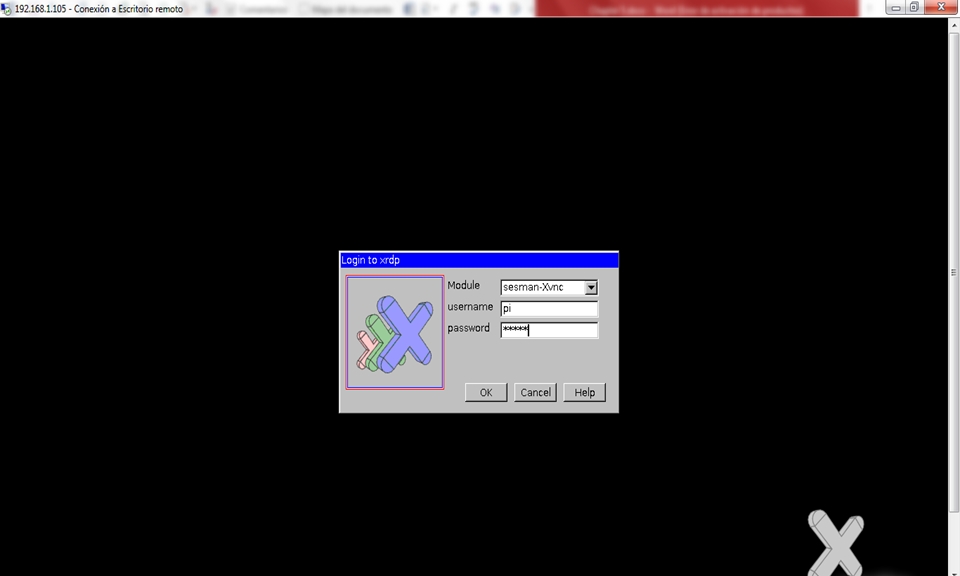
- Execute remote access, and type the IP address
- Open Arduino IDE in the graphical interface
Type the following command to install Arduino IDE on the Raspberry Pi:
sudo apt-get install arduino
In this section, we will look at the screen to access the Remote desk to execute the Arduino IDE installed in the Raspian operating system: once the screen pops up, type your username and password:


