You need to learn how to connect things to your Raspberry Pi Zero, and also looked at the architecture and differentiate between the pins we can use for the purpose we defined. This is the reason we have this section--to help you with the sensors we can connect and give the basics of how to connect other things to your device. In this section, we will explain how to configure the Raspberry Pi; now you cannot avoid learning how to connect to your Raspberry Pi sensors to read analog inputs connected to it.
We will cover the following topics to make our hardware communicate with the board:
- Connecting digital inputs: Sensor DS18B20
- Connecting analog inputs using an MCP3008 ADC converter
- Connecting a real-time clock (RTC)
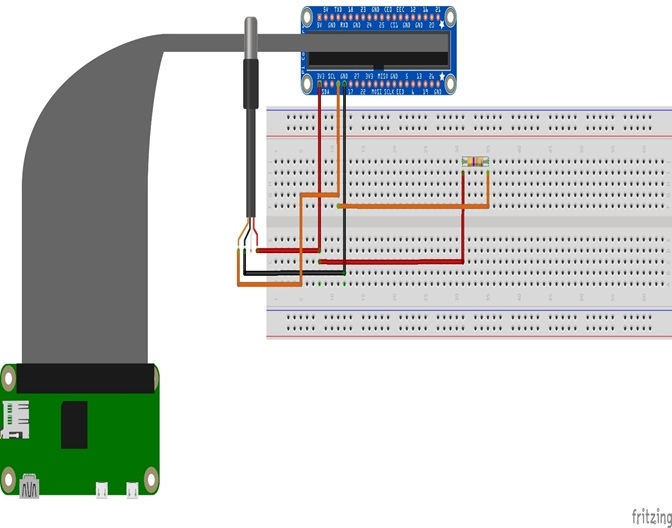
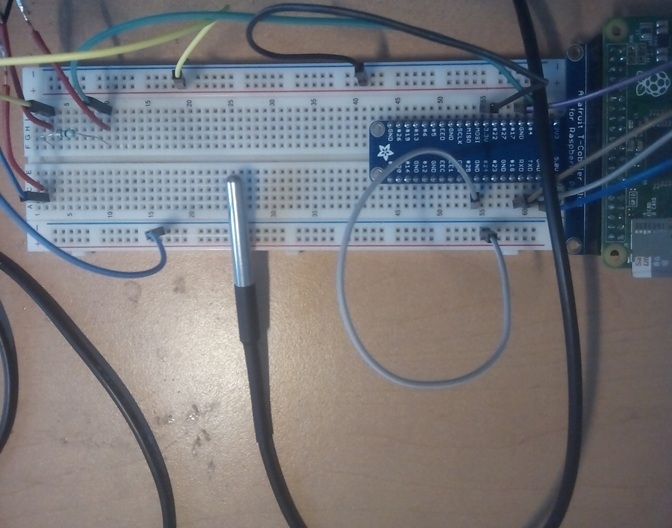
The Raspberry Pi has digital pins, so in this section, we will look at how to connect a digital sensor to the board. We will use the digital sensor DS18B20, which has a digital output and can be perfectly connected to a digital input in our Raspberry Pi sensor. The main idea is to take temperature readings from the sensor and display them on the screen.
We will require the following hardware to take the temperature reading:
- Temperature sensor DS18B20 (waterproof)
- One resistor of 4.7 kilo-ohms
- Some jumper wires
- A breadboard
We will use a waterproof sensor DS18B20 and a 4.7 kilo-ohm resistor:
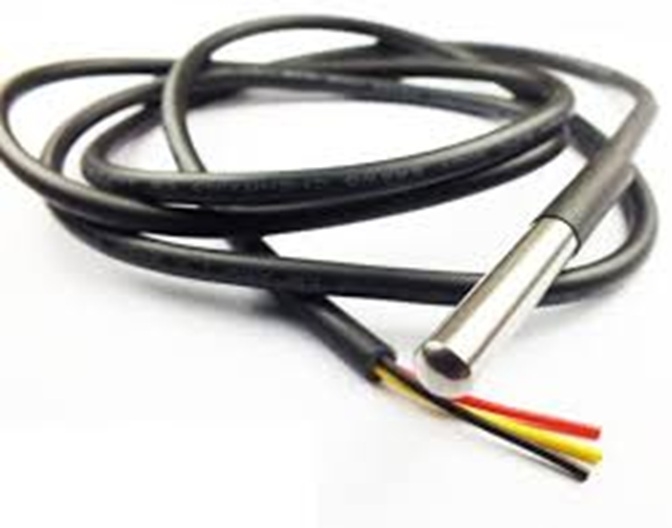
This is the waterproof sensor that we are using in this project.