
In this section, we will talk about how to configure your PhpMyAdmin to administrate your database from a remote panel. It's important that we install the client and the module PHP5 in the Apache server, so type the following command:
sudo apt-get install mysql-client php5-mysql
Next we will install the phpmyadmin package with the following command:
sudo apt install phpmyadmin
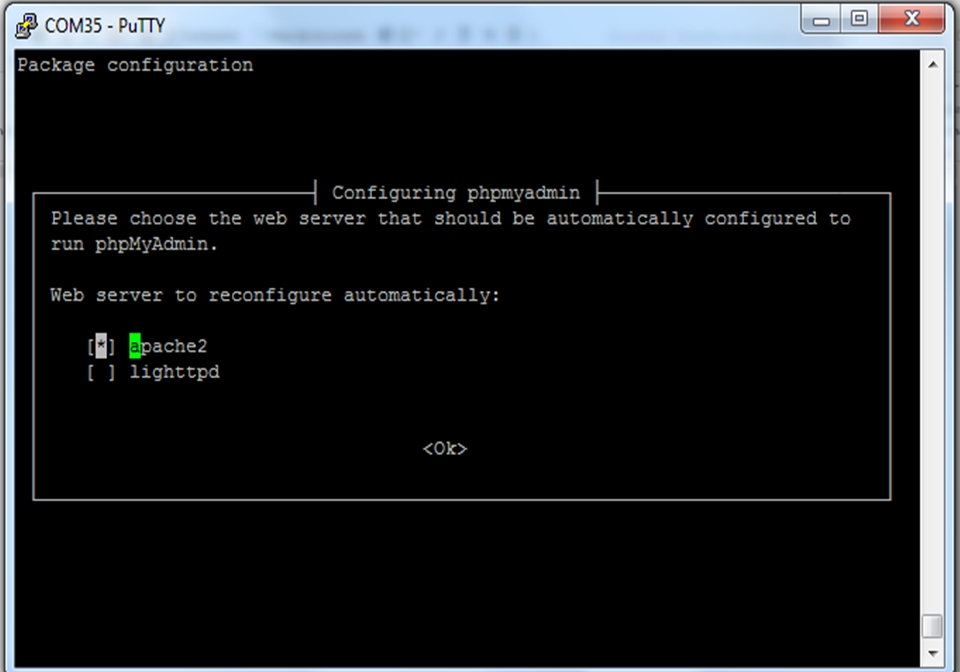
In the following screenshot, we can see the configuration of the server; in this case, we need to select apache2:
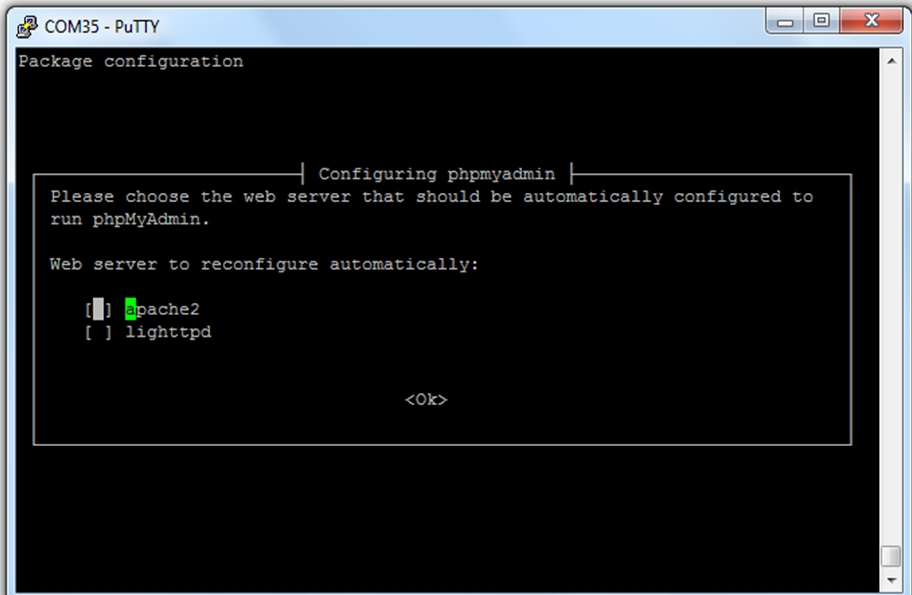
We choose the apache2 server:
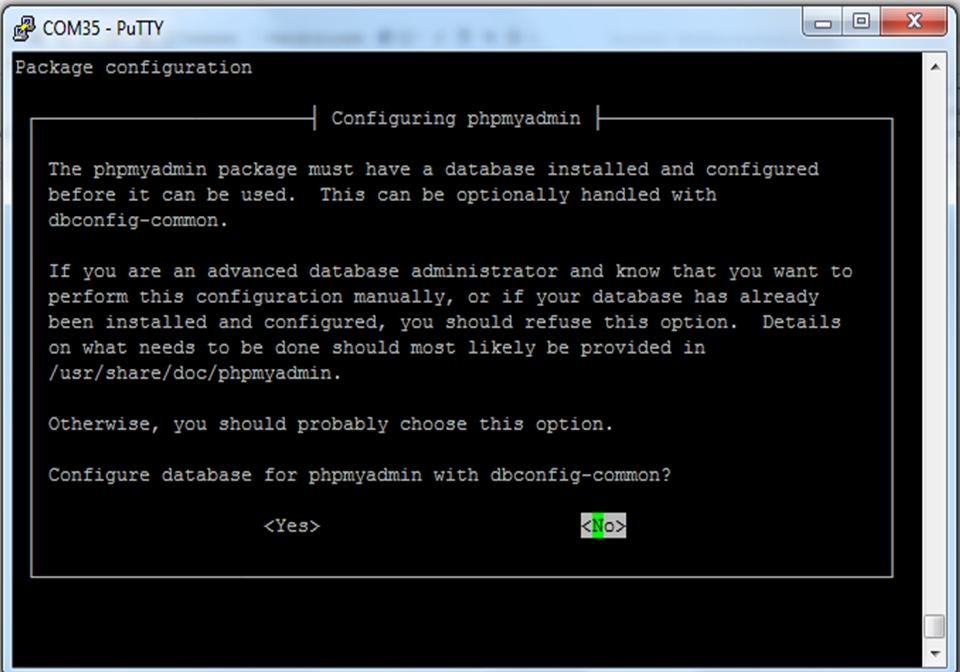
After that we can select the database:
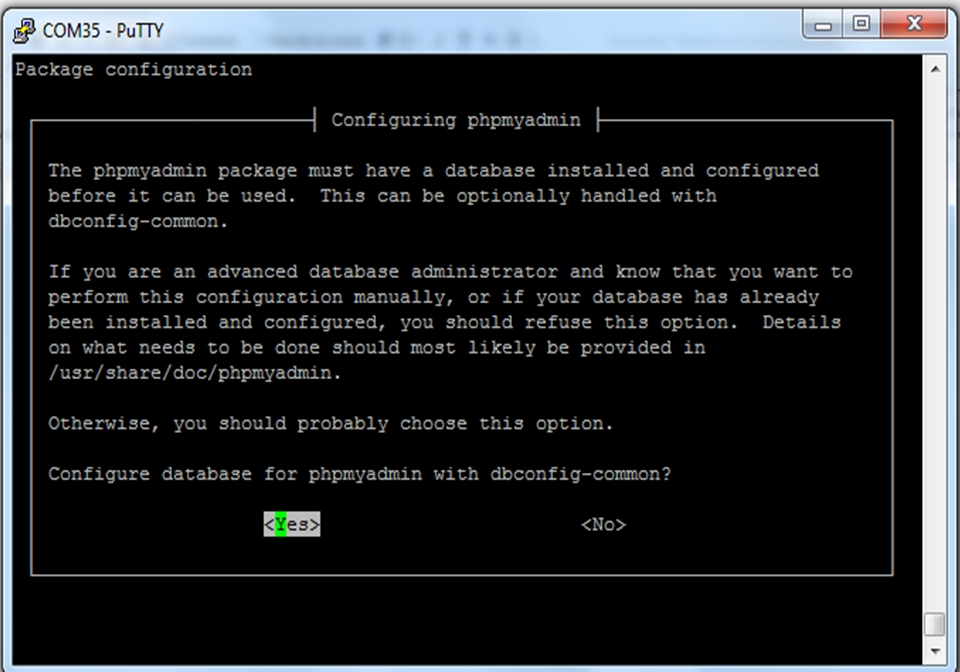
We choose the option <No>:
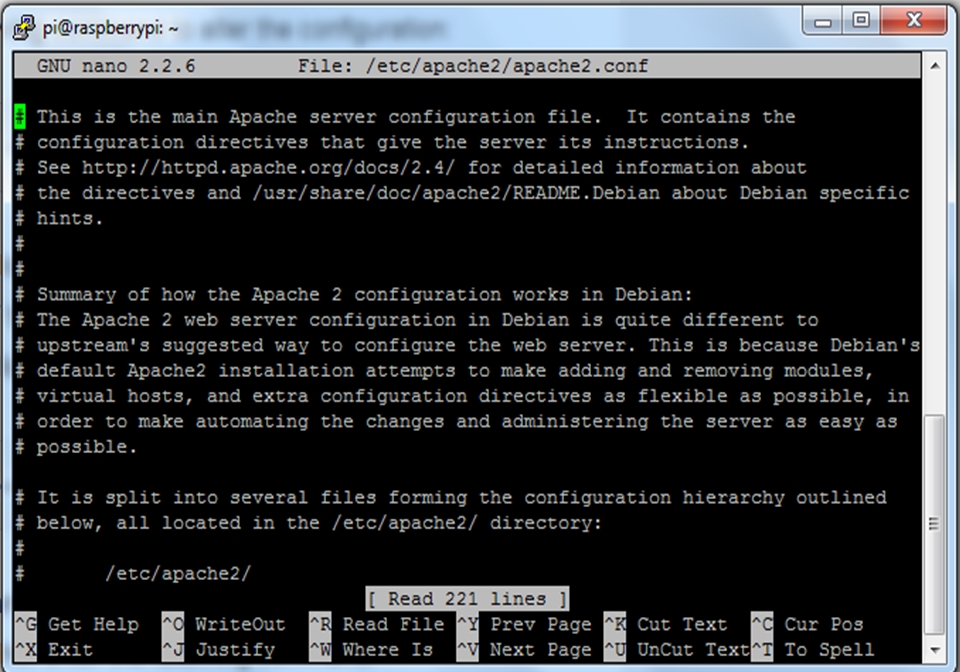
It's necessary that we make the configuration of the file apache2.conf. First go to the Terminal on your Pi:
sudo nano /etc/apache2/apache2.conf
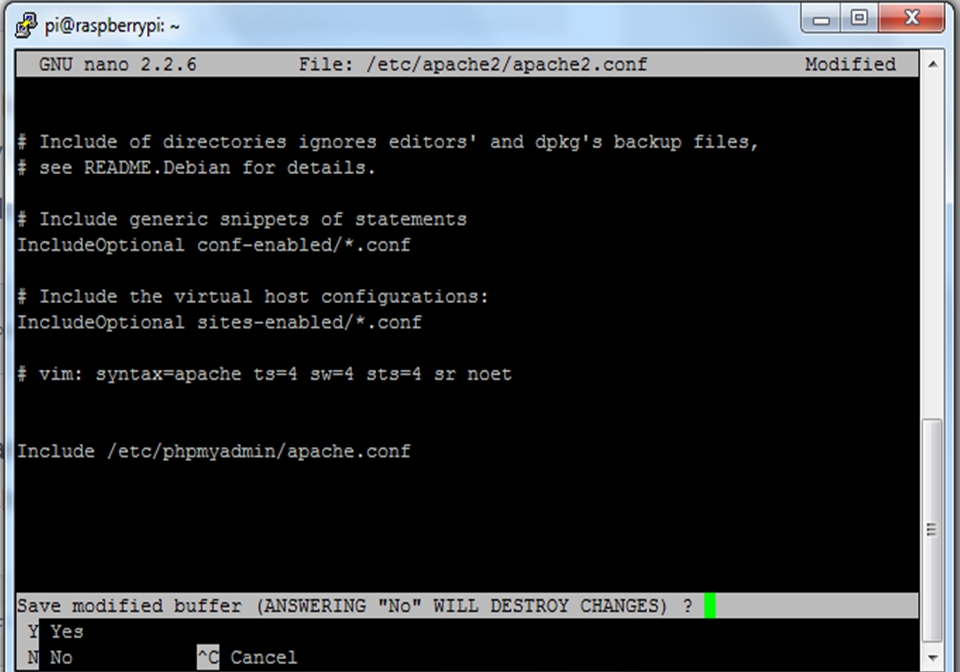
In the following screen, we need to add the code:
Include /etc/phpmyadmin/apche.conf
We include the following line in the bottom of the file:
Include /etc/phpmyadmin/apche.conf
We have finally finished installing our Apache server, and we are now ready for the next step.
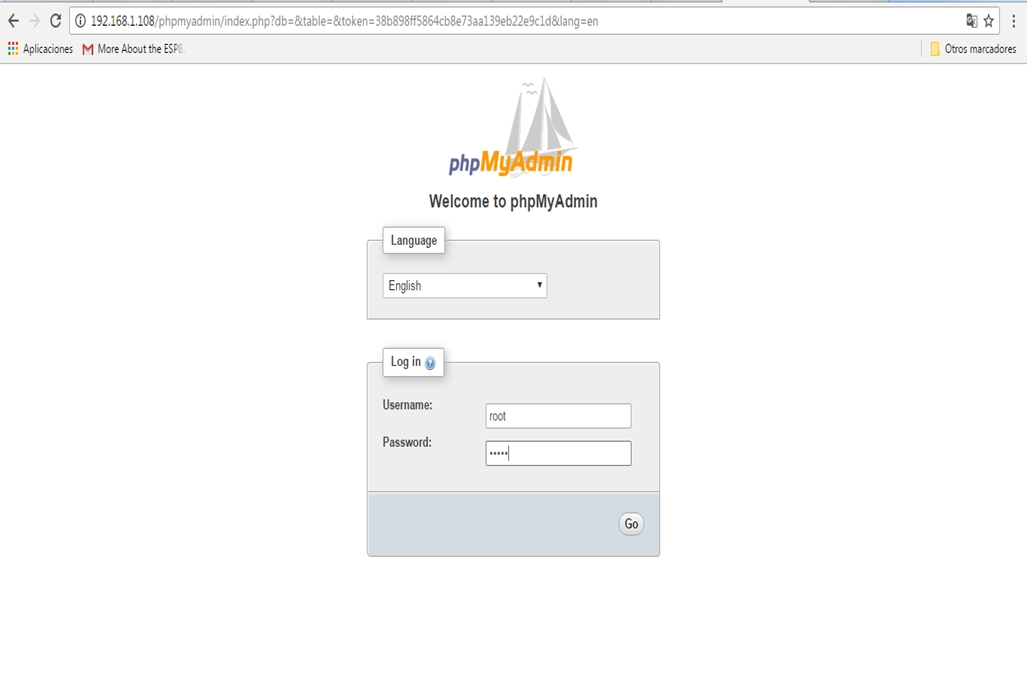
After we have configured the server we will enter the phpMyAdmin remote panel, we need to open our favorite web browser and type the IP Address of our Raspberry Pi: http://(Raspberry Pi Address)/phpmyadmin, which will show the following screen:
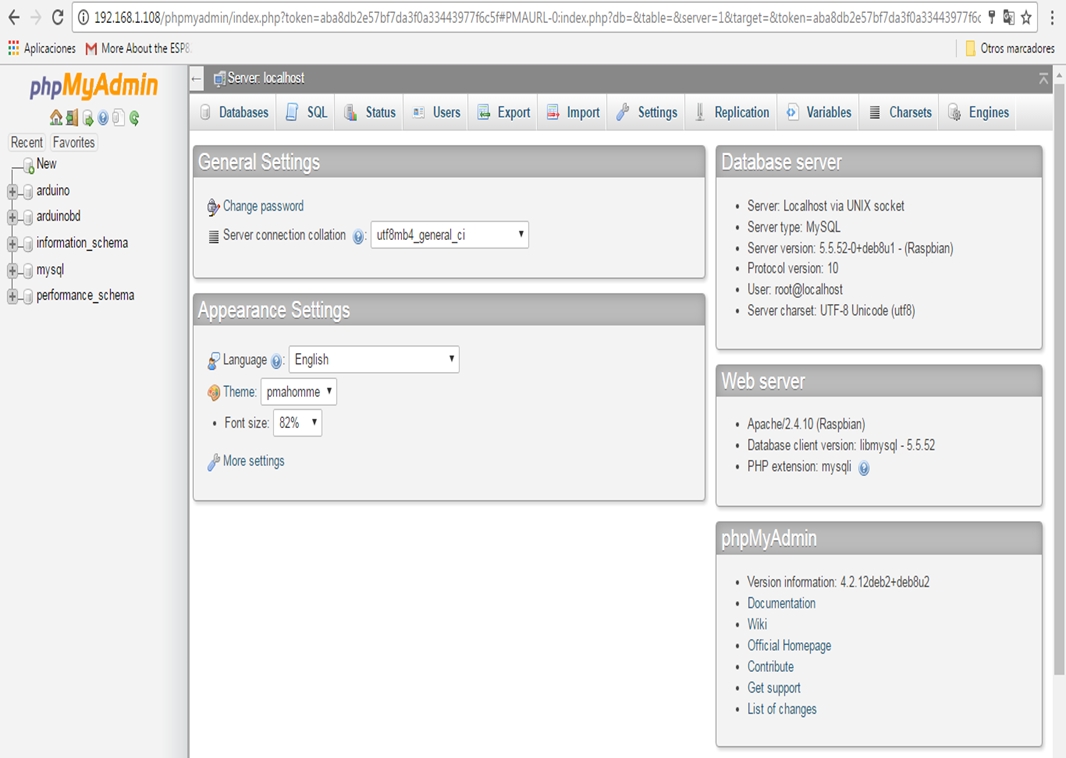
The following screenshot shows the database created in the server:
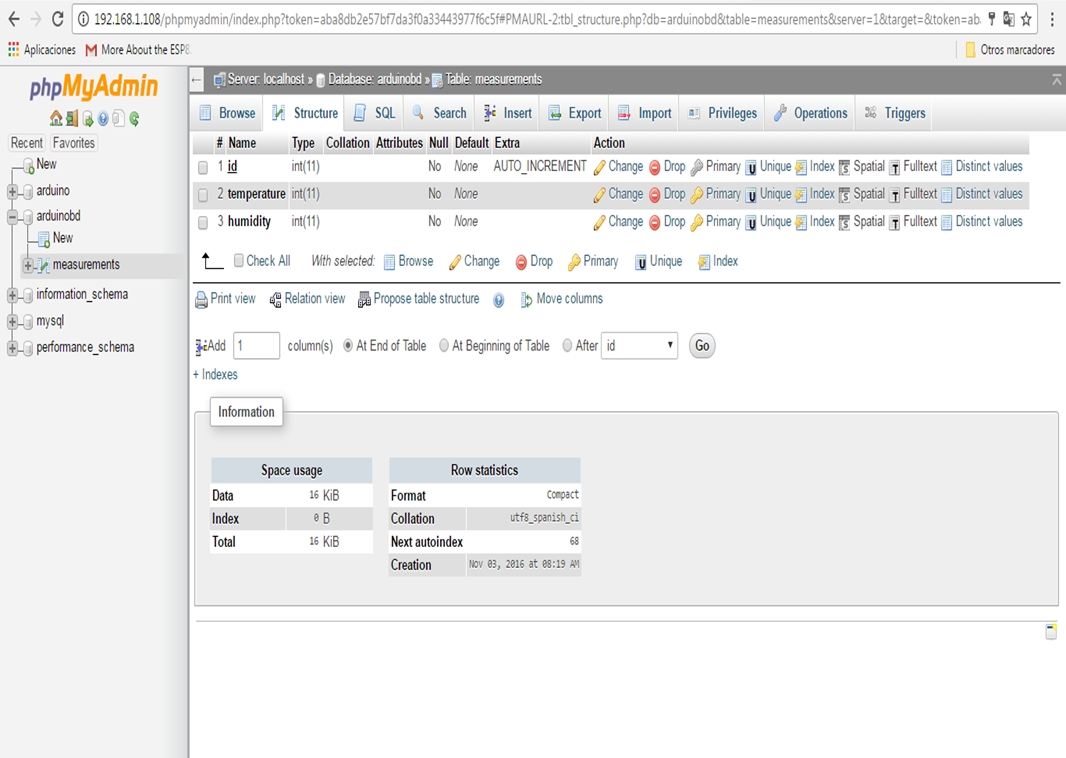
The following screenshot shows the table measurements, columns, id, temperature and humidity:
We use an Arduino and the Ethernet Shield connected to the network, Arduino sends data to the web server published in the Raspberry Pi Zero.
You can now either copy the code inside a file called arduino_xaamp_mysql.ino, or just get the complete code from the code folder of this book:
We enter the Ip address of the Arduino UNO:
IPAddress ip(192,168,1,50);
We configure the IPAddress of our Raspberry Pi Zero:
IPAddress server(192,168,1,108);
We need to connect to the web server:
if (client.connect(server, 80))
These lines define the HTTP request from the remote server:
client.println("GET /datalogger1.php?temp=" + temp + "&hum=" + hum + " HTTP/1.1");
      client.println("Host: 192.168.1.108");
      client.println("Connection: close");
      client.println();
The rest of the code is shown in the following lines:
// Include libraries
#include <SPI.h>
#include <Ethernet.h>
#include "DHT.h"
// Enter a MAC address for your controller below.
byte mac[] = { 0x90, 0xA2, 0xDA, 0x0E, 0xFE, 0x40 };
// DHT11 sensor pins
#define DHTPIN 7
#define DHTTYPE DHT11
IPAddress ip(192,168,1,50);
IPAddress server(192,168,1,108);
EthernetClient client;
DHT dht(DHTPIN, DHTTYPE);
void setup() {
  // Open serial communications
  Serial.begin(9600);
      Ethernet.begin(mac, ip);
  Serial.print("IP address: ");
  Serial.println(Ethernet.localIP());
  delay(1000);
  Serial.println("Conectando...");

}
void loop()
{
  float h = dht.readHumidity();
  float t = dht.readTemperature();
  String temp = String((int) t);
  String hum = String((int) h);
    if (client.connect(server, 80)) {
    if (client.connected()) {
      Serial.println("conectado");
Make an HTTP request:
      client.println("GET /datalogger1.php?temp=" + temp + "&hum=" + hum + " HTTP/1.1");
      client.println("Host: 192.168.1.108");
      client.println("Connection: close");
      client.println();
    }
    else {
      // If you didn't get a connection to the server
      Serial.println("fallo la conexion");
    }
Thes lines define how the instance of the client can read the response:
    while (client.connected()) {
      while (client.available()) {
      char c = client.read();
      Serial.print(c);
      }
    }
If the server's disconnected, stop the client:
    if (!client.connected()) {
      Serial.println();
      Serial.println("desconectado.");
      client.stop();
    }
  }
Repeat every second:
  delay(5000);
}
Here we can see the hardware that we used:
