App Inventor for Android is an open source web application originally provided by Google, and now maintained by the Massachusetts Institute of Technology (MIT). It allows newcomers to computer programming to create software applications for the Android operating system (OS). It uses a graphical interface, very similar to Scratch and the StarLogo TNG user interface, which allows users to drag-and-drop visual objects to create an application that can run on Android devices. In creating App Inventor, Google drew upon significant prior research in educational computing, as well as work done within Google on online development environments.
You don’t need to install any software for APP inventor to execute in your computer; you just need your Gmail account to access the APP inventor interface.
To enter APP Inventor you just need to go to: http://appinventor.mit.edu/explore/.
Go to create apps to start designing the app.
First we need to have an account with Gmail; we need to create the file like we see in the following screenshot:

Go to menu Projects and Start New Project:

Write the name of the project:

In the following screenshot, we write the name of our project as aREST:
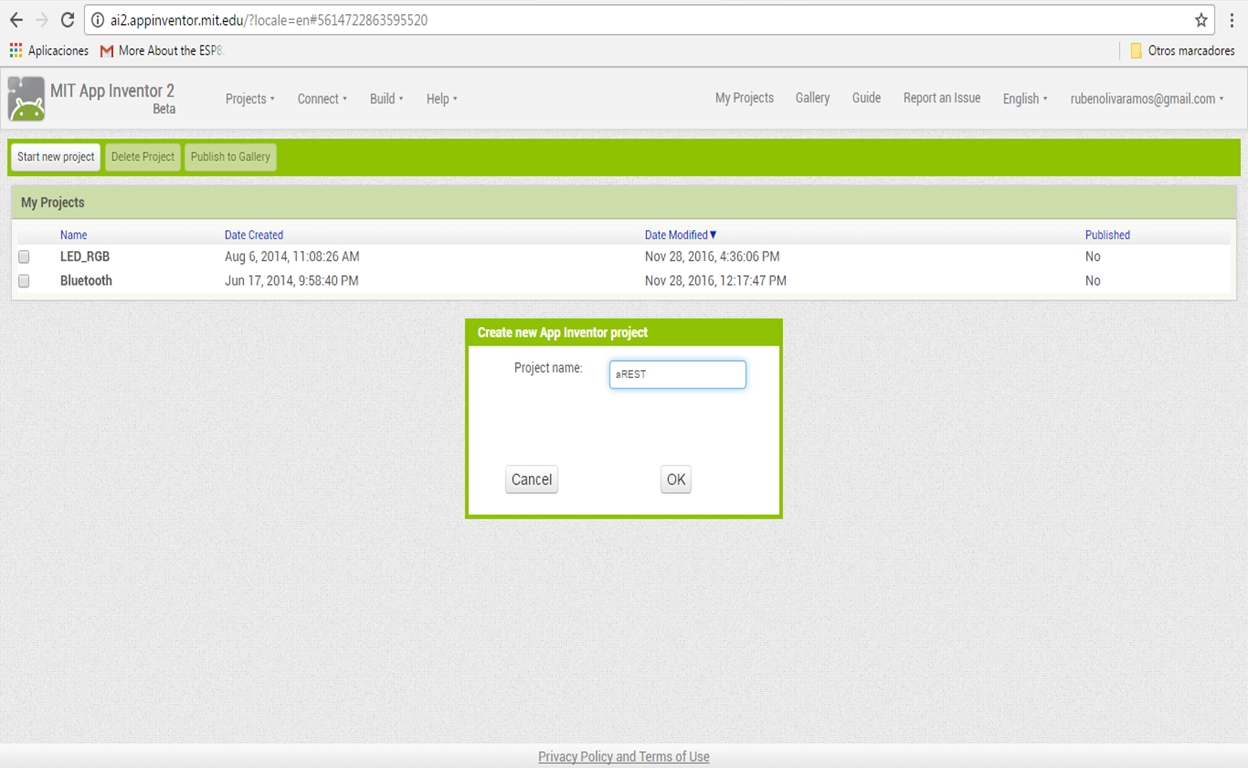
On pressing OK, we will see the project created:

Now it's time to see how to create the interface of the application, after we create the project we click on the name of the project, and we will then see the following screen:

In the user interface that we have on the left-hand side (you can see all the objects), to move an object to the main screen you just drag Web Viewer and Button, as shown in the following screenshot:

In the previous screenshot, we can see the interface of the app that we will use to control our Arduino board.
Now we will see how to communicate the application with Arduino via Ethernet networking.
In the properties of the Web Viewer control, we will see the home URL:
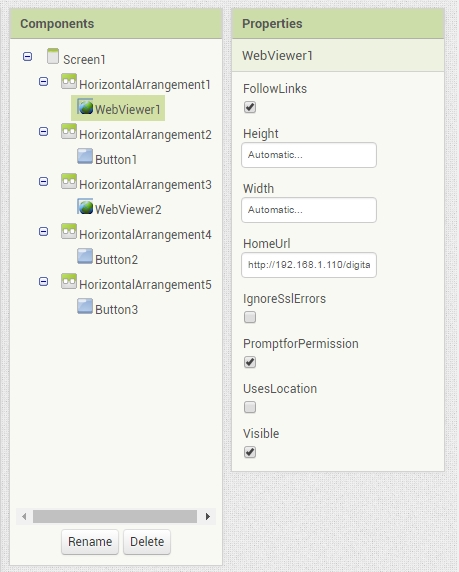
In both controls we have the URL of our Arduino Ethernet shield, we will make a request using the RESTful services, and we will send the following requests from the application:
http://192.168.1.110/digital/7/1http://192.168.1.110/digital/7/0
The blocks editor in the original version ran in a separate Java process, using the Open Blocks Java library for creating visual blocks programming languages and programming.
We have the code for APP inventor, when we click the buttons we call the web service, to do that you just need to do the following:
- Go to the screen interface that says Blocks
- Drag the
When...Doblock one per button - Inside the block that you just dragged before, put the
Call...WebViewer.GoToUrlblock - In the URL of the block, put the
WebViewer.HomeUrlblock
To close the application:
- Drag the
When...Button.Click Doblock - And inside the block put the close application block

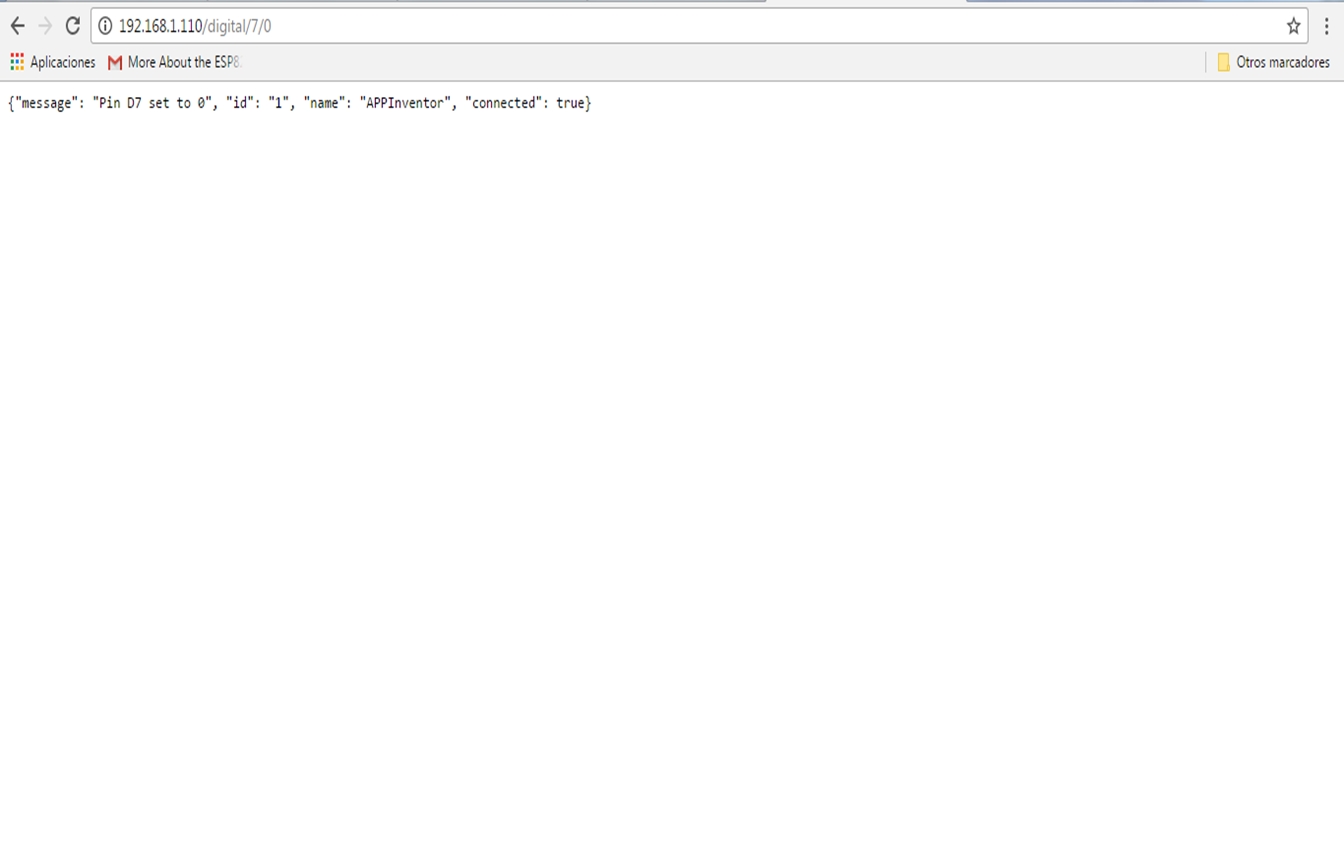
We will have the following results when we open a web browser:
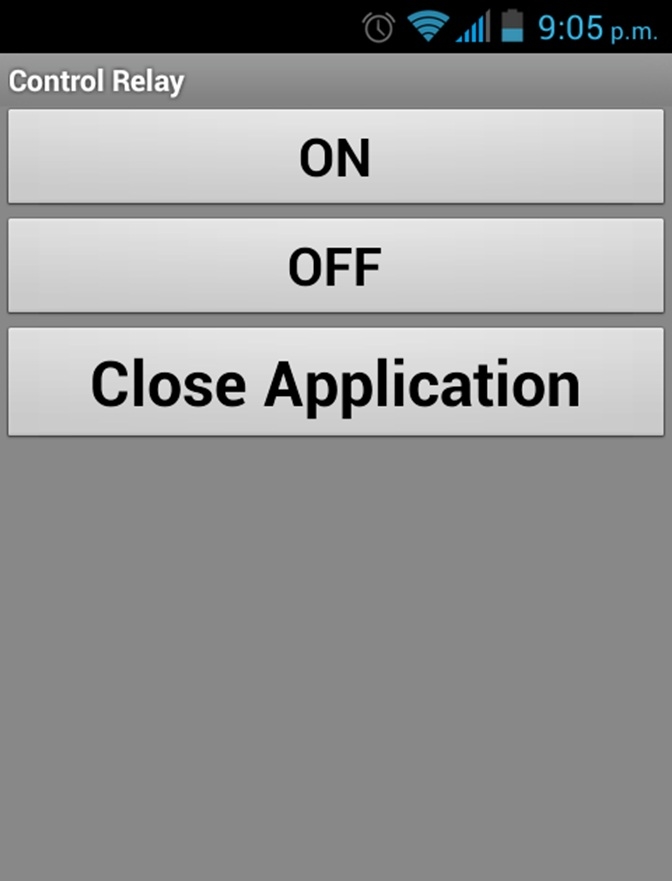
The following screenshot shows the application running on a mobile phone:
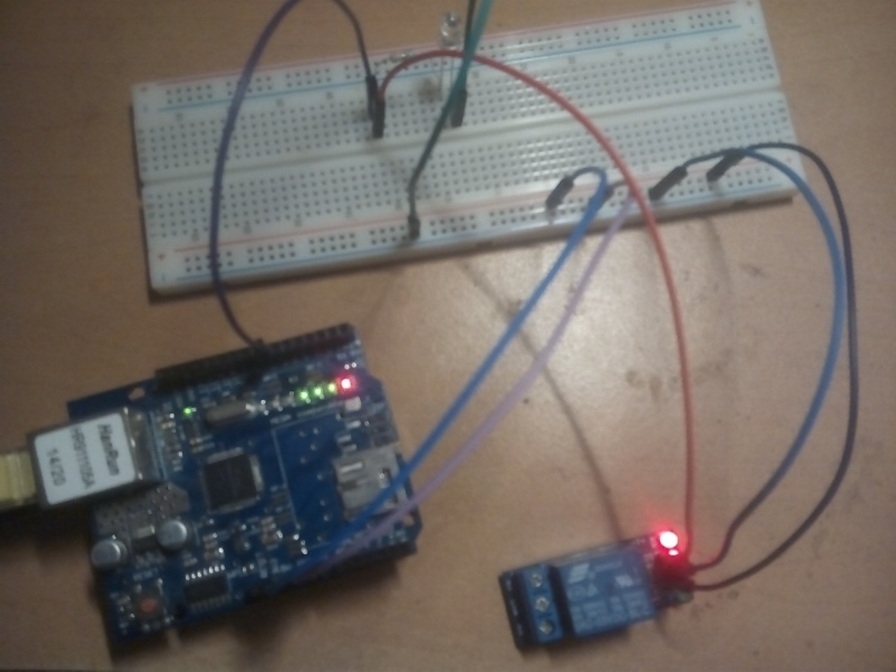
The following image shows the final results with the connections: