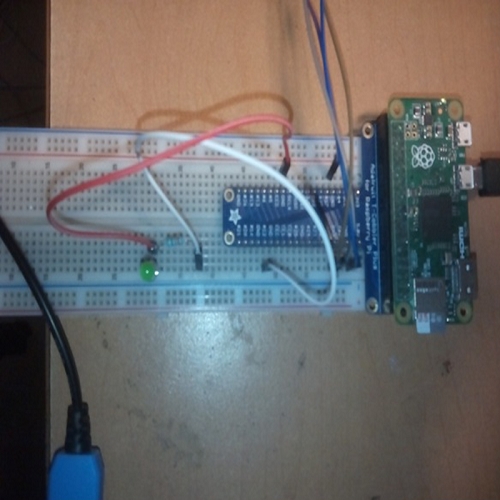
In this section, we will discuss a project that can be applied to a home automation. We will dim an LED of DC, this can done to a lamp in a house. The LED will change its brightness, and we connect the LED to the GPIO18 of the Raspberry Pi in series with a resistor of 330 ohms.
First we need to install the pigpio package. In the Terminal, type the following:
wget abyz.co.uk/rpi/pigpio/pigpio.zip
Then unzip the package:
unzip pigpio.zip
After that, navigate to the unzipped folder with the following:
cd PIGPIO
Type the following to execute the command:
Make
Finally install the file:
sudo make install
In this section, we will test the sensor with a script in Node.js:
var Gpio = require('pigpio').Gpio;

// Create led instance
var led = new Gpio(18, {mode: Gpio.OUTPUT});
var dutyCycle = 0;
// Go from 0 to maximum brightness
setInterval(function () {
  led.pwmWrite(dutyCycle);
  dutyCycle += 5;
  if (dutyCycle > 255) {
    dutyCycle = 0;
  }
}, 20);
We can already test this code, navigate into the folder of this project with a Terminal on the Pi, and type the following:
sudo npm install pigpio
This will install the required node.js module to control the LED. Then, type the following:
sudo node led_test.js
This is the final result:

In this section, we will control the LED from a web page. For which we will use HTML to make the interface with the user, using node.js.
Let's take a look at the Node.js files that are included in the following code:
// Modules
var Gpio = require('pigpio').Gpio;
var express = require('express'),
// Express app
var app = express();

// Use public directory
app.use(express.static('public'));
// Create led instance
var led = new Gpio(18, {mode: Gpio.OUTPUT});

// Routes
app.get('/', function (req, res) {

  res.sendfile(__dirname + '/public/interface.html'),

});
app.get('/set', function (req, res) {

  // Set LED
  dutyCycle = req.query.dutyCycle;
  led.pwmWrite(dutyCycle);

  // Answer
  answer = {
    dutyCycle: dutyCycle
  };
  res.json(answer);

});

// Start server
app.listen(3000, function () {
  console.log('Raspberry Pi Zero LED control'),
});
It's now finally time to test our application! First, grab all the code from this book's repository and navigate to the folder of the project like before. Then, install express with the following command:
sudo npm install express
When this is done, start the server with the following command:
sudo node led_control.js
You can now test the project, open the web browser in your computer, and type the link - http://(Raspberry PI)/set?dutyCycle=20, and we can see that the LED changes with the value.
Then open your web browser with http://192.168.1.108:3000 and you should see the control in a basic web page:

