
Before building several projects for a home security system and the control of domestic appliances by electronically controlled systems, in this chapter, we're going to go into an initial configuration and prepare our Raspberry Pi Zero to work in a network, so you can use it for all the projects we will see in this book.
Before we go through the projects, build our network with the devices, and connect our sensor to the boards, it's important to understand the configuration of the Raspberry Pi. The main idea of this chapter is to explain how to set up your Raspberry Pi Zero; we will cover the following topics:
- Setting up Raspberry Pi Zero
- Preparing the SD card
- Installing the Raspbian operating system
- Configuring your Raspberry Pi Zero with a serial console cable
- Accessing the network remotely
- Accessing via remote desktop
- Configuring a web server
The Raspberry Pi is a low-cost board dedicated to purpose projects. Here, we will use a Raspberry Pi Zero board. Take a look at the following link: https://www.adafruit.com/products/2816. I used this board.
In order to make the Raspberry Pi work, we need an operating system that acts as a bridge between the hardware and the user. This book uses the Raspbian Jessy, which can be downloaded from https://www.raspberrypi.org/downloads/. At this link, you will find all of the information you need to download all the pieces of software necessary to use with your Raspberry Pi to deploy Raspbian. You need a micro SD card of at least 4 GB.
The kit that I used to test the Raspberry Pi Zero includes all the necessary things for installing everything and getting the board ready:

The Raspberry Pi Zero only boots from an SD card and cannot boot from an external drive or USB stick. For this book, it's recommended to use a 4 GB micro SD card.
There are many operating systems that are available for the Raspberry Pi board, most of which are based on Linux. However, the one that is usually recommended is Raspbian, is an operating system based on Debian, which was specifically made for Raspberry Pi.
In order to install the Raspbian operating system on your Pi, follow the next steps:
- Download the latest Raspbian image from the official Raspberry Pi website: https://www.raspberrypi.org/downloads/raspbian/
- Next, insert the micro SD card into your computer using an adapter. (An adapter is usually given with the SD card.)
- Then download Win32DiskImager from https://sourceforge.net/projects/win32diskimager/.
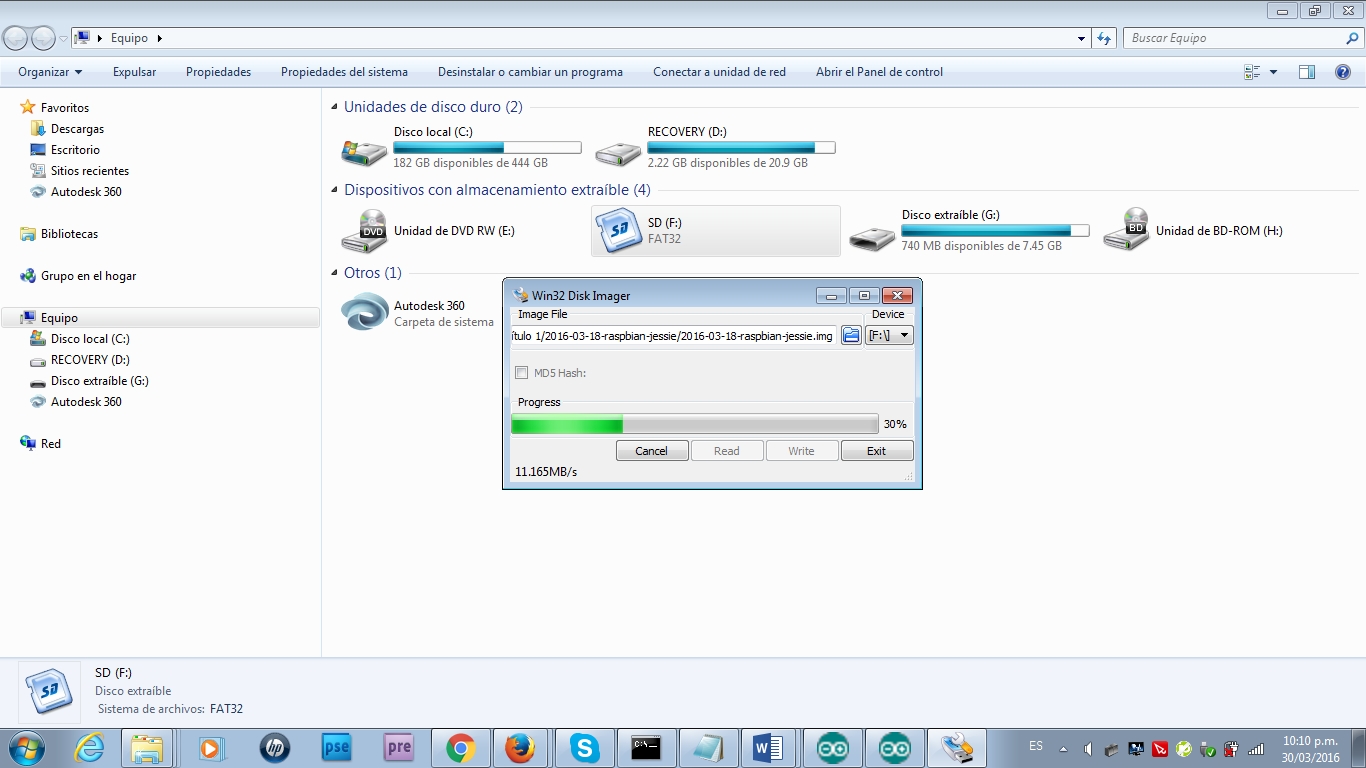
You will see the following files, as shown in the screenshot, after downloading the folder:

- Open the file image, select the path where you have the micro SD card, and click on the Write button.
- After a few seconds,you have Raspbian installed on your SD card; insert it into Raspberry Pi and connect the Raspberry Pi board to the power source via the micro-USB port.
In the following screenshot, you can see the progress of the installation:
In this section, we will look at how to communicate, the Raspberry Pi Zero from a computer using a TTL serial converter. We can do this debugging with a serial console cable connected to the computer using the USB port. We communicate with the board with a serial cable, because if we want to send commands from our computer to the board, it's necessary to communicate using this cable. You can find the cable at https://www.adafruit.com/products/954:
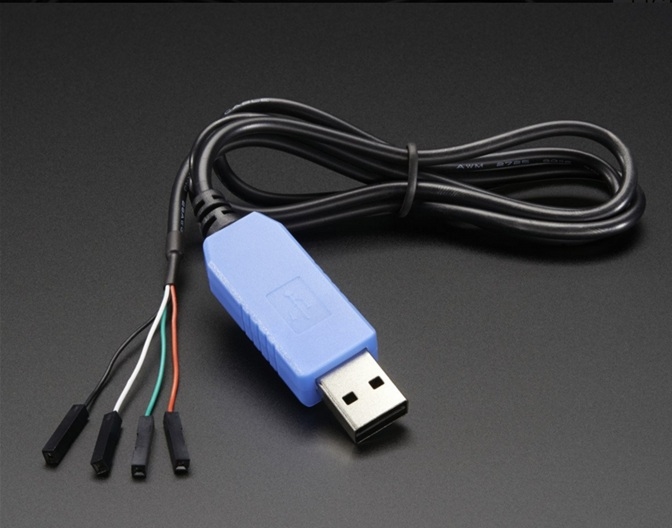
It’s important to consider that the cable uses 3.3 volts, but we don’t care because we’re using the cable from Adafruit. It is tested to work at this level of voltage.
You need to follow the next steps in order to install and communicate with your Raspberry Pi Zero:
- It's necessary that you have a free USB port on your computer.
- We need to install the driver for the serial console cable so that the system can recognize the hardware. We recommend that you download the driver from https://www.adafruit.com/images/product-files/954/PL2303_Prolific_DriverInstaller_v1_12_0.zip.
- We use an interface (console software), called PuTTY, running on a Windows computer; so we can communicate with our board, the Raspberry Pi. This software can be downloaded and installed from http://www.putty.org/.
- For the connections, we need to connect the red cable to 5 volts, the black cable to ground, the white cable to the TXD pin, and the green cable to the RXD pin on the Raspberry Pi Zero.
- The other side of the cable connects the plug to the USB port.
This is an image of the connections; it's for the hardware configuration:

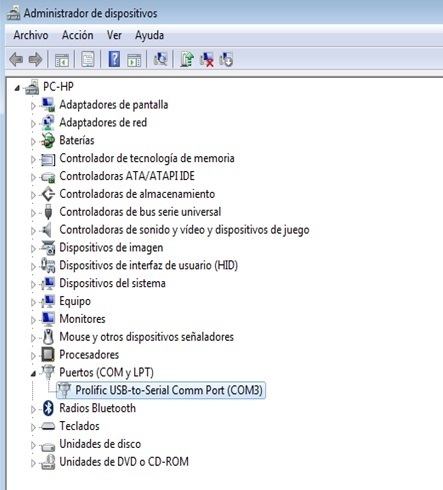
Once the driver is installed, we have here the Port COM, which is already installed:
In the following screenshot, you can see the device manager of the USB serial port:
- Open the terminal in PuTTY, and select Serial Communication as
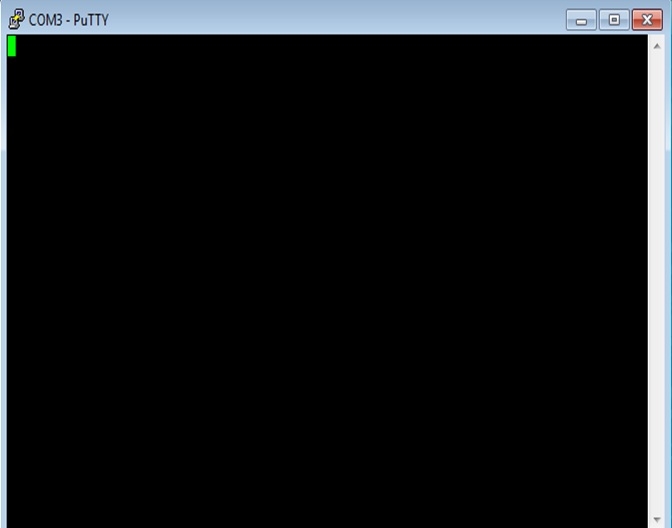
COM3, Speed as115200, Parity as None, and Flow Control as None; click on Open: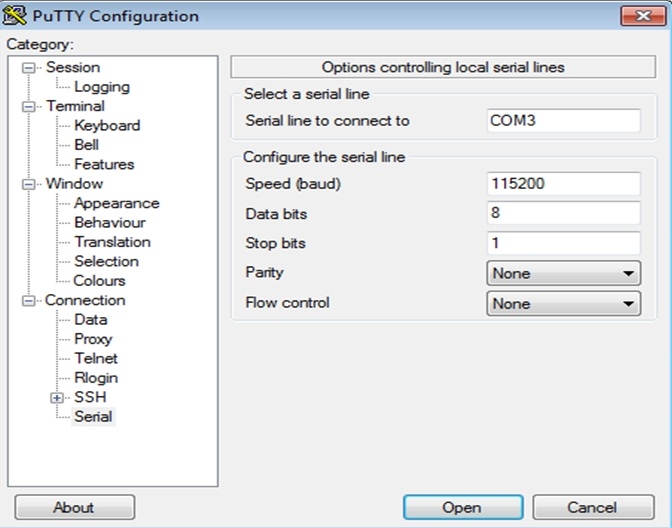
- When the blank screen appears, press Enter on your keyboard:
- This initiates a connection to your Pi board and asks for your username and password; you will see a screen like the following screenshot, with the authentication login:

- The default username for the Raspberry Pi Zero is
pi, and the password israspberry: