In the next section, we will see how to control a digital output from a web browser using Rest commands. Let's dive into it, to see more details:
You can now either copy the code inside a file called outputcontrol.js, or just get the complete code from the folder for this project and execute it with Node.js. Open the terminal on your Raspberry Pi and type the following:
sudo node output control.js
We define the GPIO of the device importing the commands, by using the following:
var gpio = require('rpi-gpio'),
Now we will create our web server using Node.js using the following lines.
We import the require packages that are necessary to run. We declare the libraries using the following:
var express = require('express'),
var app = express();
Define the body parser and open the port, in this case, 8099:
var Parser = require('body-parser'),
var port = 8099;
Use the body-parser:
app.use(Parser.urlencoded({ extended: false }));
app.use(Parser.json());
Configure GPIO 11, which we will control:
gpio.setup(11,gpio.DIR_OUT);
We define the functions that we will call from the web browser.
The name of the function is ledon; it activates the GPIO 11 and sends the message led1 is on to the screen:
function ledon() {
    setTimeout(function() {
        console.log('led1 is on'),
        gpio.write(11, 1);
      }, 2000);
}
The name of the function is ledoff; it turns off the GPIO 11 and sends the message led1 is off to the screen:
function ledoff() {
    setTimeout(function() {
        console.log('led1 is off'),
        gpio.write(11, 0);
   }, 2000);
}
We define the function GET, which means that we are making a request to the server when the browser receives the function called ledon; it responds with following format: {status:"connected",led:"on"}.
We will now declare the app function for the incoming requests from the clients:
app.get('/ledon', function (req, res) {
    ledon();
    var data ={status:"connected",led:"on"};
    res.json(data);
});
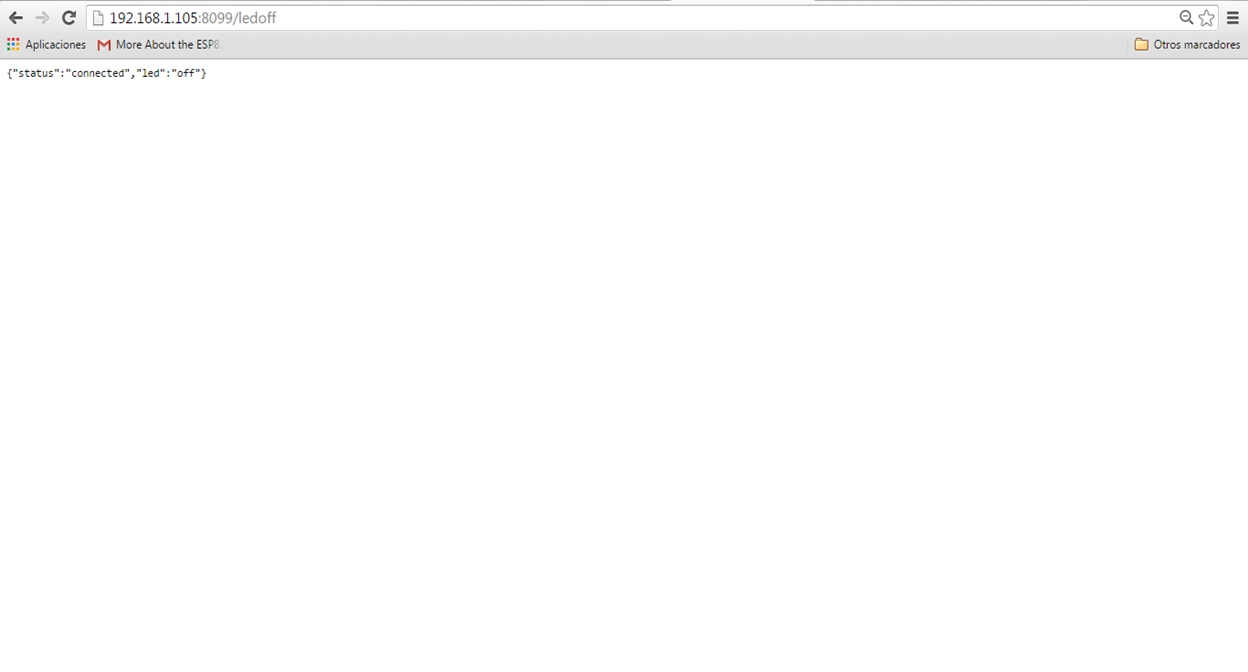
We define the function GET .which means that we are making a request to the server when the browser receives the function called /ledoff, it responds with following format: {status:"connected",led:"off"}.
app.get('/ledoff', function (req, res) {
    ledoff();
    var data ={status:"connected",led:"off"};
    res.json(data);
});
We now open the port from the web server:
app.listen(port);
console.log('Server was started on ' + port);
If everything is correct, we open our favorite browser and type http://IP_address of your Raspberry_PI_zero:port/command.
In this case, we type 192.168.1.105:8099/ledon.
The following screenshot shows you the response of the JSON request:
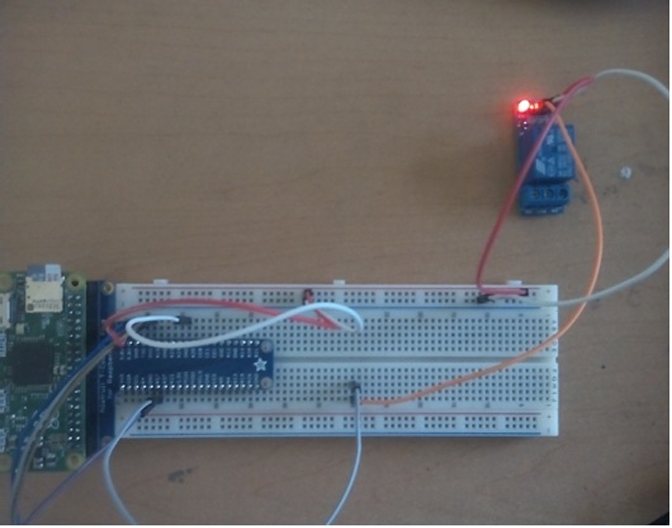
After that, we will see the final result, as shown in the following image: