If there's a fire in our home, it's vital to detect it; so in the next section, we will create a project that detects fire with a sensor.
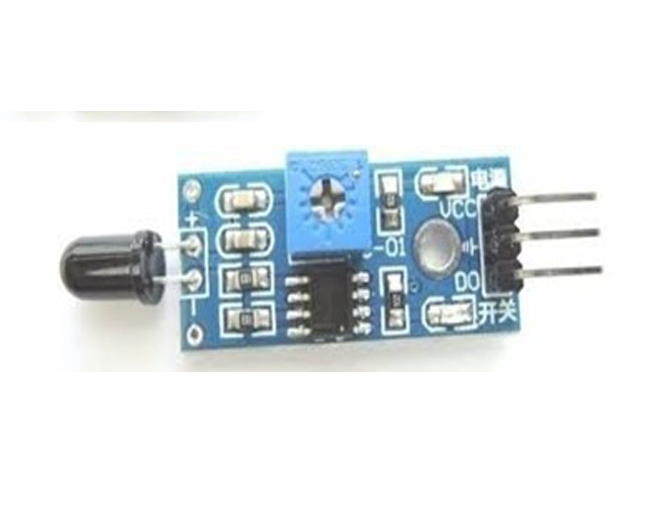
In the following image, we see of the fire sensor module:
You can now either copy the code inside a file called Sensor_fire.ino, or just get the complete code from the folder for this project.
We define the variables for our program at the beginning:
int ledPin = 13;
int inputPin= 2;
int val = 0;
We define the output signals and the serial communication:
void setup() {
pinMode(ledPin, OUTPUT);
pinMode(inputPin, INPUT);
Serial.begin(9600);
}
Now we display the value of the digital signal:
void loop(){
val = digitalRead(inputPin);
Serial.print("val : ");
Serial.println(val);
digitalWrite(ledPin, HIGH);  // turn LED ON
Then we compare: If the value detects a high logic state, it turns off the output; if it reads the opposite, it turns on the digital signal; this means that it has detected fire:
if (val == HIGH) {
  Serial.print("NO Fire detected ");
  digitalWrite(ledPin, LOW); // turn LED OFF
}
else{
  Serial.print("Fire DETECTED ");
  digitalWrite(ledPin, HIGH);
  }
}
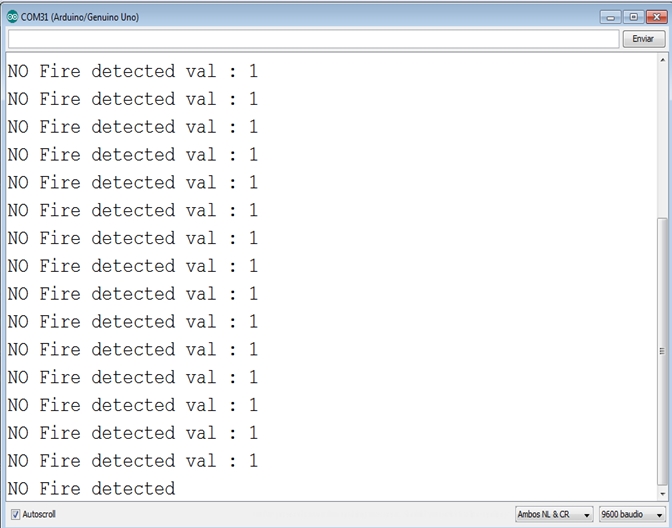
When the Arduino board detects fire, it will read
1
in the digital input, which means no fire detection:
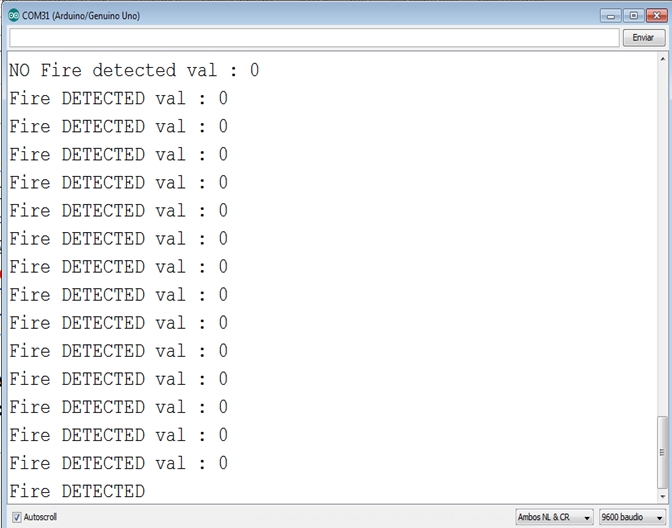
If it detects fire, the digital input reads
0
logic from the digital input: