
If you wish to scale out an existing cluster, we can do it with a few steps. Manually scaling up your cluster on GCE is actually quite easy. The existing plumbing uses managed instance groups in GCE, which allow you to easily add more machines of a standard configuration to the group via an instance template.
You can see this template easily in the GCE console. First, open the console; by default, this should open your default project console. If you are using another project for your Kubernetes cluster, simply select it from the project drop-down at the top of the page.
On the side panel, look under Compute and then Compute Engine, and select Instance templates. You should see a template titled kubernetes-minion-template. Note that the name could vary slightly if you've customized your cluster naming settings. Click on that template to see the details. Refer to the following screenshot:
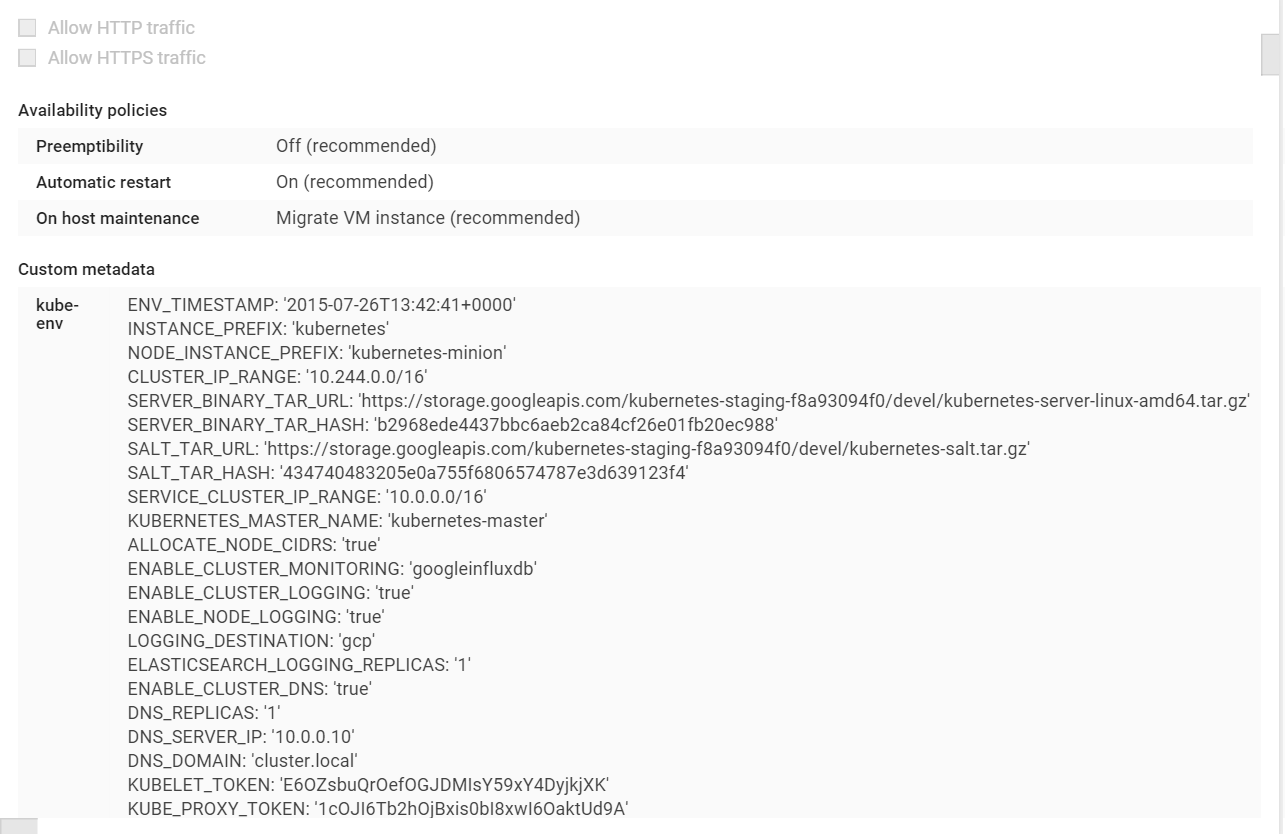
You'll see a number of settings, but the meat of the template is under the Custom metadata. Here, you will see a number of environment variables and also a startup script that is run after a new machine instance is created. These are the core components that allow us to create new machines and have them automatically added to the available cluster nodes.
Because the template for new machines is already created, it is very simple to scale out our cluster in GCE. Once in the Compute section of the console, simply go to Instance groups located right above the Instance templates link on the side panel. Again, you should see a group titled kubernetes-minion-group or something similar. Click on that group to see the details, as shown in the following screenshot:

You'll see a page with a CPU metrics graph and three instances listed here. By default, the cluster creates three nodes. We can modify this group by clicking on the EDIT GROUP button at the top of the page:
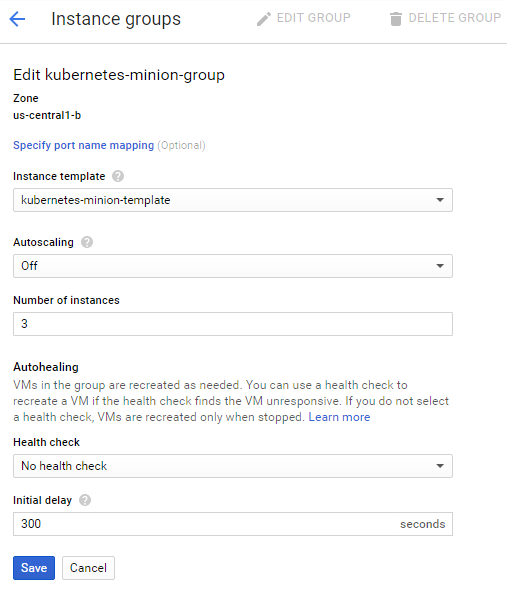
You should see kubernetes-minion-template selected in the Instance template that we reviewed a moment ago. You'll also see an Autoscaling setting, which is Off by default, and an instance count of 3. Simply increment this to 4 and click on Save. You'll be taken back to the group details page and you'll see a pop-up dialog showing the pending changes.
In a few minutes, you'll have a new instance listed on the details page. We can test that this is ready using the get nodes command from the command line:
$ kubectl get nodes
First, if we repeat the earlier process and decrease the countdown to four, GCE will remove one node. However, it will not necessarily be the node you just added. The good news is that pods will be rescheduled on the remaining nodes. However, it can only reschedule where resources are available. If you are close to full capacity and shut down a node, there is a good chance that some pods will not have a place to be rescheduled. In addition, this is not a live migration, so any application state will be lost in the transition. The bottom line is that you should carefully consider the implications before scaling down or implementing an autoscaling scheme.