In this recipe, we will see how a picture may be set as the background image of forms. We will see how we can set the graphic to appear both on the print preview and/or hard copy of the Smart Form.
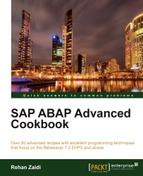
We will first create a background image and upload the image on the SAP Document Server using the transaction SE78. The name of the image we upload is ZST9_BACKGROUND and is in color (the supported formats are .tiff and .bmp).
We will now set the graphic as the form background. Follow these steps:
- Call the transaction
SMARTFORMS. Double-click the relevant node in the left-hand pane of the page for which the background image is to be set. - In the right-hand pane, three tabs will appear for the page. The third is Background Picture. On this tab, enter the name of the uploaded graphic. Select the Color Bitmap Image (BCOL) radio button. Within the Output Mode list, select Print Preview from the lisbox.

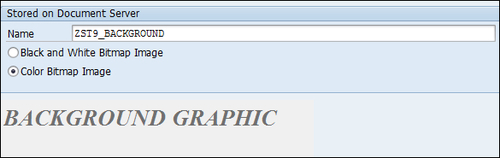
- The main window is placed on top of the background graphic.
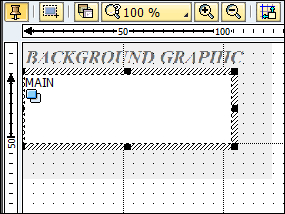
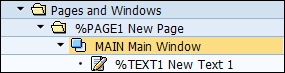
- Next, we define a text within the MAIN Main Window on the page.
- A suitable line
TEST TEXT FOR BACKGROUNDis created within the created text, as shown in the following screenshot: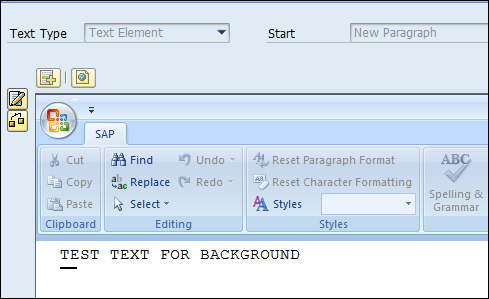
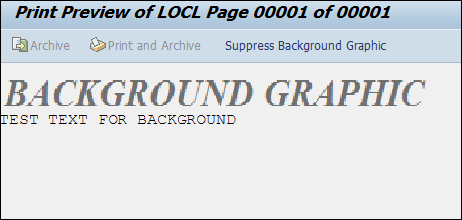
When the Smart Form is called (using a calling program), the background graphic is displayed along with the line of text in the Print Preview mode. However, when the form is printed, no background image appears (only the line of text created appears). This setting is very useful when a pre-printed paper having the appropriate background graphic is used for printing, and should not be printed in the form output (since the paper already has the graphic in it). The user, however, needs to see the background graphic when the form preview is taken on th screen.
If the background graphic appears blurred or the pixel artefacts are visible, we may need to use a high-resolution graphic. One option may be that we use a high quality (high-resolution graphic). Also, we may try to control this using the resolution setting through the Resolution field in the Output Attributes screen. Instead of keeping it blank, we may enter a value of 200. The higher the resolution, the clearer will be the graphic (however, the size of the graphic may decrease as the resolution increases).
We may also slightly change the image's output mode in order to make the image work as a watermark when printed on paper. Instead of the Print preview and no print option for the Output Mode, we can choose the Print preview and print option.

This will print the image on both the Print option (and the Print Preview option) and when printed on paper, it will make the image appear as a watermark on top of which text and data will appear.