
In this recipe, we will see how we can add tabstrips to an existing view containing various layout elements.
We will now follow the steps as shown:
- We first go to the layout editor and in the right pane, right-click on the ROOTUIELEMENTCONTAINER element in order to access the context menu. We then select the Insert Element option. Now, we enter the name
Tabstripin the ID field and select the typeTabStrip.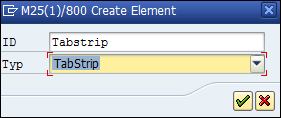
- This will create a
TABSTRIPin our layout. We select the tabstrip and then add two tabs by choosing the Insert tab option from the context menu.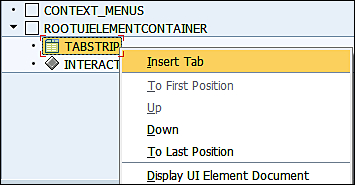
- Next we assign appropriate text in the
textproperty of the added caption headers for each of the two tabs.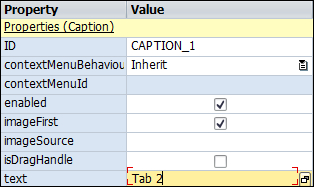
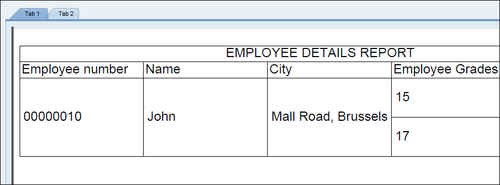
- Then we will simply drag-and-drop any UI element already contained in our layout editor to the tab of our choice. Any width and height adjustments are made if required. We save and activate the component and run the relevant application.
..................Content has been hidden....................
You can't read the all page of ebook, please click here login for view all page.