
In this recipe, we will see how we can create a nested table. A nested table involves two internal tables, an inner and an outer table.
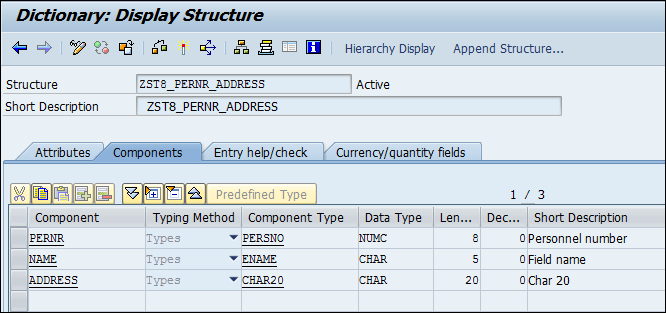
Before we dive into the details of creating our nested table, we will create two tables types in the ABAP dictionary. The first type ZST8_T_PERNR_ADDRESS is based on the line type shown as follows:
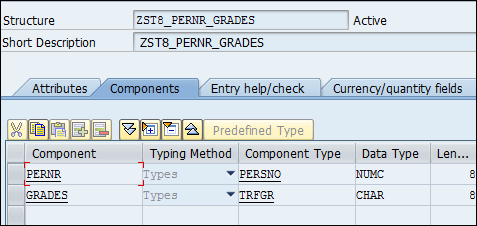
The table type ZST8_T_PERNR_GRADES is based on the on the line type shown as follows:
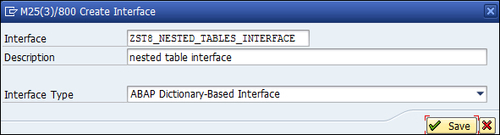
There has to be a connecting field or fields between the two. We keep the PERNR employee number as the connecting field between the two tables. We then create the interface based on ABAP dictionary type using transaction SFP.
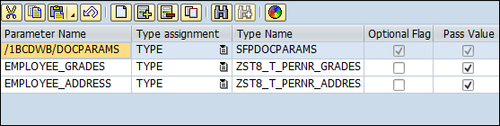
We define two variables in the data definition, the interface EMPLOYEE_GRADES and EMPLOYEE_ADDRESS, as shown in the following screenshot:
We will now carry out the following steps:
- We create a new form using the transaction
SFP. The name of the form isZST8_NESTED_TABLES_EXAMPLEbased on the interface defined earlier.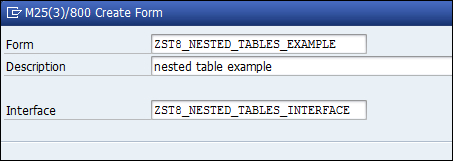
- Within the context definition of the form, we include the
EMPLOYEE_ADDRESSinterface from the interface to the context through drag-and-drop. We then drag-and-drop the EMPLOYEE_GRADES node from the interface to the EMPLOYEE_ADDRESS node. This will include the EMPLOYEE_GRADES node under the EMPLOYEE_ADDRESS node.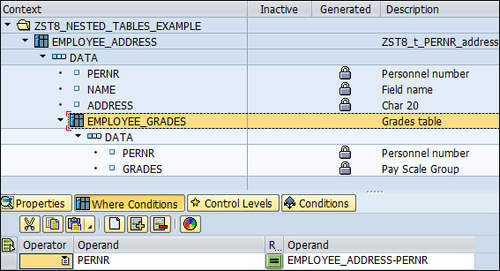
- We will now link the two tables through the PERNR fields. For this, we need to click the WHERE Conditions tab after selecting the EMPLOYEE_GRADES node. Then we will enter the PERNR field as Operand 1 and the EMPLOYEE_ADDRESS-PERNR node.
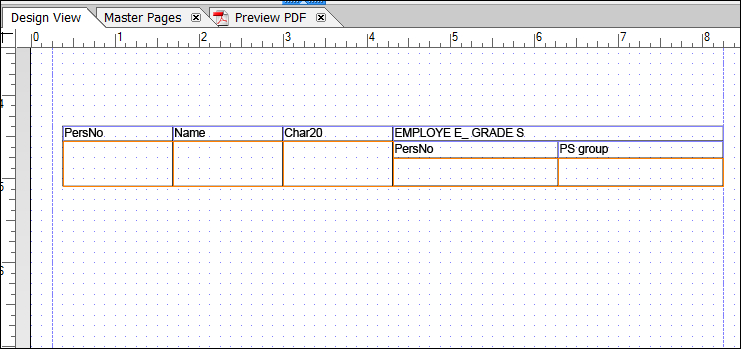
- Now click on the Layout tab within the Adobe LiveCycle designer. Drag-and-drop the EMPLOYEE_ADDRESS table shown under the Data View panel to the Form Layout panel. Initially the nested table is created as shown in following screenshot:
- We adjust the header of the table. We will delete the header line of the inner table EMPLOYEE_GRADES and adjust the text.

We created two table types. Then we used them in the interface that is later used in our form. Within the context definition of the form, we included the EMPLOYEE_ADDRESS table from the interface to the context through drag-and-drop. Then we included the EMPLOYEE_GRADES table within the EMPLOYEE_ADDRESS table. After creating the EMPLOYEE_ADDRESS table on the form layout and making necessary changes, testing the form on sample data gave the output as shown in the following screenshot:

We can modify the header of the table in order to include a one-cell heading. For this we select the top header row and right-click in order to choose the context menu as shown in following screenshot:
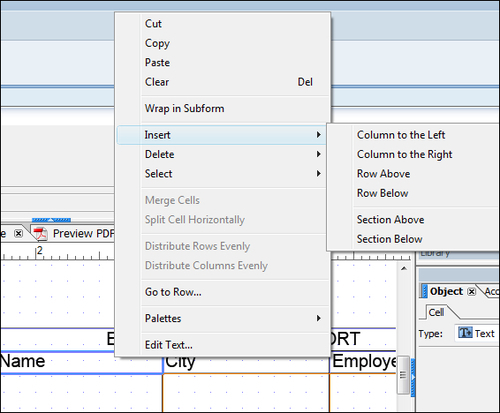
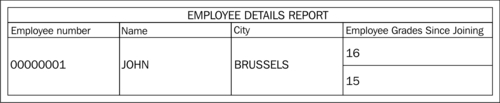
We then choose the option Row Above. This will include a new row. Then select the newly created row and right-click. From the context menu that appears, choose the option Merge Cells. This will combine the four cells and make a single cell. We then right-click and choose option Edit Text and then write the title of the form as EMPLOYEE DETAILS REPORT. The output of the report is shown as follows:
If the table is to run on multiple pages, you may set the Page Break Within Content property for the table to make the table go on multiple pages.
Also, for performance reasons, while definition of the interface, we may also uncheck the checkbox Pass Value for the tables EMPLOYEE_GRADES and EMPLOYEE_ADDRESS.