
In this chapter, you are going to look at how to export files for the web using in Illustrator CC.
Note
This chapter does not have any actual projects; however, you can use the files in the Chapter 12 folder to practice opening and viewing for this lesson. They are at https://github.com/Apress/graphics-multimedia-web-adobe-creative-cloud .
At some point, you probably have designed some artwork for your website, whether it was graphic buttons, images for a gallery, or a patterned background. After you designed your artwork for your website, you want to start saving it for the web. Rather than bring it into Photoshop to export, Illustrator CC also offers several ways to export your web-ready files. If you need a more detailed description of each of these file types, refer to Chapter 1.
Export Settings in Illustrator CC
File Format | (Option 1) File ➤ Save As File ➤ Save a Copy | (Option 2) File ➤ Export ➤ For Screens | (Option 3) File ➤ Export ➤ Export As | (Option 4) File ➤ Export ➤ Save For Web (Legacy) |
|---|---|---|---|---|
Bitmap (.bmp) | ✔ | |||
JPEG (.jpg, .jpeg, .jpe) | ✔ | ✔ | ✔ | |
PNG (8 and 24)(.png) | ✔ | ✔ | ✔ | |
GIF (static and animated) (.gif) | ✔(static only) | |||
SVG (.svg) | ✔ | ✔ | ✔ | |
Illustrator PDF (.pdf) | ✔ | ✔ |
As you can see, Illustrator CC offers at least four separate ways to save web files. Let’s look at each way. Refer to Table 12-1 if you need to compare information.
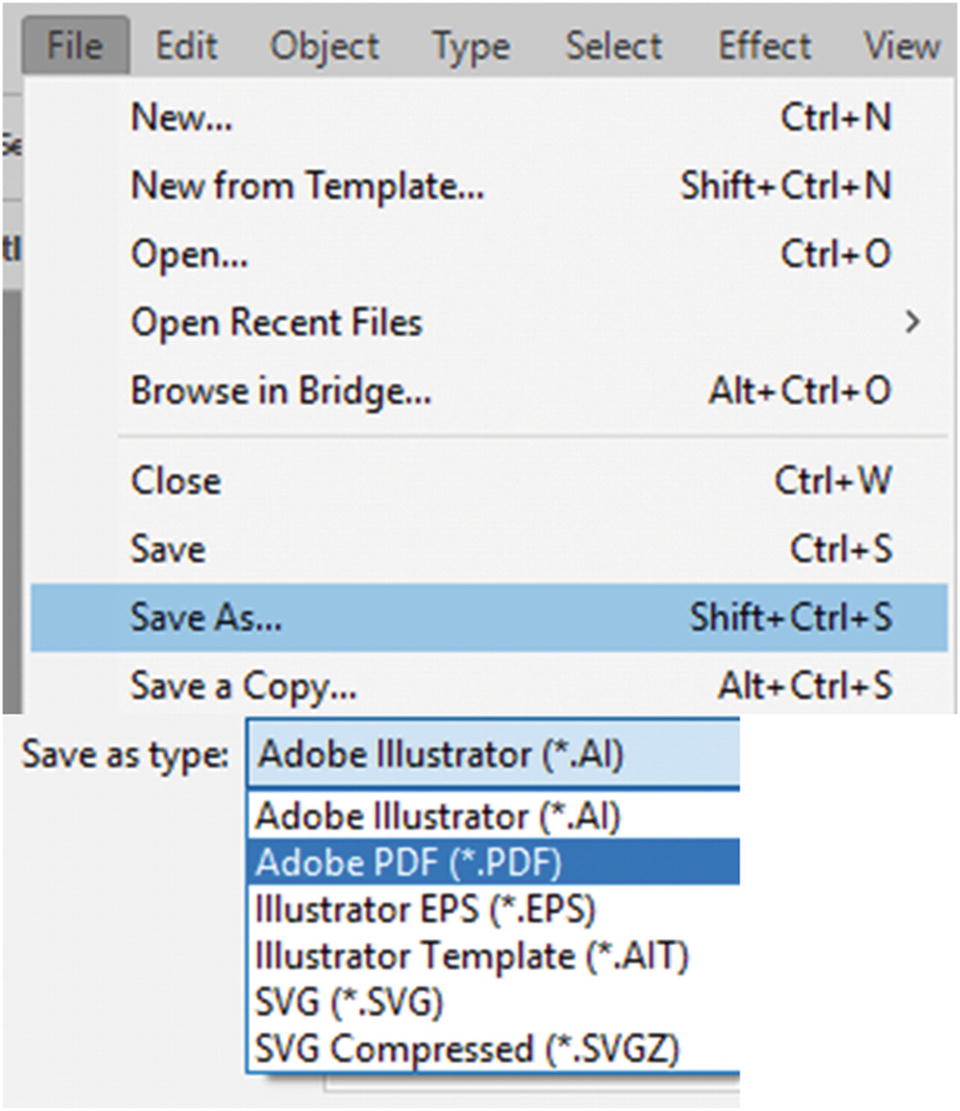
Option 1: File ➤ Save As or File ➤ Save a Copy
Save, Save As, and Save a Copy have fewer web options than Photoshop
Unlike Photoshop, whose focus is on creating raster or pixilated graphics, Illustrator’s main purpose is to create graphics that are scalable or vector. About a decade ago, files that were scalable for viewing on a website were still in their infancy and slowly being adopted by web developers; so Illustrator was not considered the go-to for creating web graphics.
The main types of files that you can use on the web that contain vector elements are Adobe PDF, SVG, and SVG Compressed. Let’s take a moment to look at their settings through Illustrator.
Adobe PDF (.pdf)

Make sure that Acrobat Pro and its Distiller are installed on your computer if you want to create PDFs with Illustrator
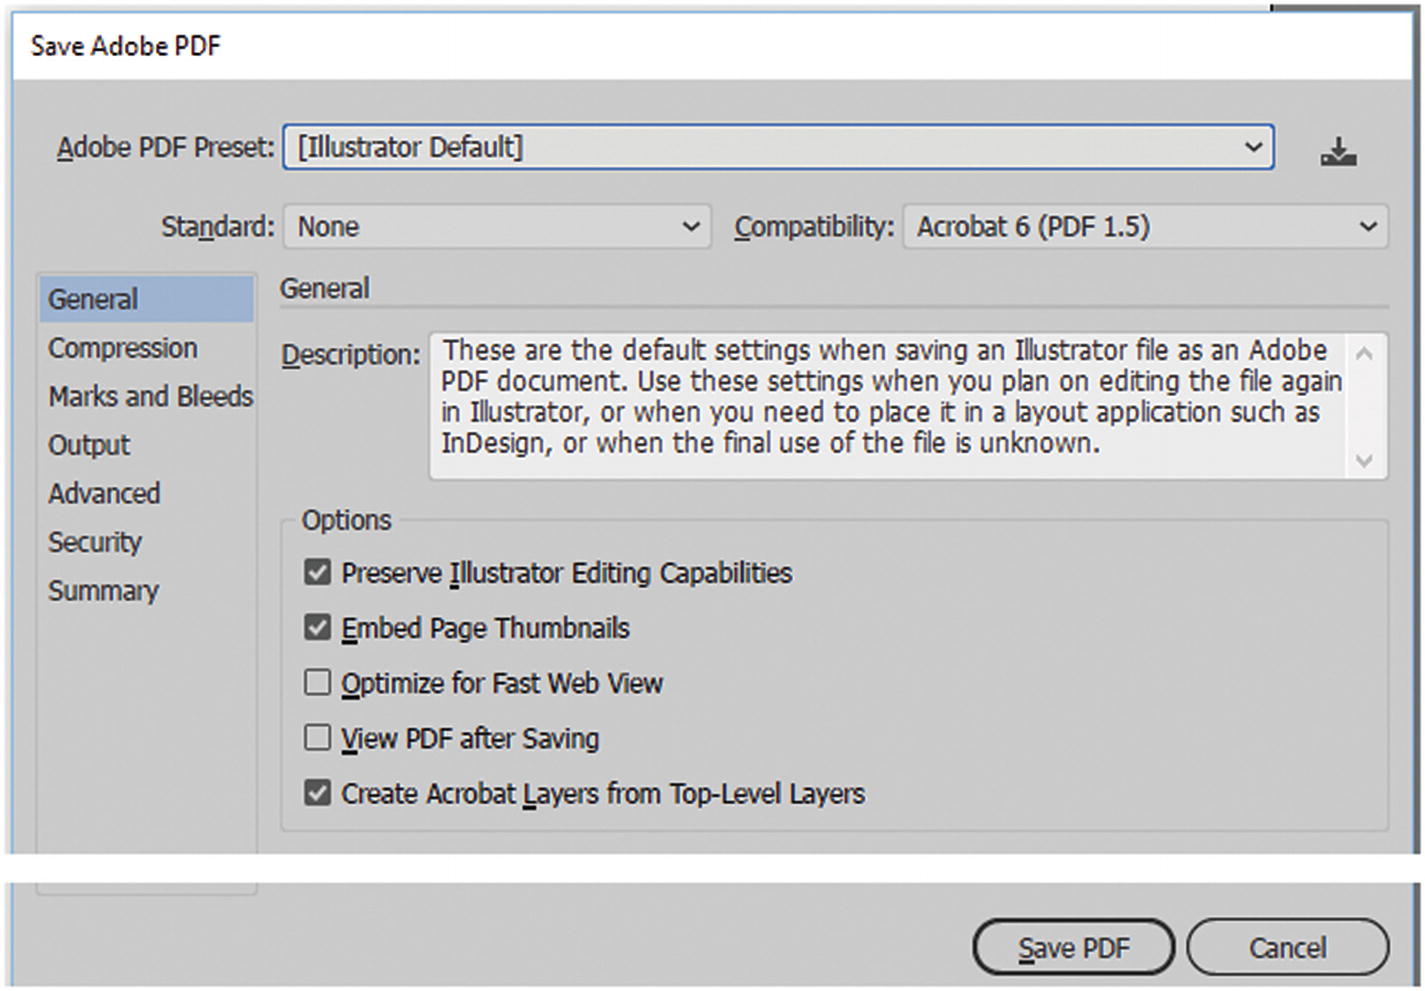
The Save Adobe PDF dialog box General tab
General: The main settings that allows you to keep a standard and compatibility setting. Preserve the file should you want to edit it again, embed a thumbnail, optimize for fast web preview, view the PDF after saving, or retain layers for your PDF.
Compression: Assorted options for downsampling bitmap images within the vector file. You can also compress text and line art. Refer to Figure 12-4.

The Save Adobe PDF dialog box Compression tab
Marks and Bleeds: Like Adobe InDesign CC, Illustrator CC allows you to add trim marks to your images for items like business cards and flyers. You may want to add these as part of your online portfolio or if you prefer to skip this area and create your own custom trim marks. Refer to Figure 12-5.
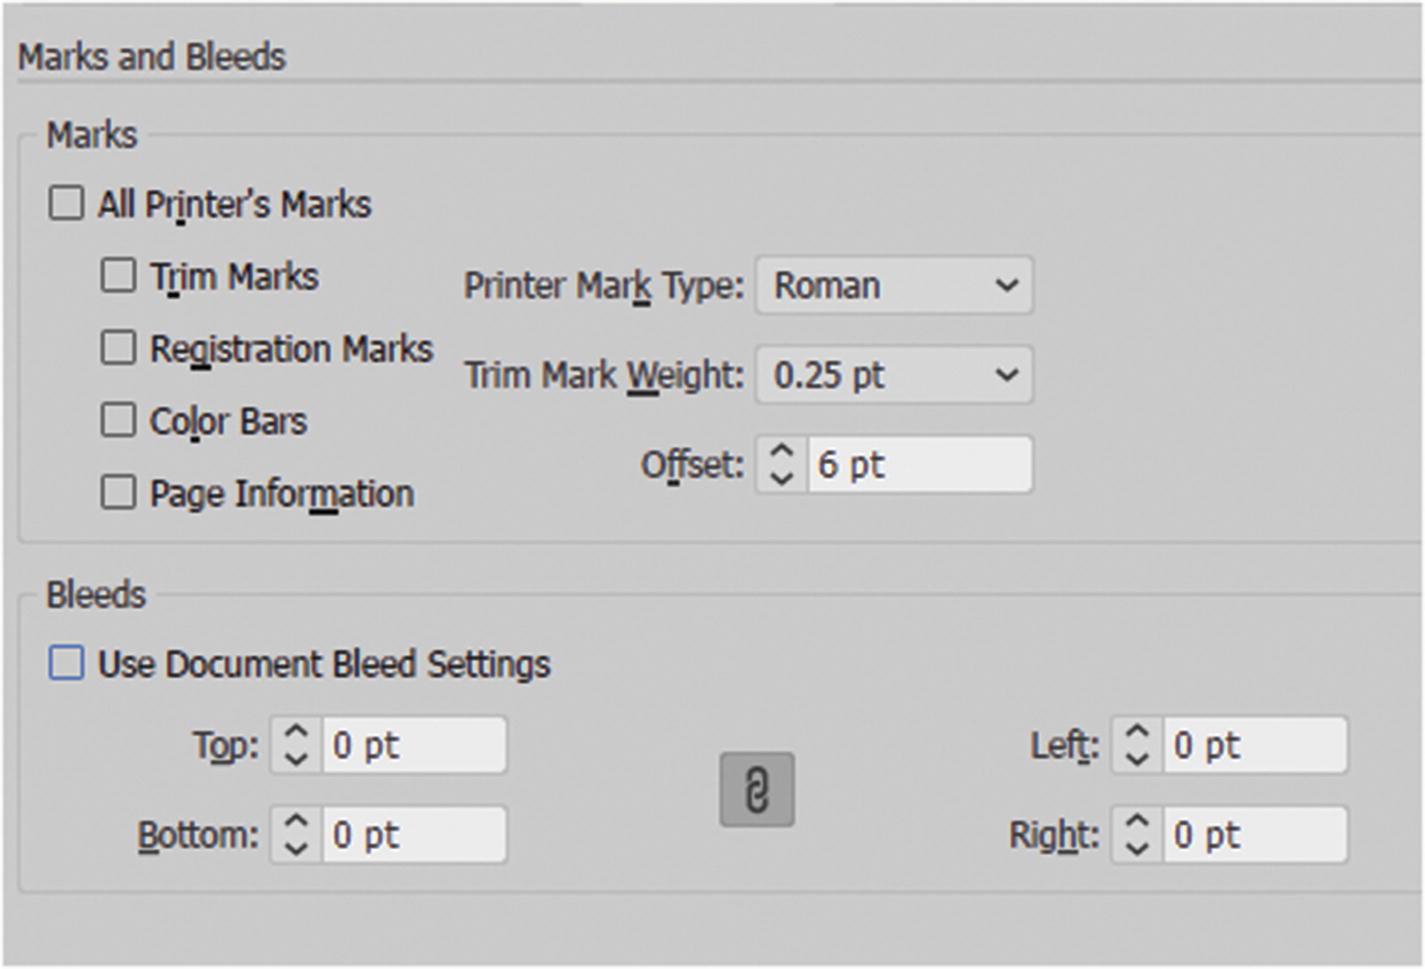
The Marks and Bleeds tab in the Save Adobe PDF dialog box
Output: This tab deals with color and file conversion. Hovering over a filed item will give you a description of that setting in the field below. Refer to Figure 12-6.
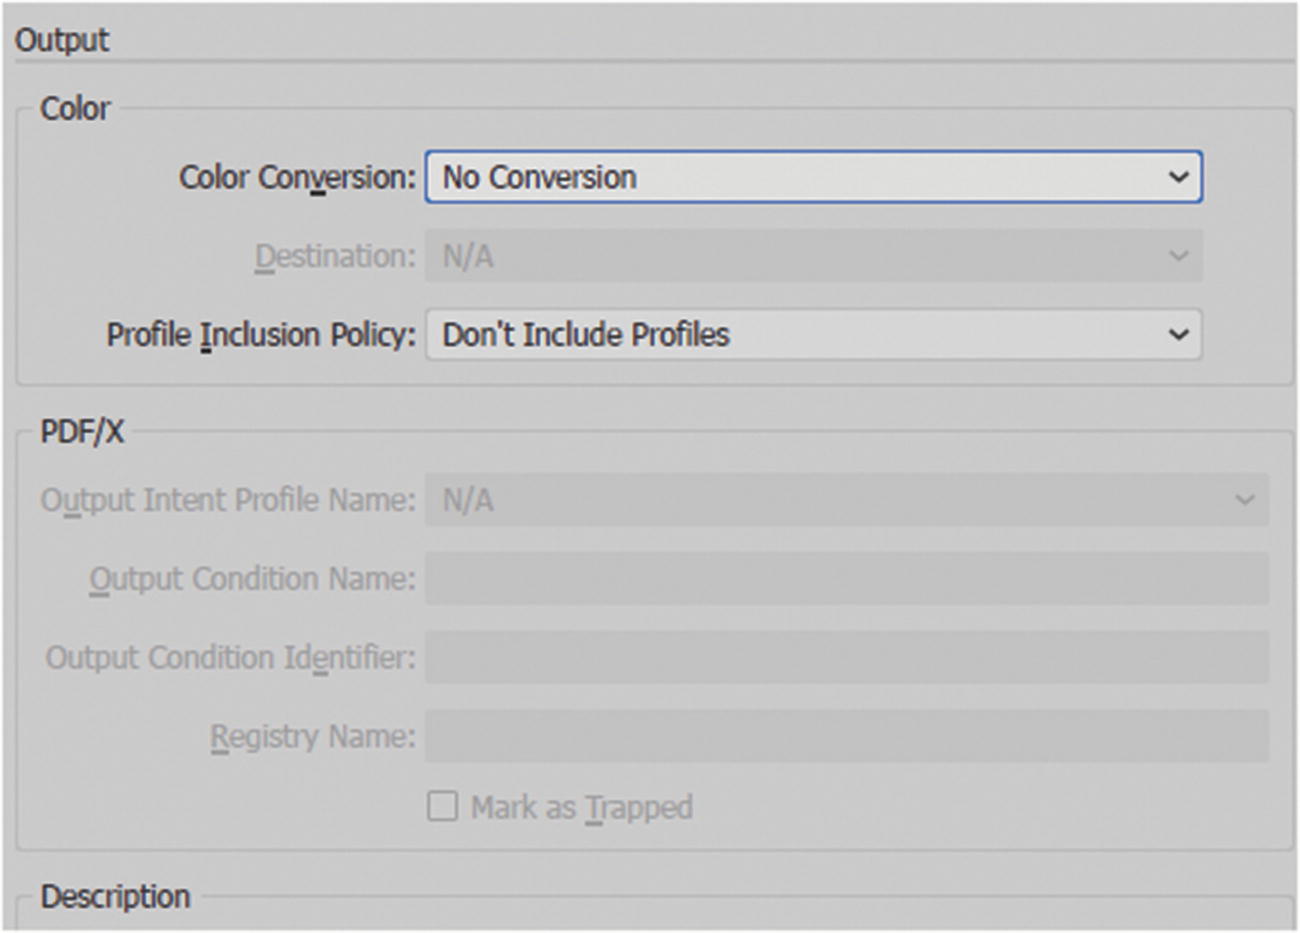
The Output tab in the Save Adobe PDF dialog box
Advanced: This area deals with font subsets and handling transparency when the file is printed for older PDF compatibility; otherwise, it is unavailable. Refer to Figure 12-7.
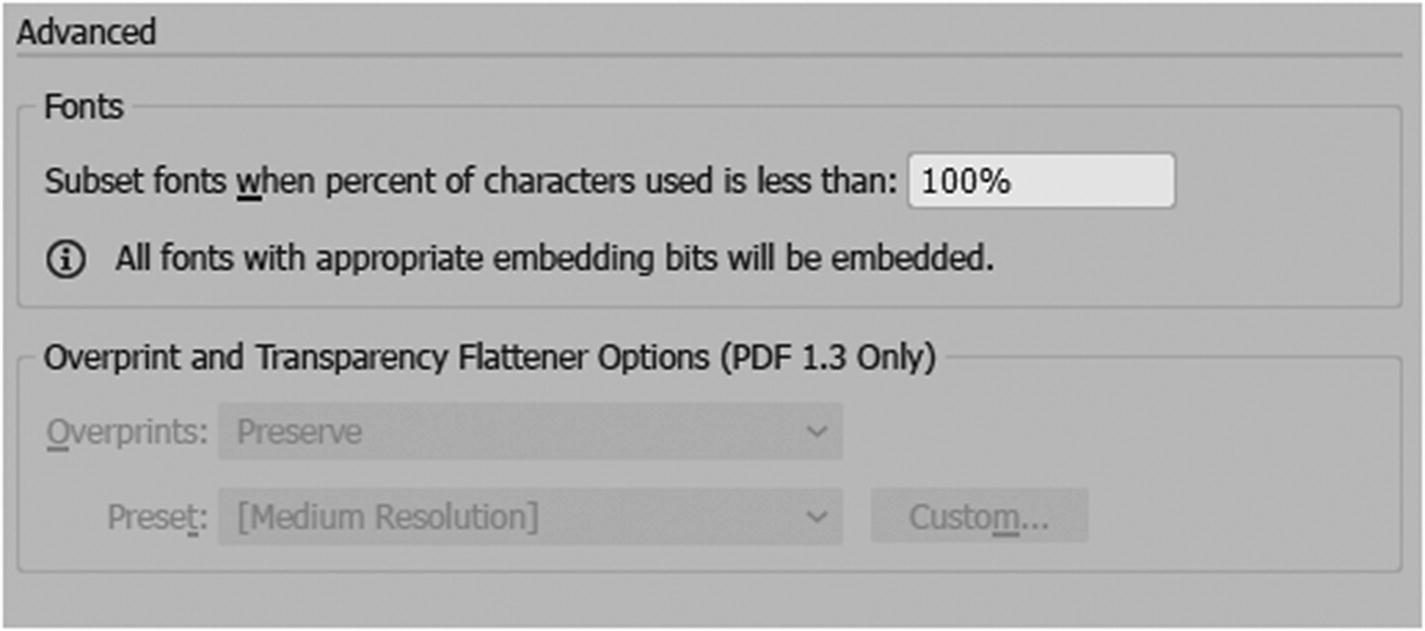
The Advanced tab in the Save Adobe PDF dialog box
Security: Sets security features for an image so that users who don’t know the password can’t open, print, or edit it. Refer to Figure 12-8.
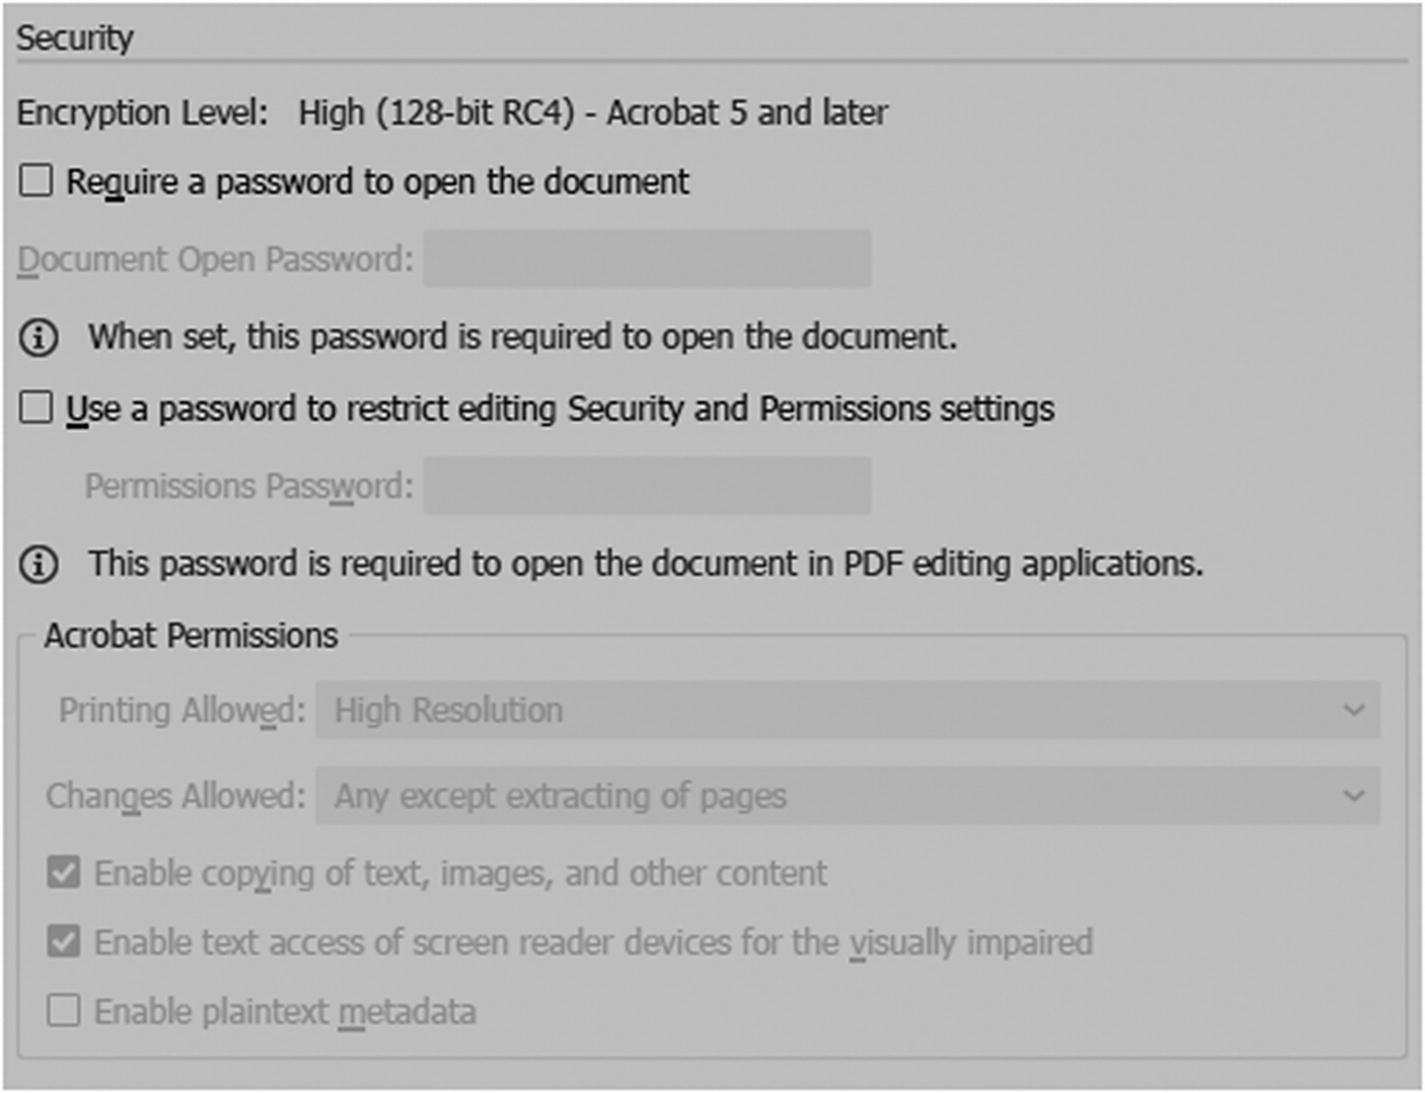
The Security tab in the Save Adobe PDF dialog box
Summary: Lists all the settings that were made, as well as any issues or warning during creation. Refer to Figure 12-9.
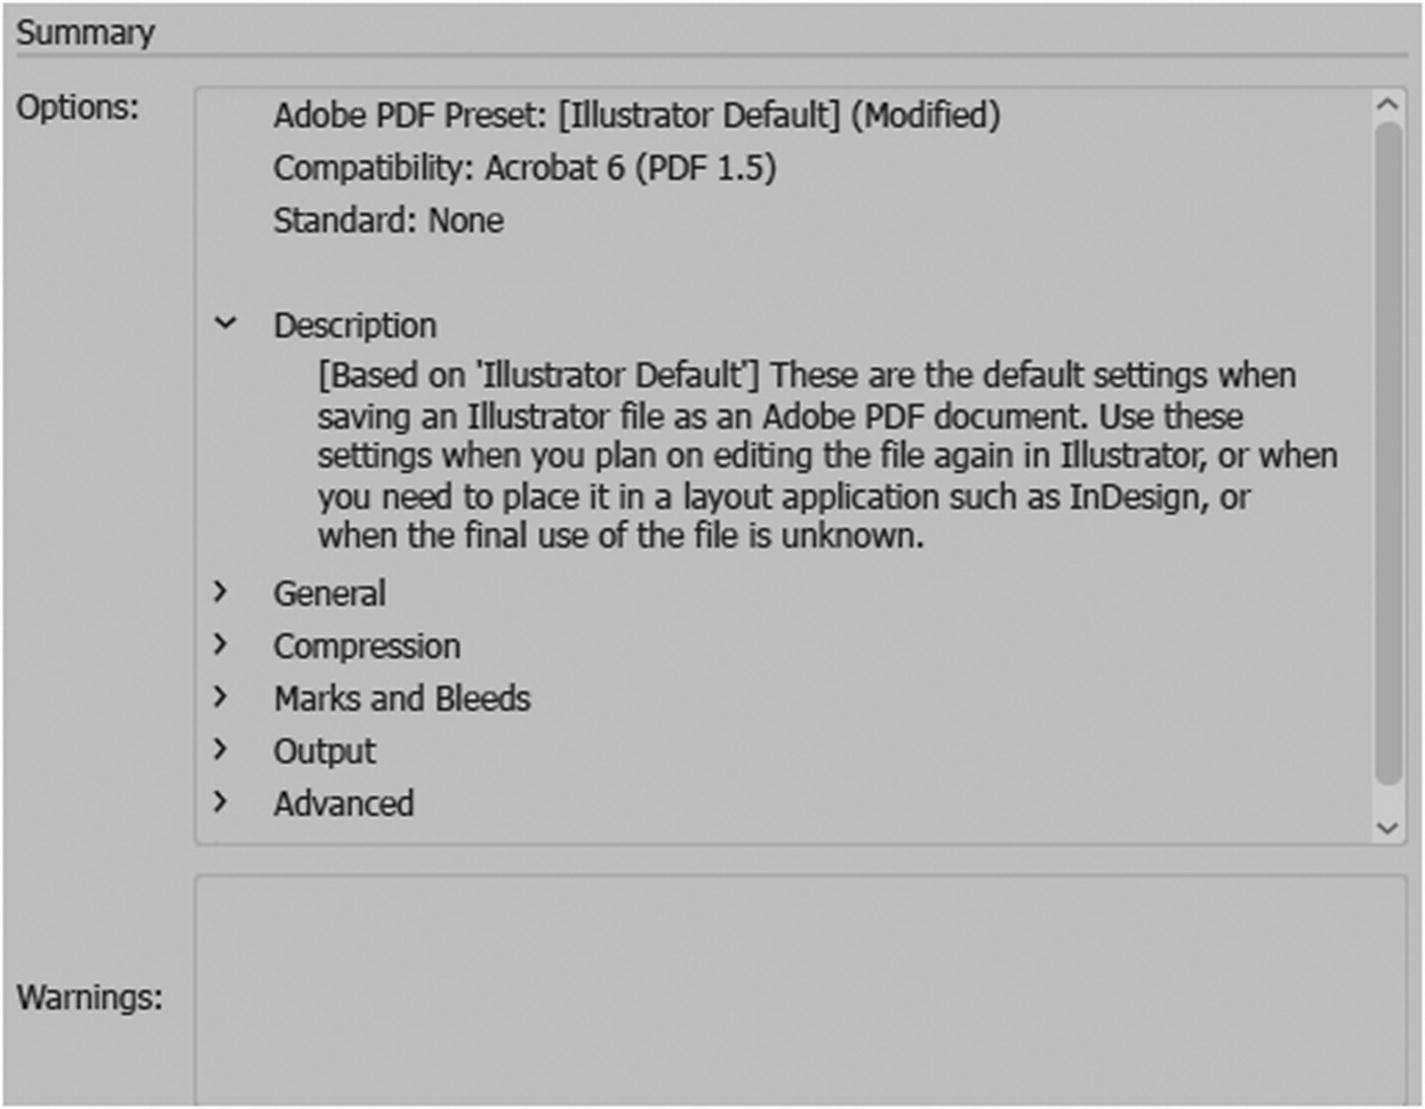
The Summary tab in the Save Adobe PDF dialog box
If you plan to save the PDF, click the Save PDF button, as seen in Figure 12-3, or click Cancel to exit.
SVG (.svg) and SVG Compressed (.svgz)
Scalable Vector Graphics, as you saw in Chapter 1, are based on an XML coding vector image format for two-dimensional graphics with support for interactivity and animation. As you saw in Chapter 8, they can also be used to create colorful fonts and fonts for the web. Vector images can be scaled to any size and keep their basic form without losing quality, whereas JPEGs, GIFs, and PNGs appear pixilated when scaled up. SVGs are generally considered “lossless,” or don’t compress; however, an SVGZ or compressed SVG can be 20% to 50% of the original size.

SVG Options dialog box
Note
If you want to work with more than one file format at a time, choose Export for Screens, which looks at Option 2 in this chapter.
SVG Profiles: SVG has various presets that you can use based on your compression settings. Refer to Figure 12-11.

Profile settings in the SVG Options dialog box
Fonts: If your SVG file contains fonts, you can set them to either Type: SVG or a graphic outline. Outlines make the text non-editable later. Subsetting allows only some or all font characters or glyphs to be loaded into the file, as seen in Figure 12-12.

Font settings in the SVG Options dialog box
Options: Determines if images are preserved embedded or linked to the file. You can also set whether Illustrator can continue to edit the file after it has been saved as an SVG. Refer to Figure 12-13.

Option settings in the SVG Options dialog box
Advanced Options: When the More Options button is pressed, you see these additional options. Refer to Figure 12-14.
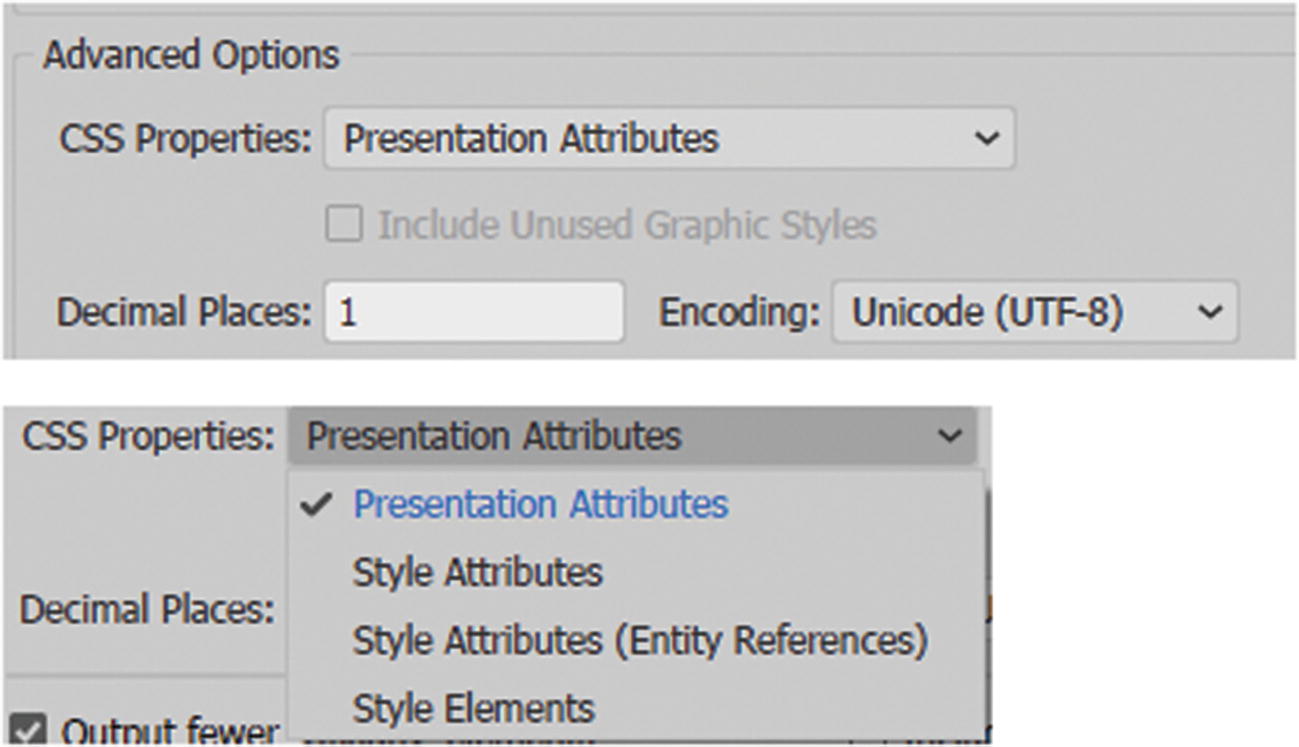
Advanced settings in the SVG Options dialog box
CSS Properties: Refers to how the Cascading Style Sheets styles within the code; for a more detailed description, you can hover over each one and view the definition in the lower description area of the dialog box.
Decimal places: Refers to how precise the vector is in the artwork. You can set it from 1 to 7; a higher value results in a larger file.
Encoding: Refers to the type of coding used for the SVG file. The default is Unicode (UTF-8).

Advanced settings in the SVG Options dialog box
Selecting Output fewer <tspan> elements: Reduces the file size, but it may alter the image slightly.
Use <textPath> element for Text on Path: Preserves text on a path; otherwise, it is written as a <text> element. This keeps the XML code more compact, but it may not accurately preserve the appearance.
Responsive: Allows the CSS to make the SVG image scalable in the browser. This is a good option for scalable websites.
Include Slicing Data: If the image included slices, the location and optimization settings are preserved.
Include XMP: Allows the SVG to include important metadata like author, date created, and date modified. Some of this information is found in your original AI file when you go to File ➤ File Info.
Less Options: Hides the advanced features. You can use a text editor, like Notepad++ or Dreamweaver, to edit your SVG code. Refer to Figure 12-16.

SVG Options dialog box lower buttons
Globe icon: Allows you to preview the image in a browser. Click OK if you want to save the file as an SVG or SVG compressed; click Cancel to exit the dialog box.
Option 2: File ➤ Export ➤ Export for Screens
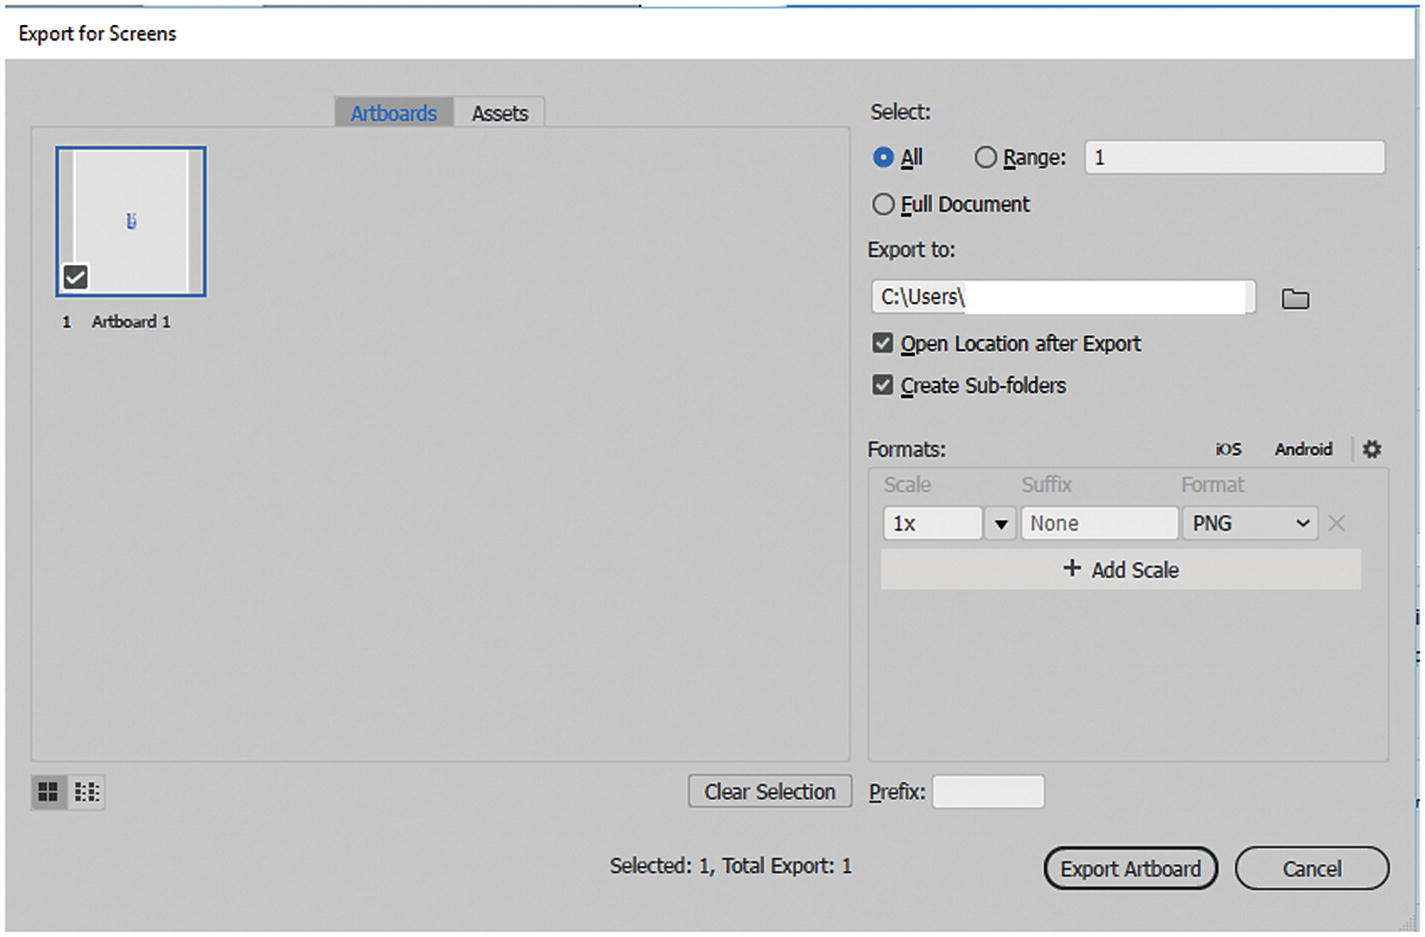
Export for Screens dialog box: artboard settings
Export for Screens dialog box: Assets settings
Artboards Tab

When you create a new file, choose the number of artboards that you require

Two artboards in one file

Enter Artboard mode with the Artboard tool and use the Control panel to edit the artboard sizes
To exit Artboard mode, click the Hand tool (H) in the Tools panel.
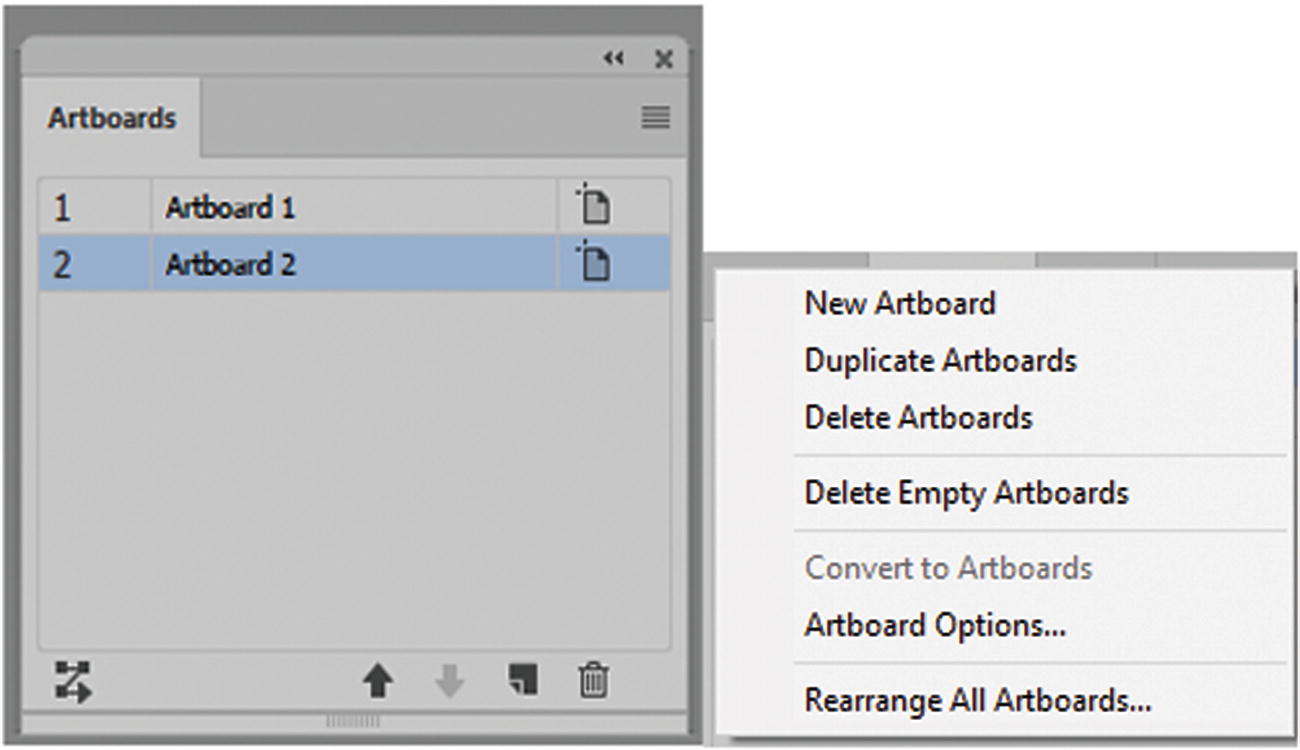
The Artboards panel and its menu options
You can add, duplicate, delete, and rearrange artboards using this panel.
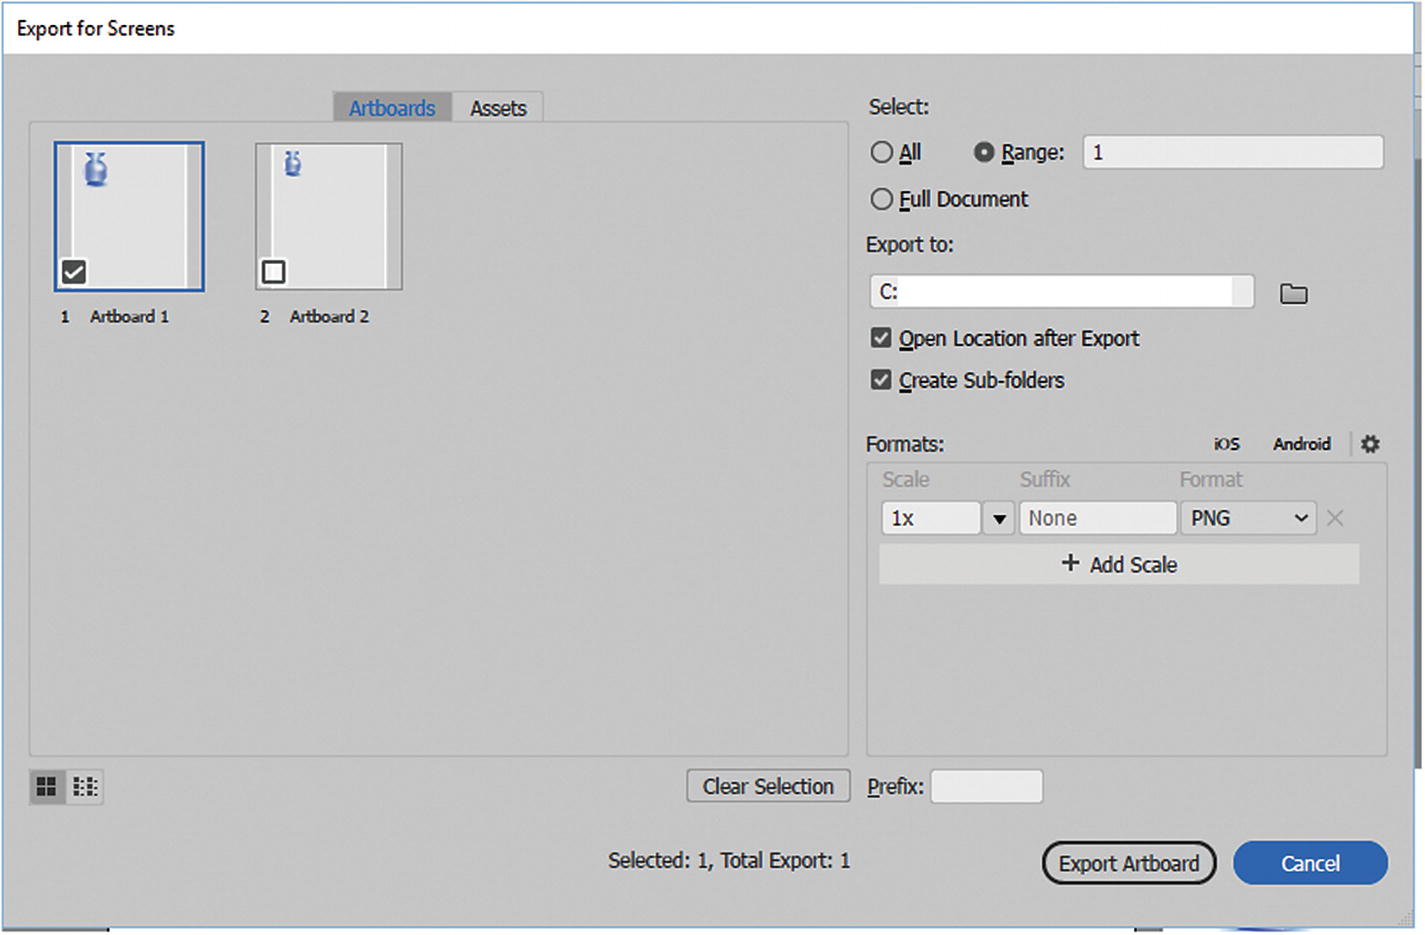
The Export for Screens dialog box with two artboards
All: Everything in the preview is selected or checked
Range: Only one or some are checked, but not all
Full document: Where all artboards and their items are selected collectively
If you want to deselect all artboards, click the Clear Selection button in the lower area of the dialog box.
Note
If you have many artboards that you need to view all at once, you can adjust the preview size of the artboards with the buttons in the lower left from large to small thumbnail view. Refer to Figure 12-24.
Adjust how you view the artboard with the thumbnail buttons Export for Screens dialog box
You can then browse for an export location, set whether the folder opens after export, and create a subfolder within that folder.
For file formats available to export from artboards are PNG, JPEG, SVG, and PDF.
As you saw in Chapter 4, each of these file formats have various settings of higher or lower quality; however, when applying these settings in Illustrator CC, you find that they are in a slightly different location.
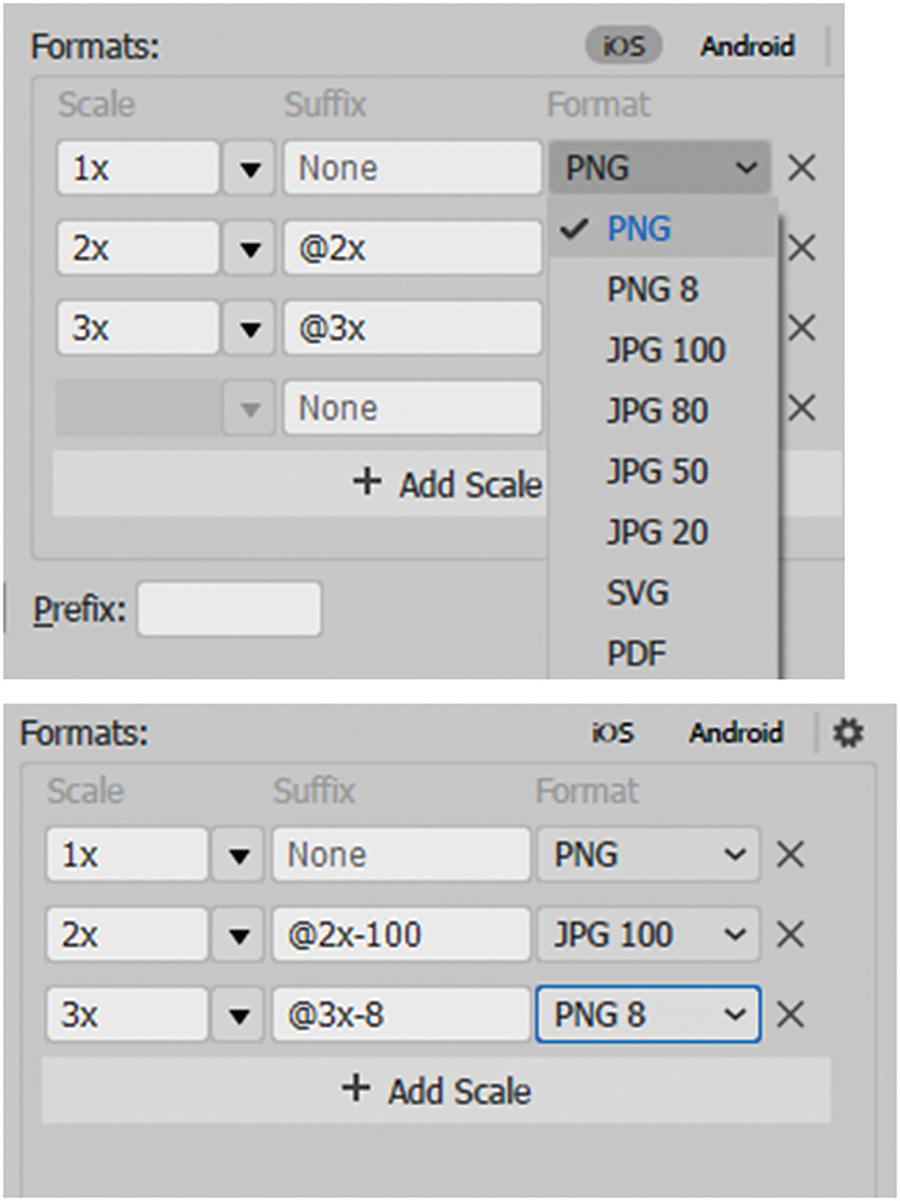
Set and export several sizes, suffixes, and formats at once
You can add more by clicking Add Scale, or remove by clicking the X on the right.
Suffix refers to the scale and the format you set and uses that to create a unique name for your file. You can also choose whether the file is for iOS or Android devices, clicking on this setting will add more formats to the list and allow you adjust the formats.
Prefix refers to text added to the front of the file name or each file create. If you don’t want a prefix, then leave this area blank.
If you need to refine the settings for your file formats you can adjust them in the widget icon in the Format area.
Note
Many of these settings are like the ones seen in Chapter 4.
PNG

Advanced Format settings for PNG files
Options: Anti-aliasing choices are None; Type Optimized (Hinted), which is best for text; and Art Optimized (Supersampling) focuses on the art, but text anti-aliasing is not honored.
Interlaced: Refers to how the image loads and becomes clearer with each scan. You can set the background color here to transparent, black or white.
If you want to set your PNG background to a different custom color, you will need to use a PNG 8.
PNG 8

Advanced format settings for PNG-8 files
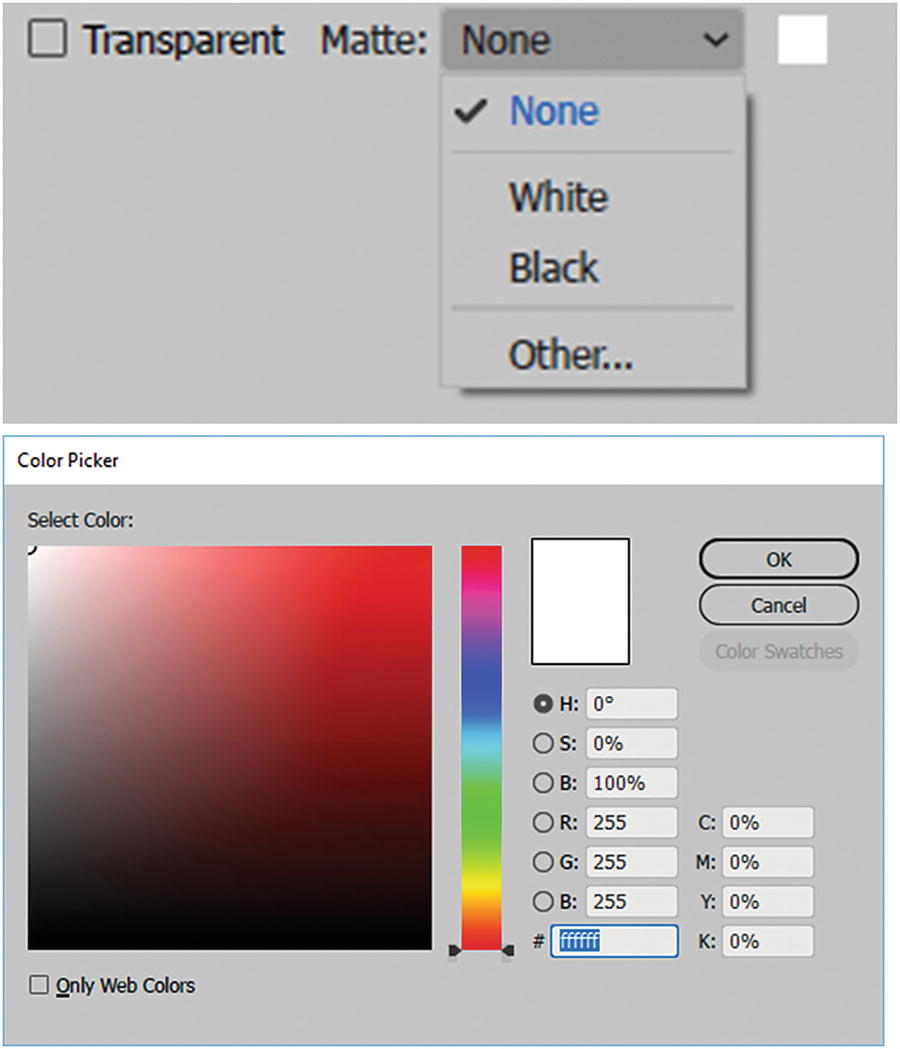
Advanced format settings for PNG-8 files allow you to choose a custom matte background color if you unselect transparent using the color picker
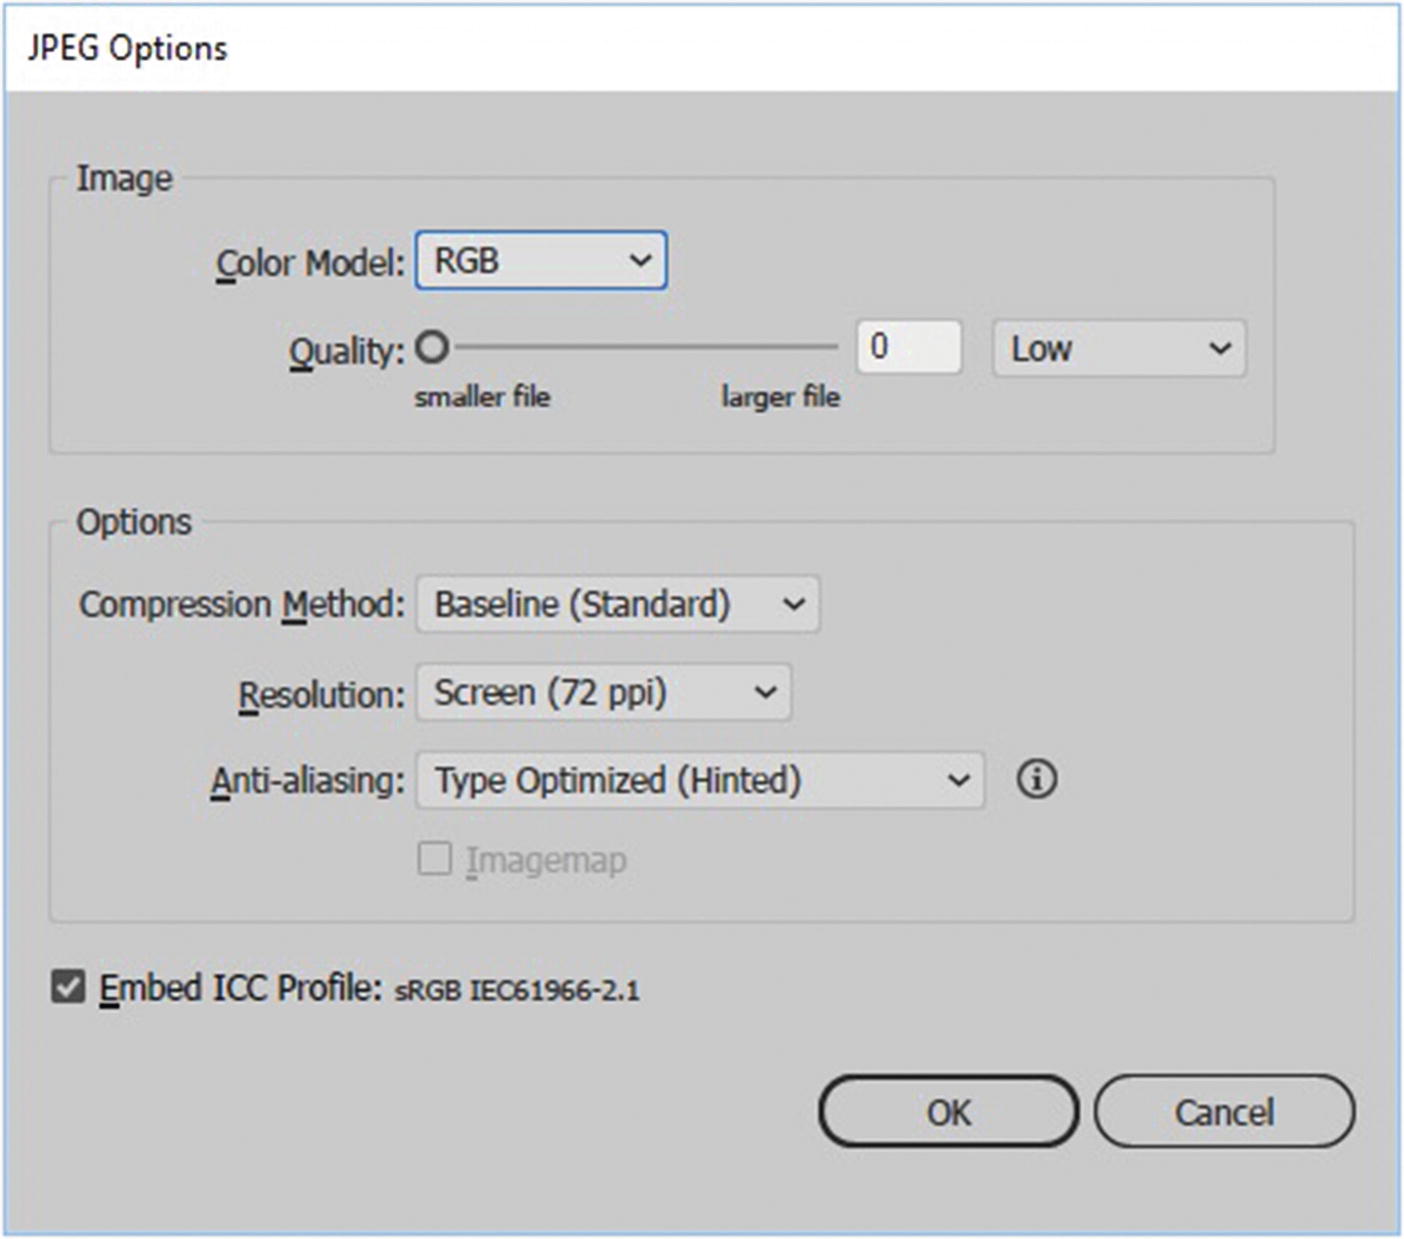
JPEG
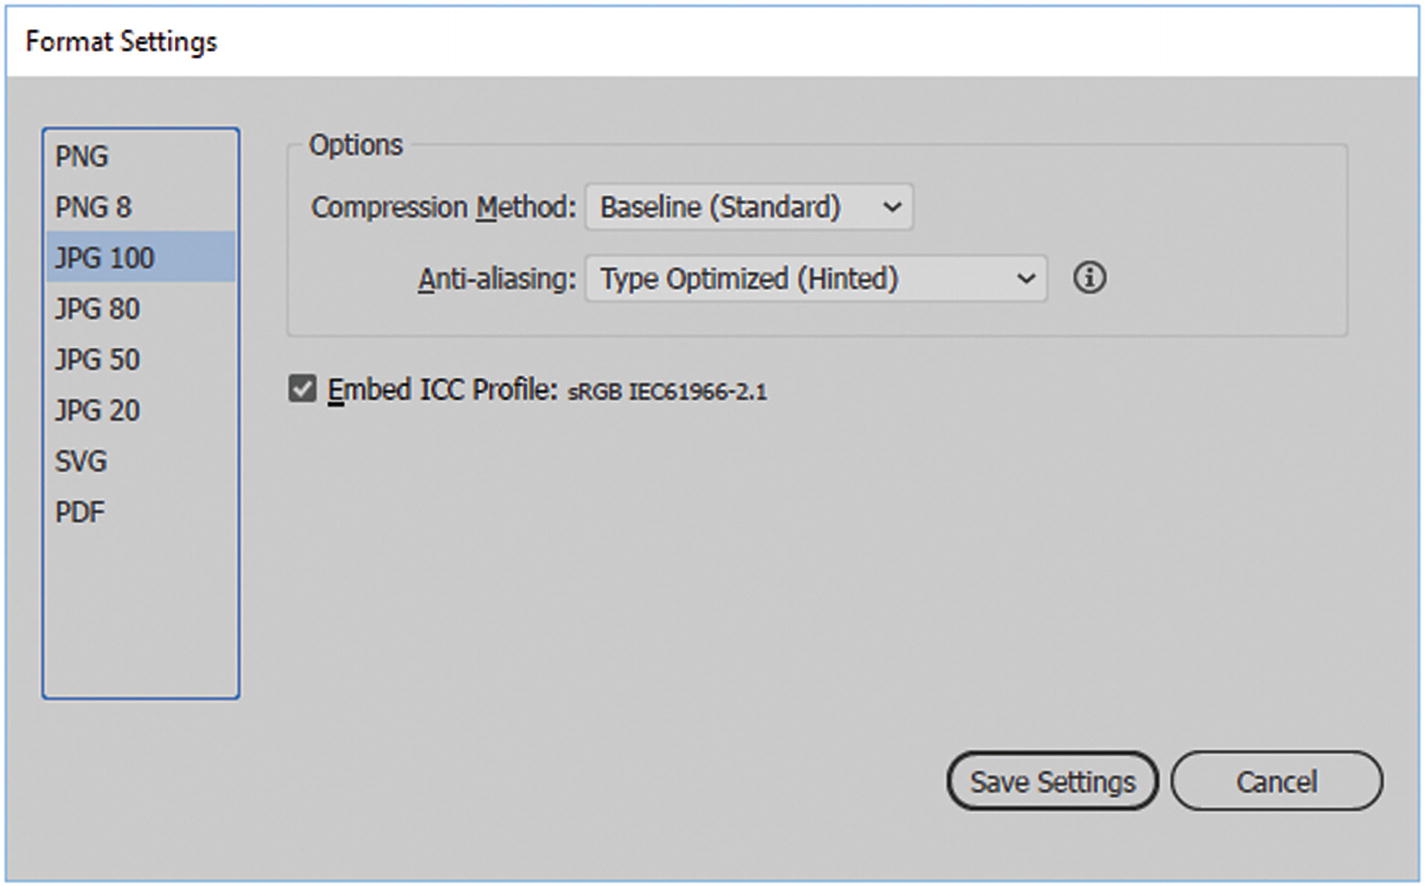
Advanced format settings for JPG 100, 80, 50, 20
Baseline (“Standard”): Recognized by most web browsers. Good for photos that need decent quality.
Baseline Optimized: Compresses the file a little more. Depending on the image, quality is indistinguishable from baseline standard.
Progressive: Creates an image that displays gradually as it downloads. It appears as if the image is rendered as scan lines (like old-fashioned TVs). The browser shows a reduced quality image of half the scan lines while it resolves the complete image. You can set between three and five scans to take place on this setting (see Figure 12-30); however, with a fast Internet connection, this setting is not used as often.

Progressive compression method and scan range
Note
According to Adobe, some browsers do not support progressive JPEGs, so if you use this setting, run a test first.
Refer to the PNG settings in this Option 2 section for the anti-aliasing options.
A JPEG is embedded with the ICC profile of sRGB, if checked.
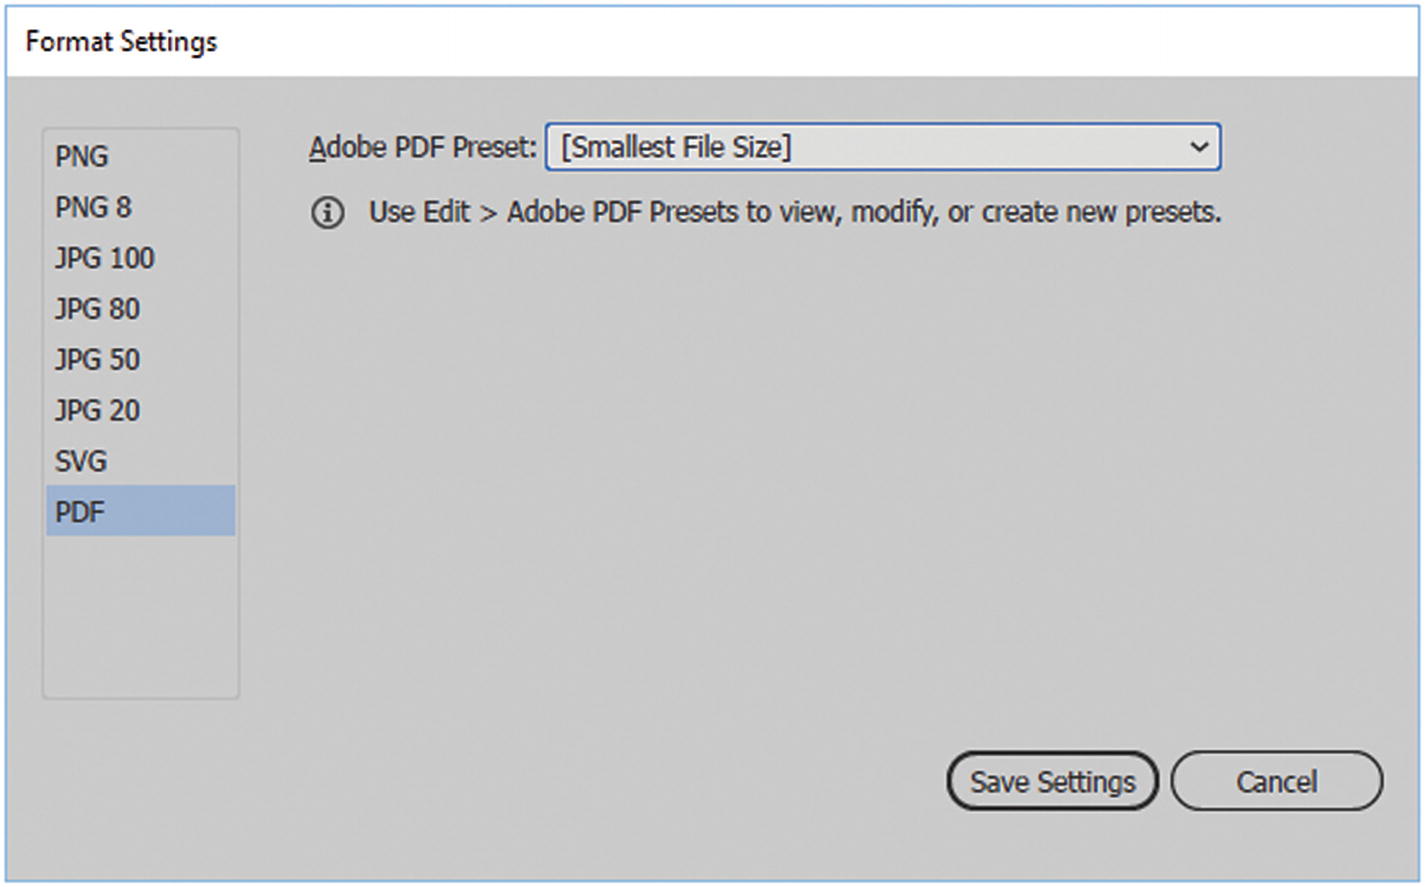
SVG

Advanced format settings for SVG
Here you see many of the settings that are available in Option 1 File ➤ Save As and saved as an SVG. Refer to this area in Option 1 for clarification on each setting, but note that they have been arranged in a slightly different order then what is seen in Format Settings dialog box in Figure 12-31.
You can adjust how the SVG is internally styled, how to handle fonts and images, the internal object IDs, the precision of the vectors (decimal), and compression (minify). Responsive allows the CSS to make the SVG image scalable in the browser.
Note
If any of these items in the Format Settings dialog box SVG tab are unfamiliar to you, you can hover over them with your mouse to get a hint, as seen in Figure 12-32.

Hover over a field in the dialog box to get a hint
Save your artboards as PDF settings
If you need to save your PDF for the web, File ➤ Save As (Option 1) is a much better option because you can adjust the settings more accurately.
If you need to save your new setting, click the Save Setting button; otherwise, click Cancel. Just be aware that if you create new files with different settings in a different project, check this area first to avoid applying any unwanted settings in your a new project.
Save your artboards as a PDF
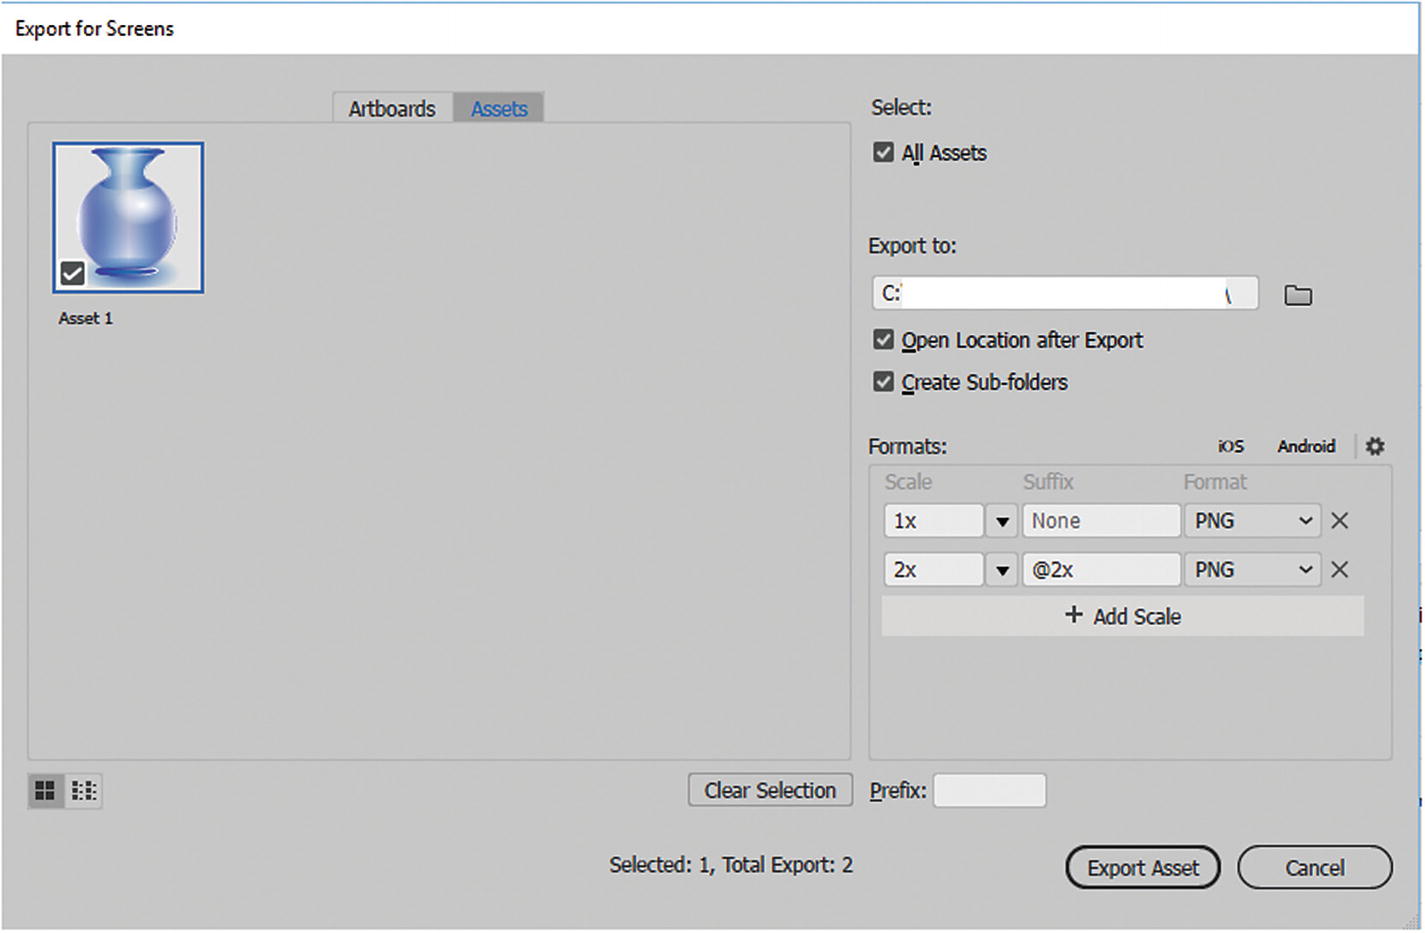
Assets Tab
The other tab option in the Export for Screens dialog box is the Assets tab.

Export for Screens Assets tab
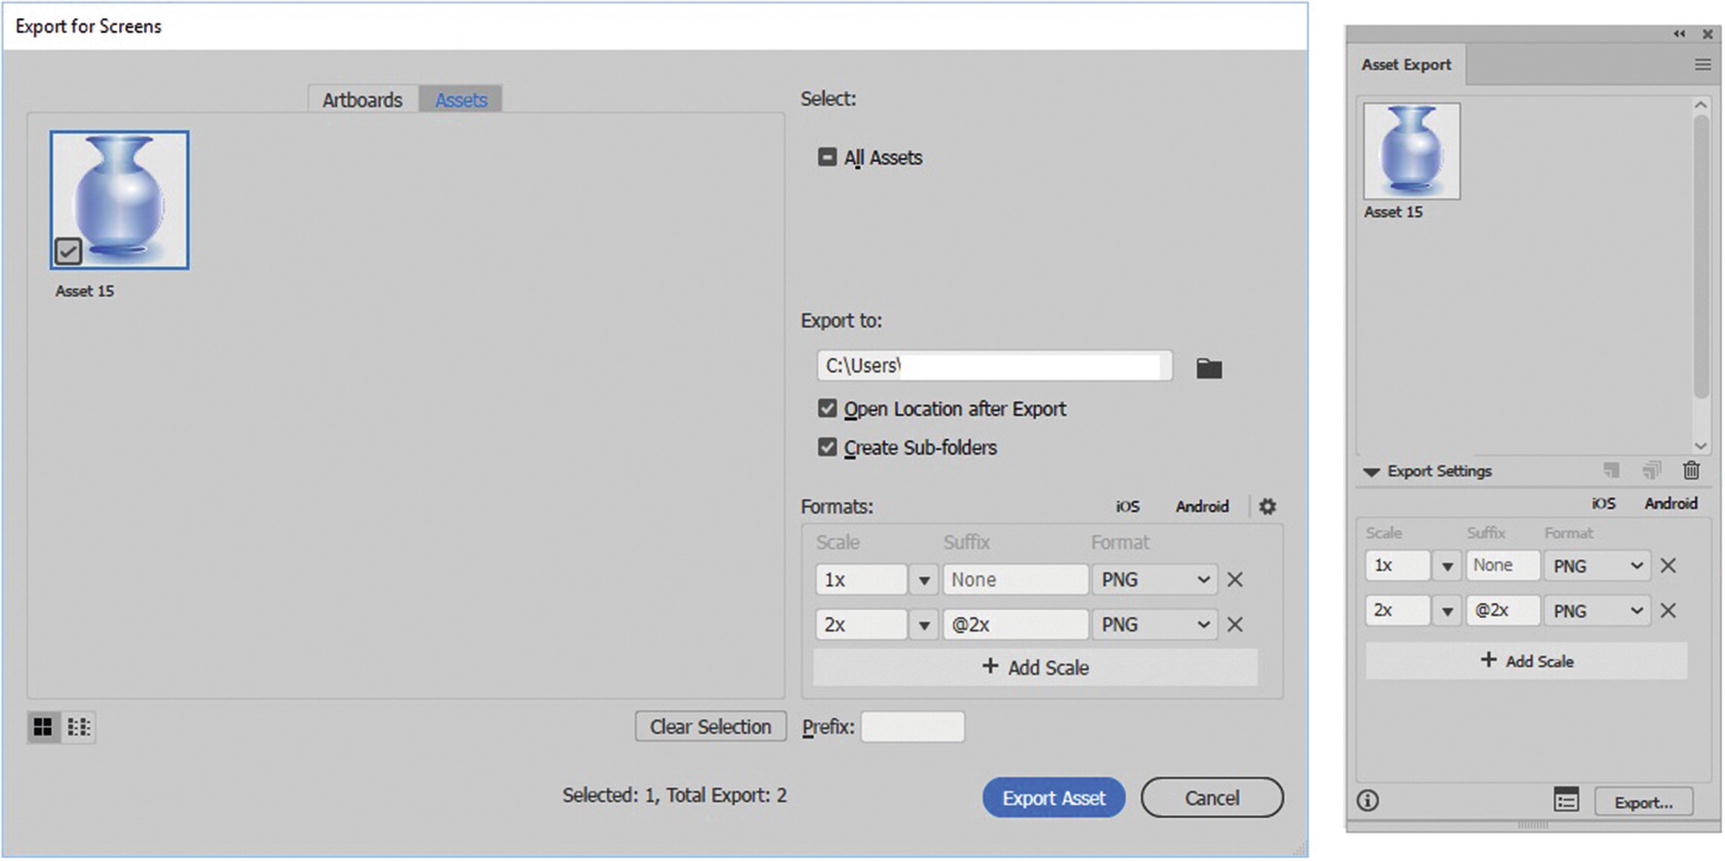
Export for Screens on the Assets tab with an asset added from the Asset Export panel
Assets can be objects (vector shapes) or many objects that are grouped together (Object ➤ Group) that you want to export as one image. You would choose to do this to keep the final file smaller rather than have all the extra blank space that a full artboard takes up. This is good for small objects and buttons on a webpage.
Most of the other settings on the Artboards tab are the same as the Assets tab. Refer to the “Artboards Tab” section.

Some or all assets are selected
Also, the button in the lower right has changed to Export Asset, and you can save your assets to the folder of your choice.
There are two other related ways that you can convert your objects’ assets.
File ➤ Export Selection
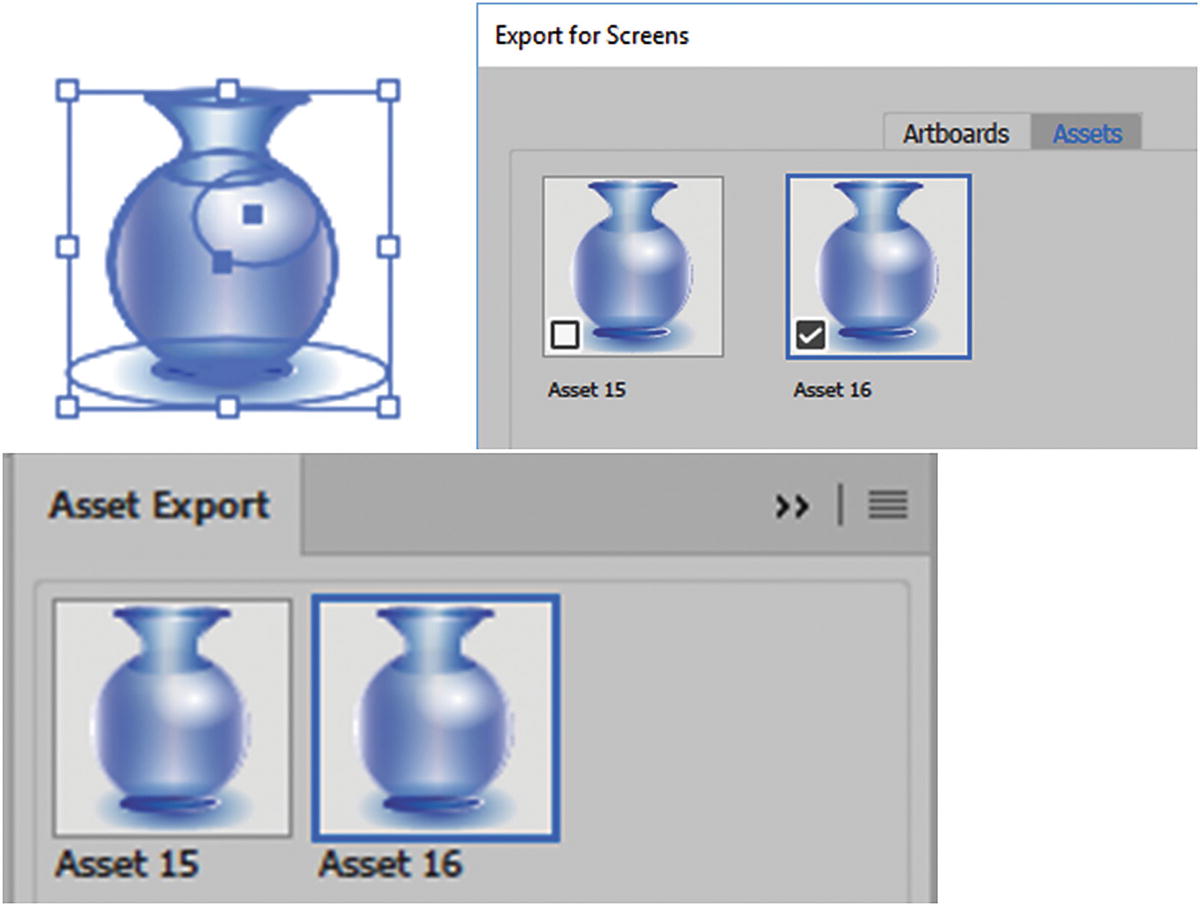
Adding selections as an asset for export
However, as you continue to do this, you might notice that you have more assets than objects on the artboard. What’s going on here?
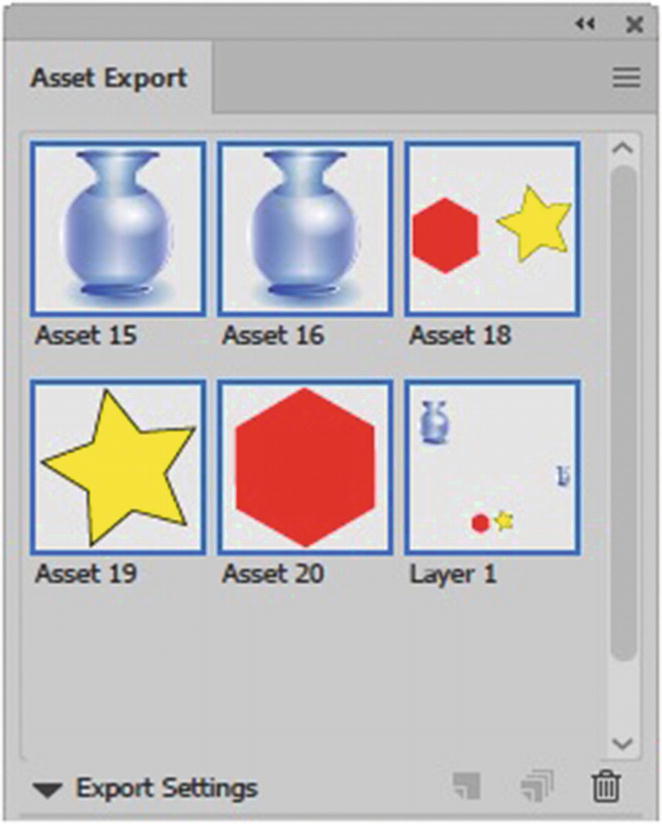
Asset Export Panel
To add assets, you can select and drag them into the Asset Export panel.

Adding and trashing assets in the Asset Export panel
Note
If no assets appear, you can drag or Alt-drag them into this preview area, or click the new Assets button when an object or shape is selected. Refer to Figures 12-39 and 12-40.

Adding assets to the Asset Export panel
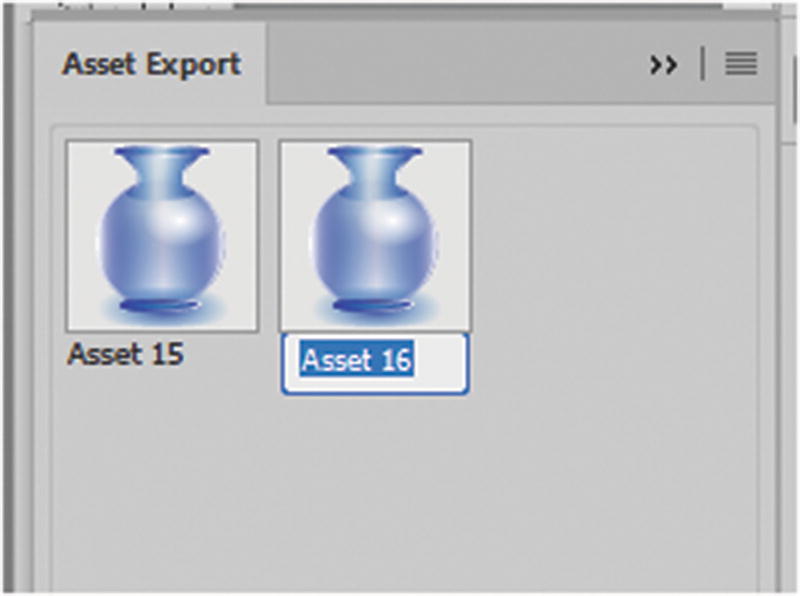
Renaming an asset the Asset Export panel
Type the new name, and then click outside the asset to confirm.
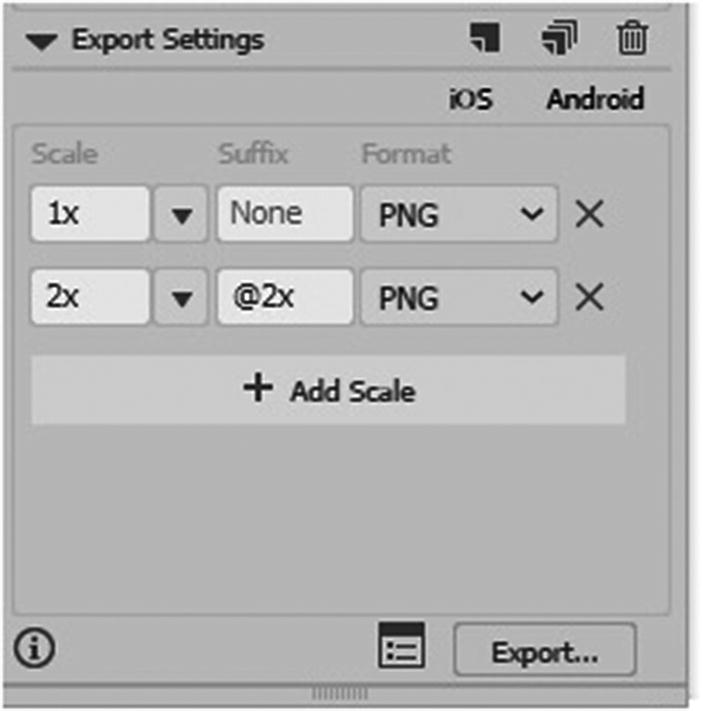
Set your export settings in Asset Export panel before you go to Export for Screens
When an asset is selected, you can use the Information (I) icon to see the number of objects selected or exported. The square icon launches the Export for Screen dialog box, and the Export button determines which folder the file is exported to. The Asset Export panel also allows you to access file settings in its Format Settings menu, as seen in Figure 12-39. As well as open the export folder after export.
Note
You can also right-click on an object that is not yet in the Asset Export panel and choose Export Selection to add it to the Asset Export panel, as seen in Figure 12-43. Alternatively you can use the icons in the Asset Export panel.
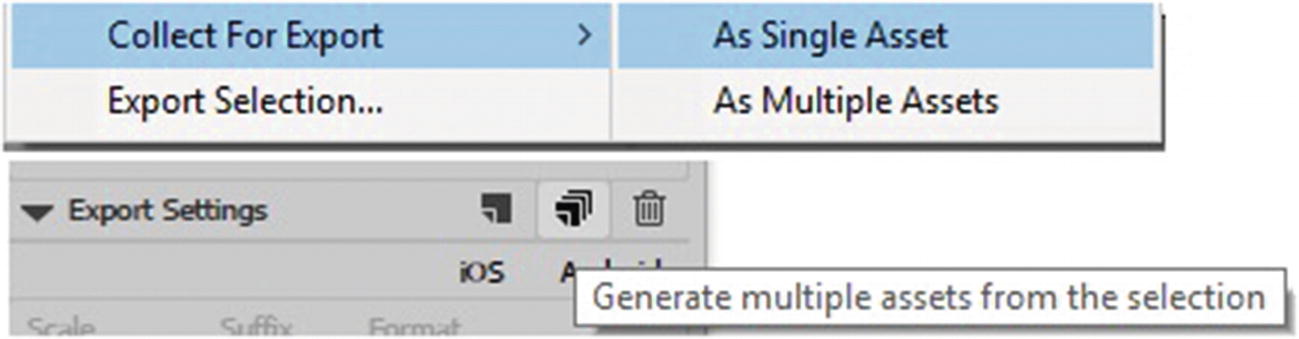
Collect for Export, a selected object on an artboard
When you choose Collect for Export ➤ As Single Asset, if one or more objects are selected, they are placed in the Asset Export panel together.

Collect for Export: a selected object on an art board either as single or multiple
Layers Panel: Collect for Export
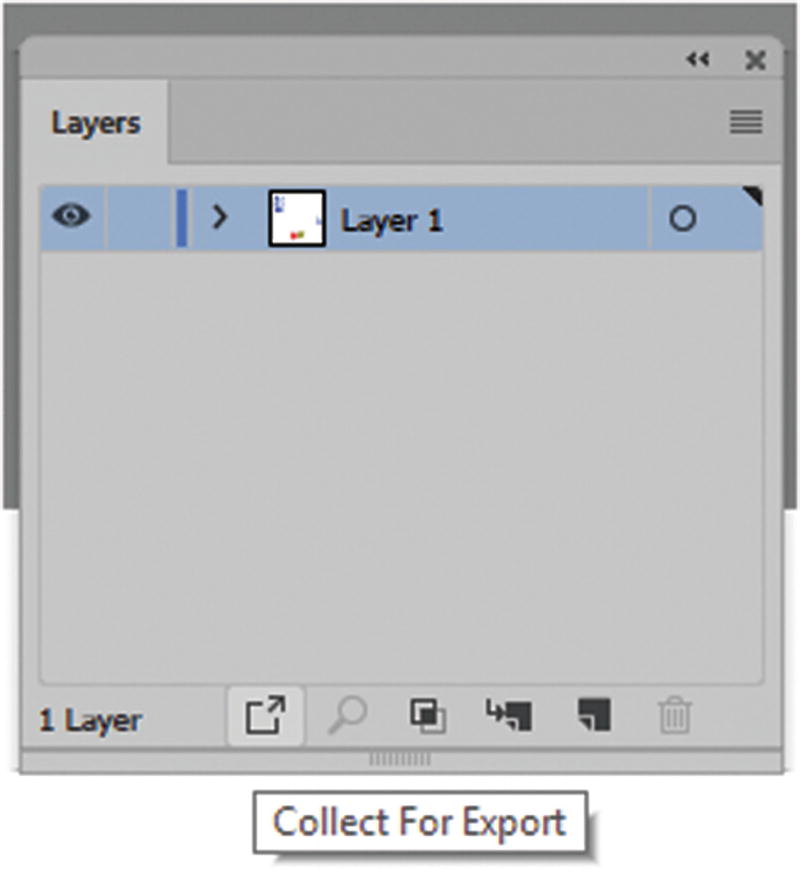
Collect for Export on a layer in the Layers panel
Collect for Export on a layer in the Layers panel and add to the Asset Export panel
Note
If there are multiple layers in a file, then those assets on another layer disappear in the Asset Export panel if the layer eye is turned off. So be aware of this if part of an image goes missing during export, as seen in Figure 12-47.

Assets can be turned on or off via the Layers panel
As you can see the Asset Export panel is very useful in organizing which shapes or objects you want to save for the web.
Option 3: File ➤ Export ➤ Export As

Choose how to export the file, then click export
Bitmap

Rasterize options for a bitmap file
JPEG
Rasterize options for a JPEG file
You can also adjust the quality with the slider, text box, or drop-down menu to more accurate levels of compression.
In the options you can control compression, the resolution 72, 150 or 300 or other custom resolution. In the Export for Screens dialog box (see Option 2) 72 dpi is the only option because the files are viewed on the Internet. Anti-aliasing type and ICC Profile options can also altered. Image map is currently unavailable, but you can easily create these in Dreamweaver as you will see in Part 6.
PNG

Rasterize options for a PNG file
SVG

SVG Options dialog box
If any setting is unfamiliar to you, hover over a word for a hint.
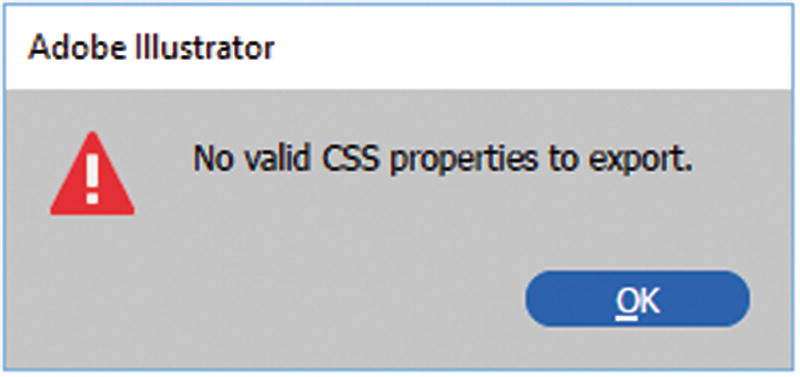
CSS

CSS Export Options
Many of these settings refer to settings found in your SVG file, or could be used for styling images or items used in animation that you create with CSS in a program like Dreamweaver CC. Often, images with gradients or special filters require vendor prefixes. Some artwork may be rasterized because not all browsers support special effects in the same way. If you need to adjust the resolution setting, you can choose Other from the drop-down menu and set a different resolution.
CSS Properties Panel

CSS Properties panel and its menu
You can reach the export options either via the CSS properties menu or the icons in the lower portion of the panel.
CSS Properties panel warning when no CSS present

CSS Properties allows you to copy CSS from text

CSS Properties allows you to copy CSS objects on the artboard
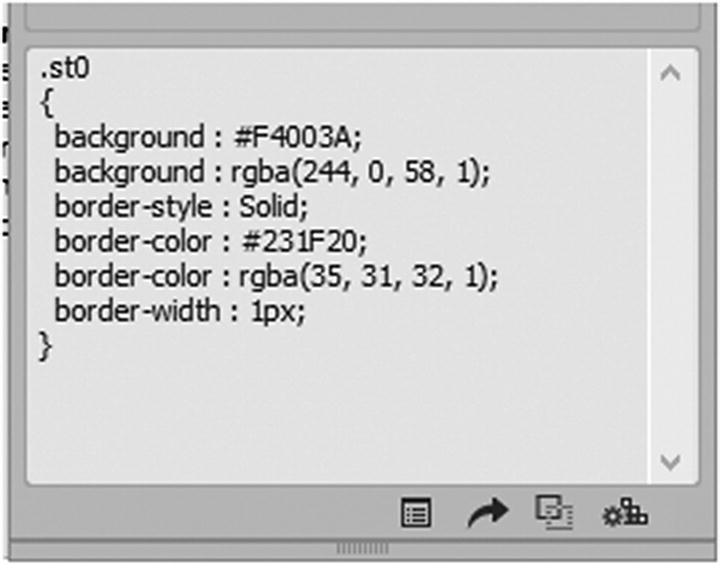
Illustrator CC generates a temporary class for all items with CSS properties. You can then either export the CSS via the panel or copy and paste the information directly into Dreamweaver CC.
Option 4: File ➤ Export ➤ Save for Web (Legacy)
Save for Web (Legacy) dialog box
Note
Save for Web Legacy only views the first artboard unless you uncheck check Clip to Artboard in the settings. Only then can you view all objects on all artboards. Refer to Figure 12-59.
Keep this unchecked if you have to view all artboards at once
Also, this dialog box does not have the 4up option as Photoshop CC so you can only compare up to two settings at a time.

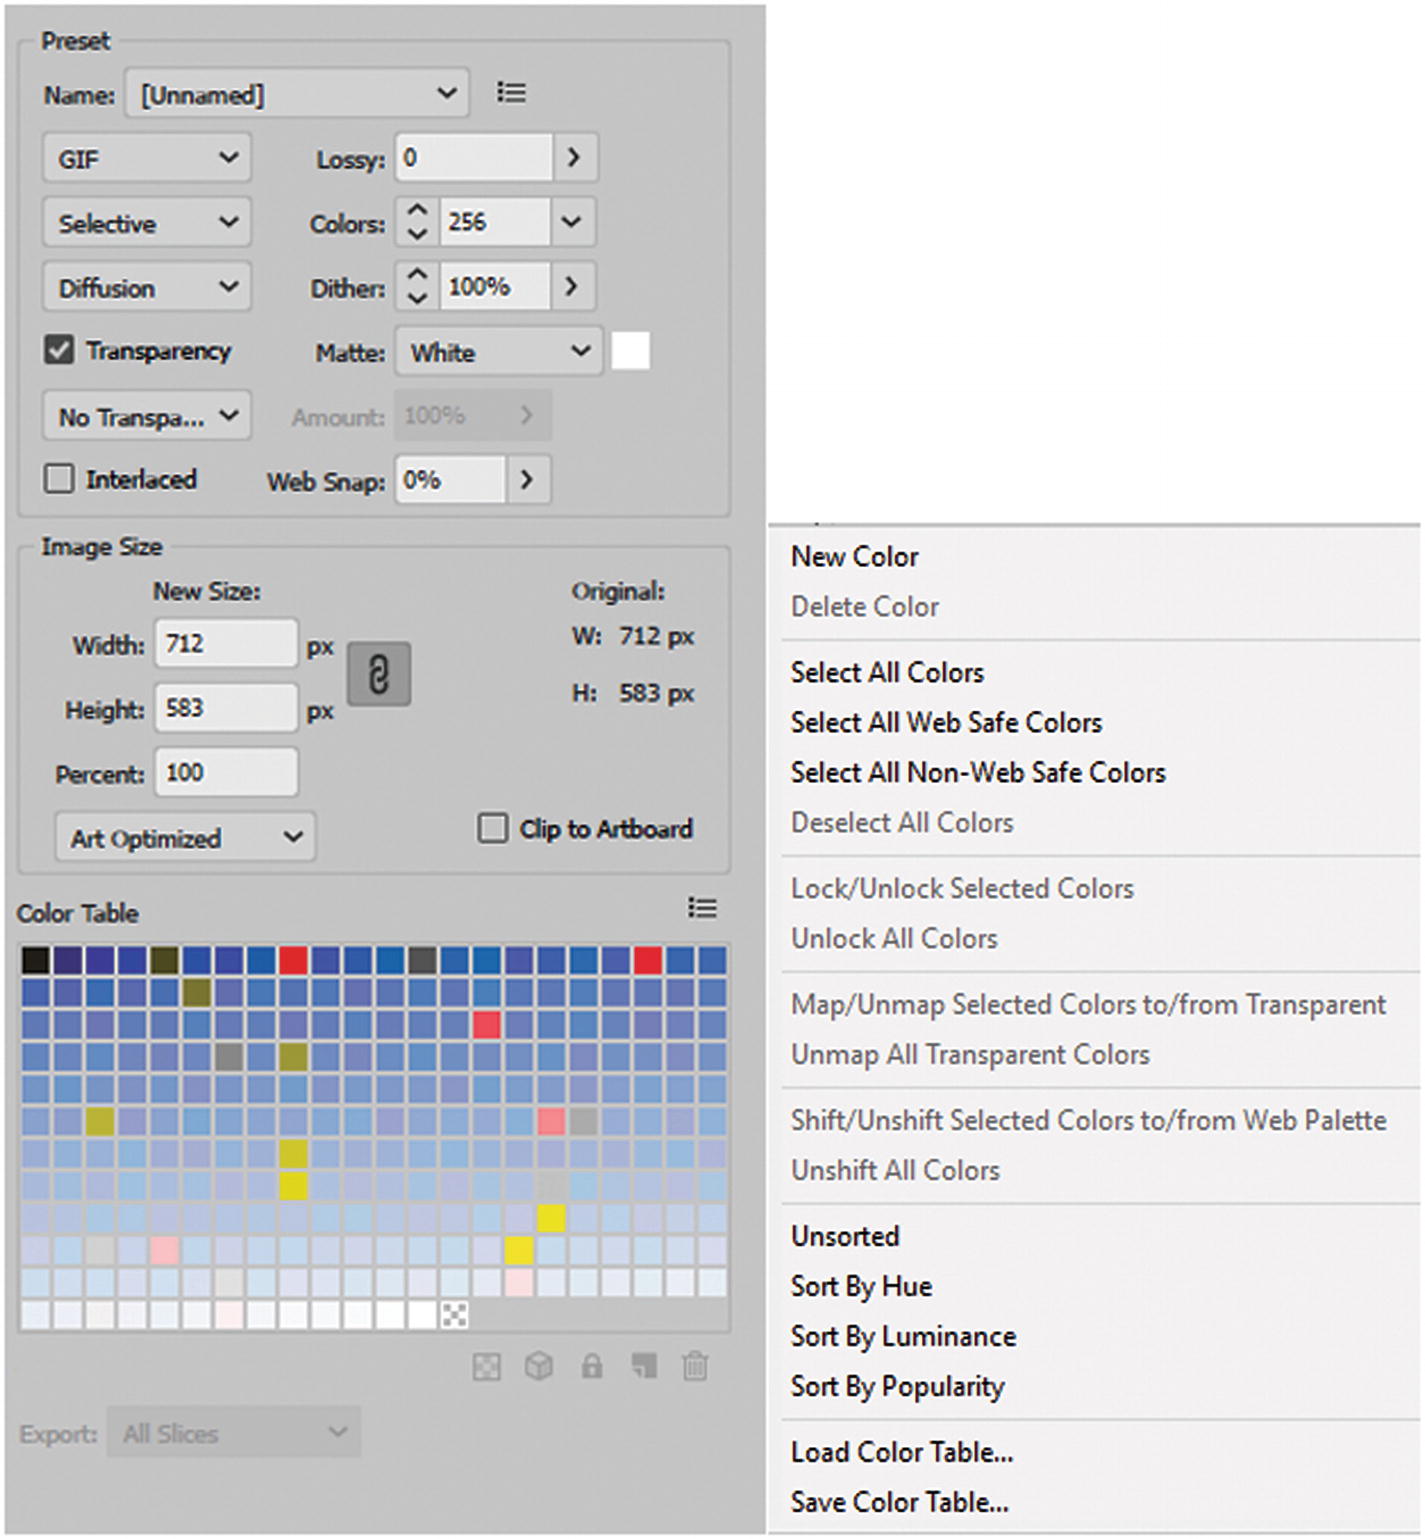
Choose a preset setting or save your own for another project
You can also save your custom settings. You can adjust for all raster images (GIF, JPEG, and PNG); however, for SVG you must use the Export As or Export for Screens options.
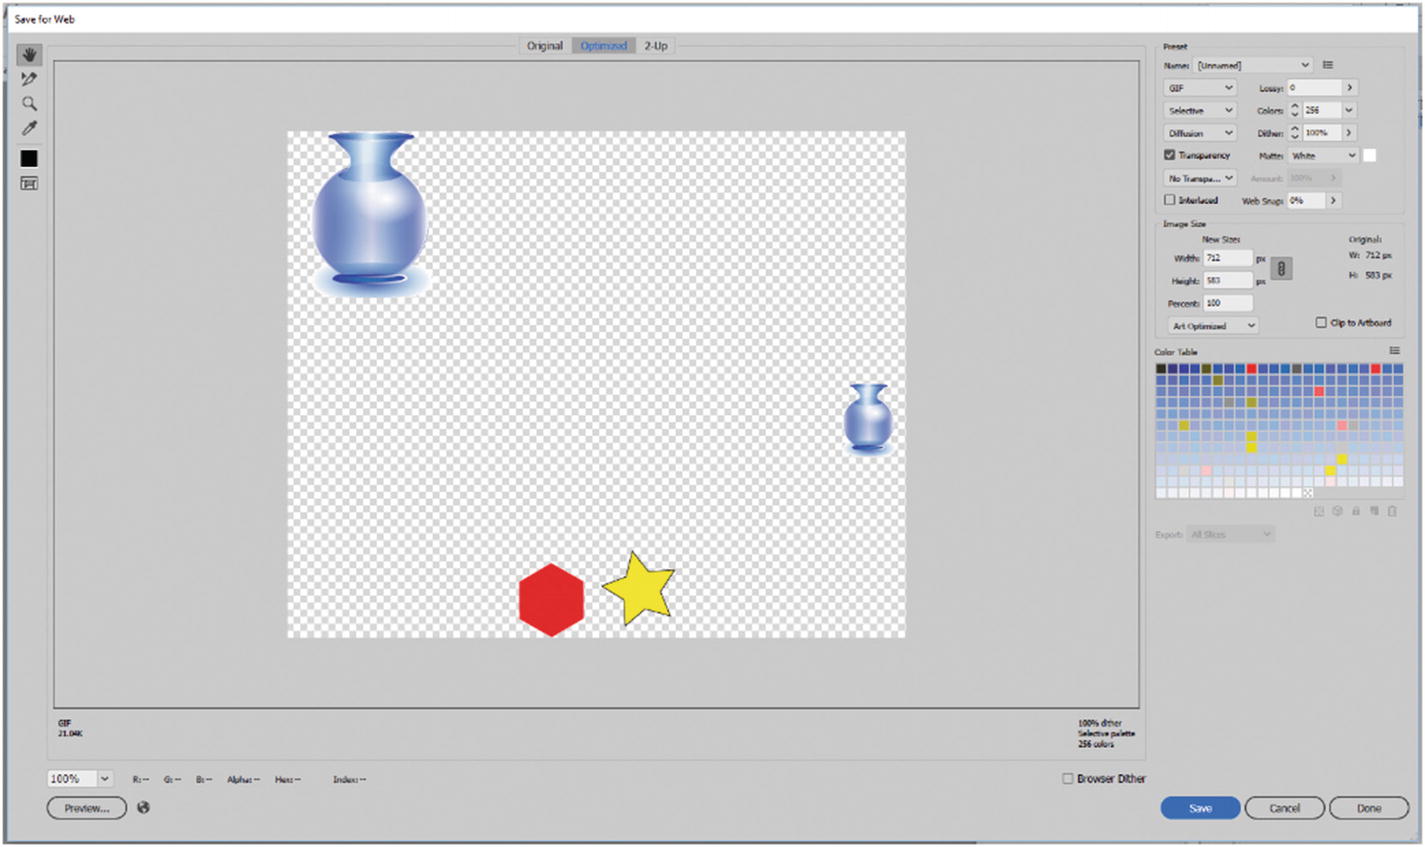
GIF
Example setting for a GIF image in the Save for Web dialog box
Most settings are the same as Photoshop CC Save for Web (Legacy) so refer to Chapter 4 for a more detailed explanation. As with Export for Screens option you can set Image Size to None, Art, or Text Optimized.
The Color Table for GIFs has the same setting as the dialog box in Photoshop CC; however, you will notice that there is no option for animation since you can only create stationary GIF image graphics from Illustrator CC and must use Photoshop or Adobe Animate CC for animation creation.
JPEG
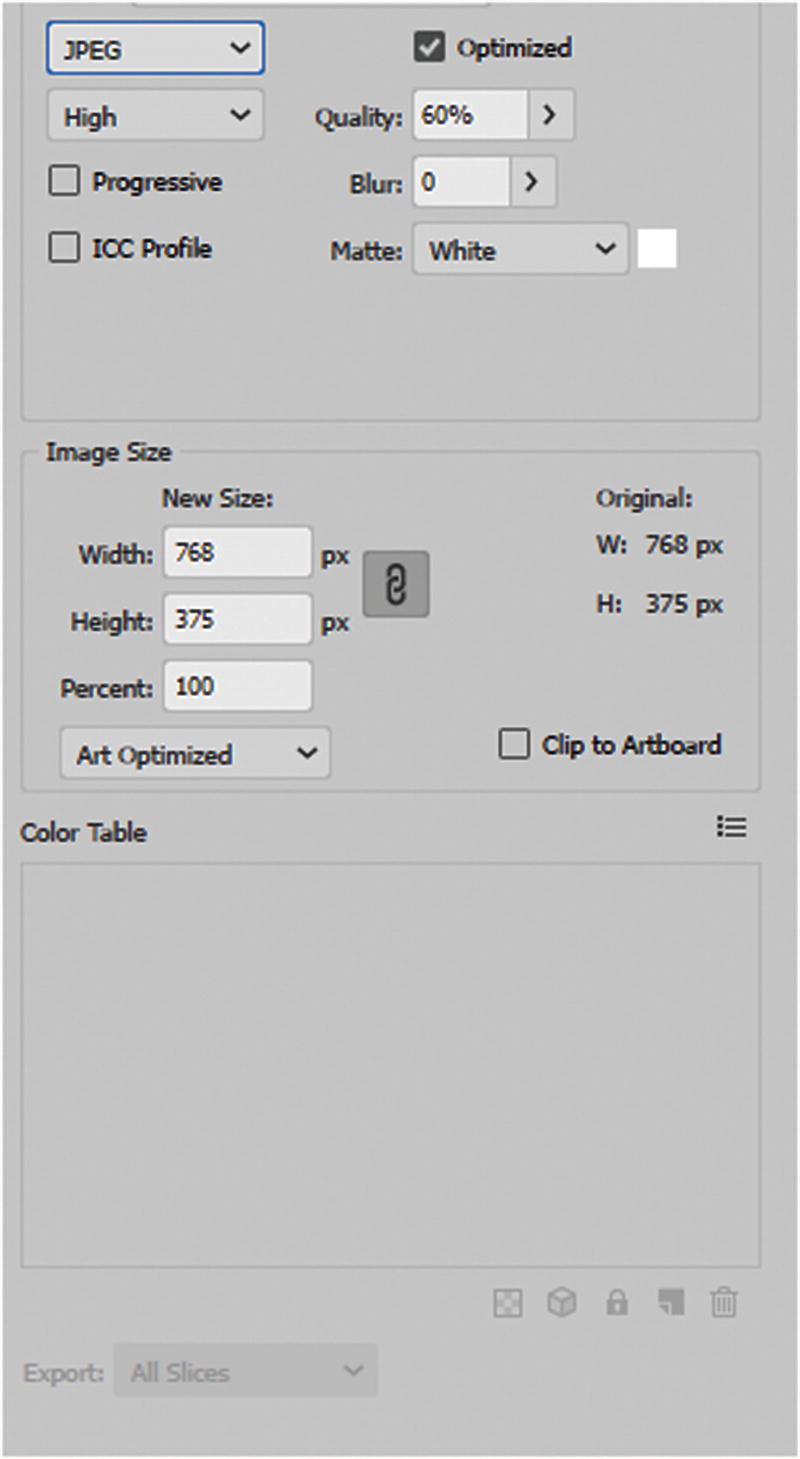
Example of setting for a JPEG image in the Save for Web dialog box
PNG-8 and PNG-24
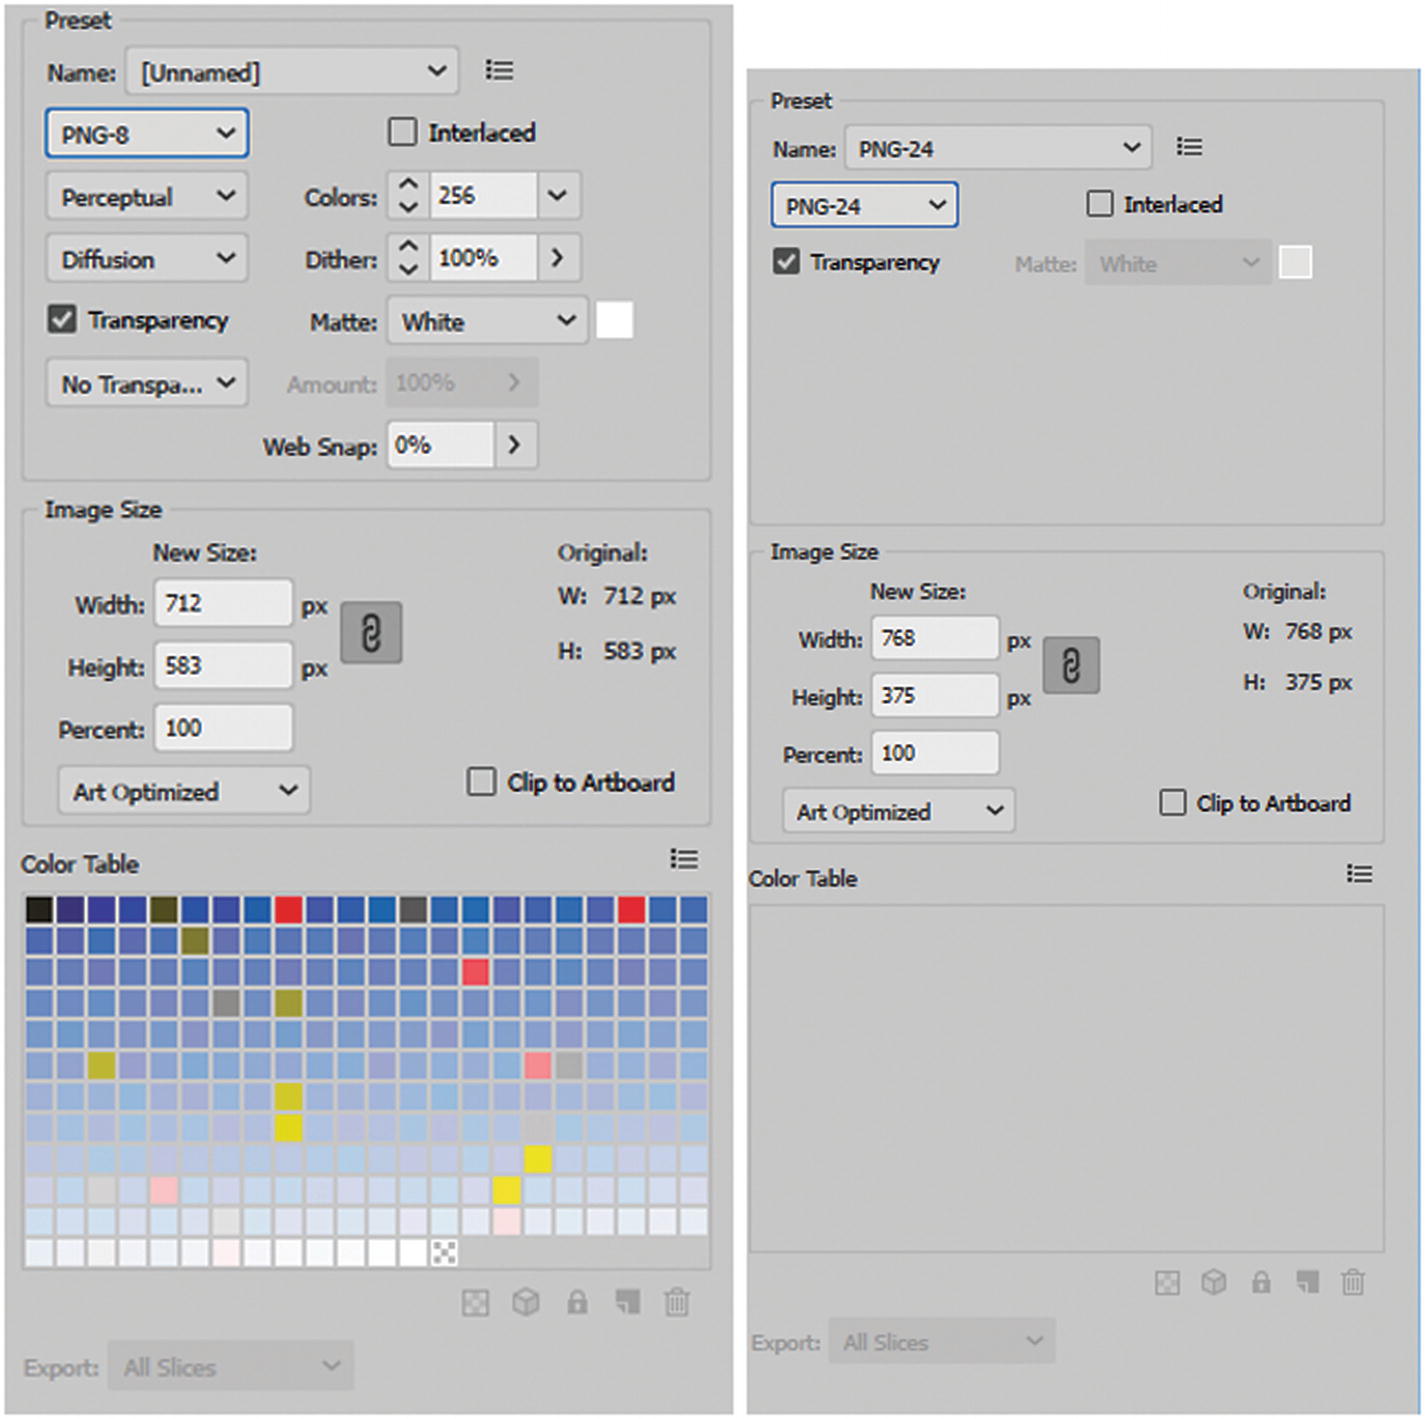
Example settings for a PNG-8 and PNG-24 image in the Save for Web dialog box

Use Browser Dither to check your graphics, and then click Save to export them
When you are done, save your file. You look at creating slices in Illustrator in Chapter 13. If your file contains no slices, this area of the dialog box is unavailable.

Summary
In this chapter, you reviewed four possible ways to save Illustrator images for the web. Some options may work better for your workflow than others, so the choice is up to you. You also discovered how to work with the Asset Export and CSS Properties panels.
In the next chapter, you look at some ways that Illustrator can speed up the export process. You also look at how to create slices.