
In this chapter, you look at a few tools to enhance your drawings for scenes or frames in an animation or video that could be imported into either Photoshop CC or Animated CC as vector Smart Objects or library symbols. You also look at the SVG Interactivity panel, which you may not know much about.
Note
This chapter does not have any actual projects; however, you can use the files in the Chapter 14 folder to practice opening and viewing for this lesson. They are at https://github.com/Apress/graphics-multimedia-web-adobe-creative-cloud .
Tools for Animation
Unlike Photoshop CC, Illustrator CC does not have a Timeline panel for video or animation. As you noticed in Chapter 12, you cannot export a GIF animation, only static GIF images.
There are a few tools, however, that you can use to help you create parts for your animation. Later these shapes can be used in programs like Photoshop CC, Animate CC, and Dreamweaver CC. Let’s look at a few to get you started on your animation.
SVG Interactivity Panel
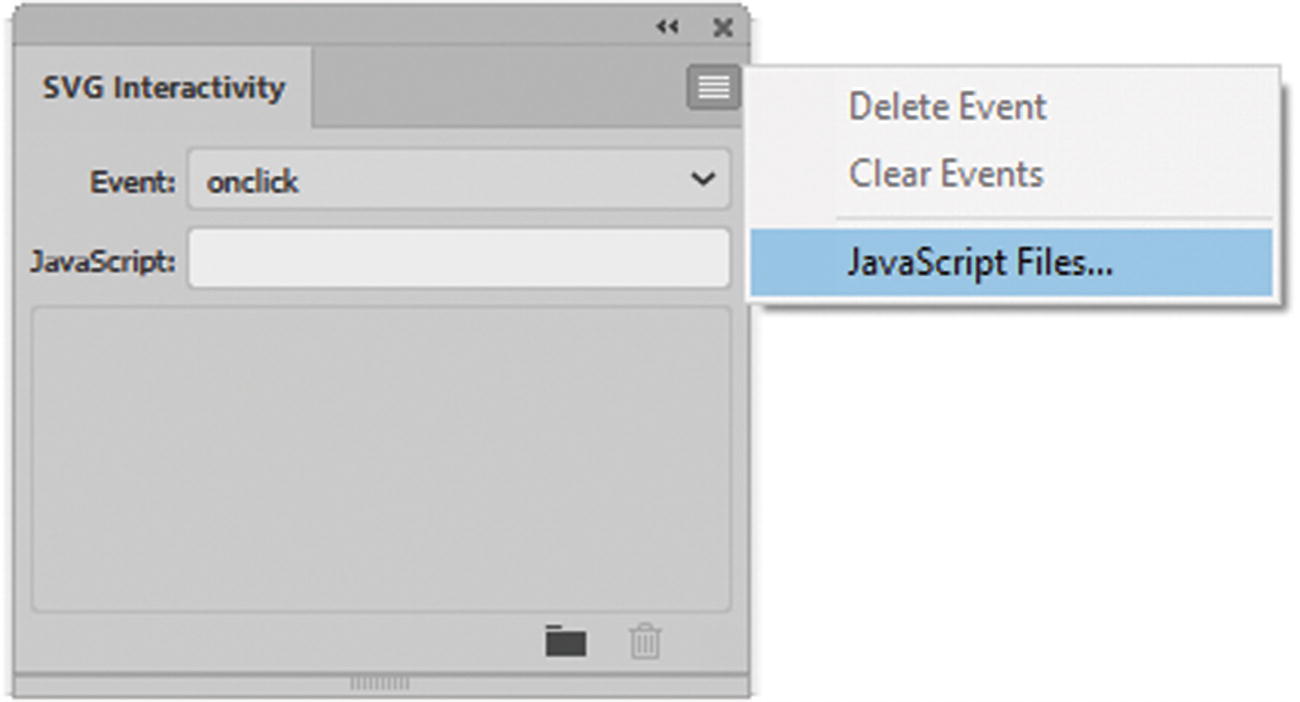
The SVG Interactivity panel
Note
To use the SVG Interactivity panel correctly, you must first design your images in an AI or EPS file. Make sure to give each of the layers a distinct name because the JavaScript regards these layers or sublayers as an object with an ID. Look at the vases_orginal.ai in the SVG folder and Figure 14-2.

Each layer that will interact must be named distinctly in the Layers panel

Save your SVG settings
Once done, click OK to save your new SVG file in a folder; make sure to give the file a name. You can look at my finished file, Asset_1.svg.
Once the file is in the SVG format, only then can you work with the SVG Interactivity panel. If you are in an AI or EPS file, JavaScript that you type in this panel does not always copy correctly into the SVG, so it is very crucial to follow these steps if you want interactivity in your SVGs. You can check this if you go to Show Code (see Figure 14-3); you will see no actions applied if you were to add any event to this panel in the original EPS or AI file.
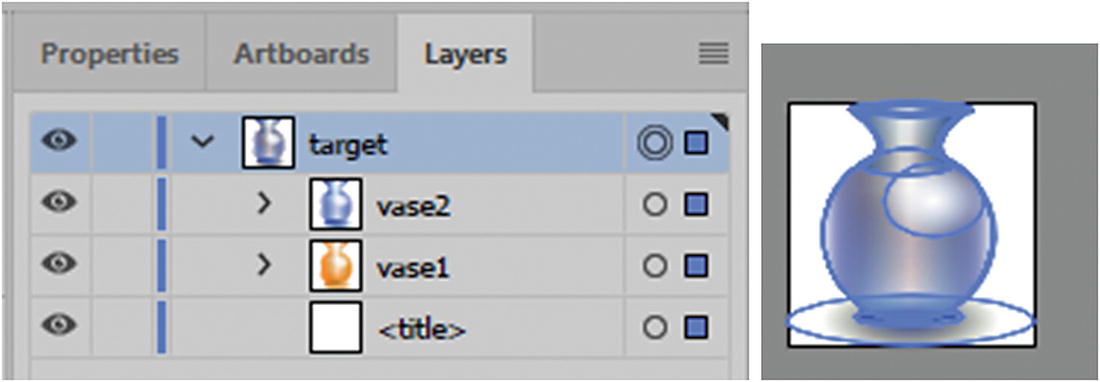
The target must be selected in the Layers panel before you can enter any JavaScript in the SVG Interactivity panel
With the target selected, you can start entering information in the SVG panel.
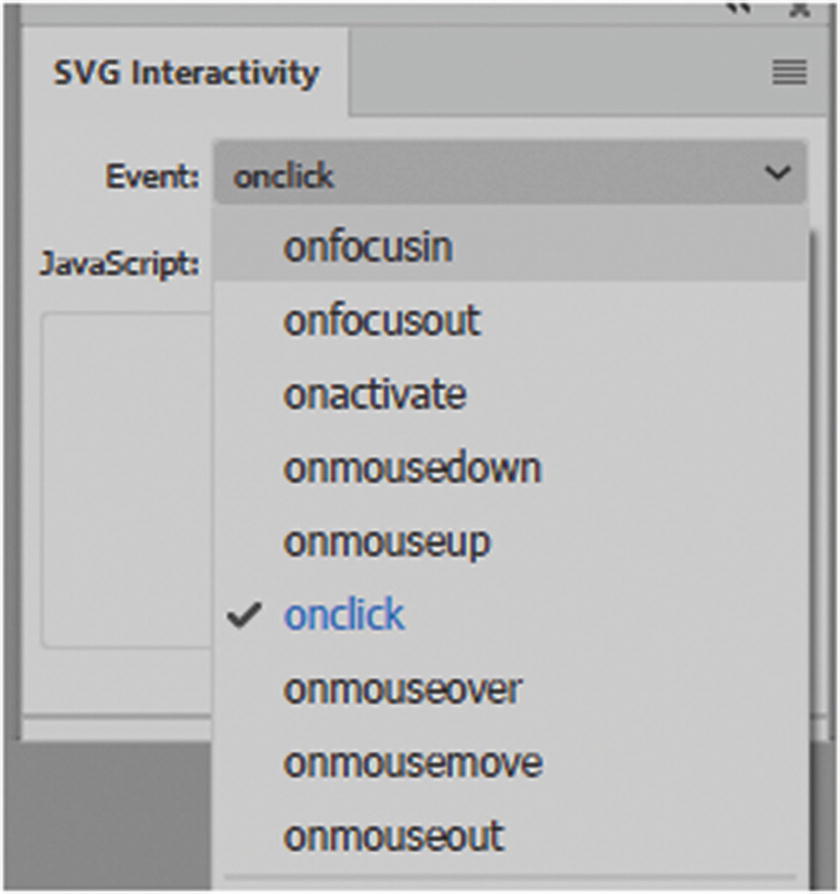
Event triggers in the SVG Interactivity panel will only work when you are in an SVG file
Elements
onfocusin : Triggers the JavaScript action when the element receives focus, such as selection by the pointer.
onfocusout : Triggers the JavaScript action the SVG element loses focus (often when another element receives focus).
onactivate : Triggers the JavaScript action with a mouse click or keypress, depending upon the element.
onmousedown : Triggers the JavaScript action for when the mouse button is pressed down over an element.
onmouseup : Triggers the JavaScript action when the mouse button is released over an element.
onclick : Triggers the JavaScript action when the mouse is clicked over an element.
onmouseover : Triggers the JavaScript action when the pointer is moved onto an element.
onmousemove : Triggers the JavaScript action while the pointer is over an element.
onmouseout : Triggers the JavaScript action when the pointer is moved away from an element.
onkeydown : Triggers the JavaScript action when a key is pressed down.
onkeypress : Triggers the JavaScript action while a key is pressed down.
onkeyup : Triggers the JavaScript action when a key is released.
Document
onload : Triggers the JavaScript action after the SVG document has been completely parsed by the browser. Use this type of event to call one-time-only initialization functions.
onerror : Triggers the JavaScript action when an element does not load properly, or another error occurs.
onabort : Triggers the JavaScript action when the page loading is stopped before the element is completely loaded.
onunload : Triggers the JavaScript action when the SVG document is removed from a window or frame.
onzoom : Triggers the JavaScript action when the zoom level is changed for the document.
onresize : Triggers the JavaScript action when the document view is resized.
onscroll : Triggers the JavaScript action when the document view is scrolled or panned.
When the mouse or button is released, whatever action you applied will occur.

Event triggers in the SVG Interactivity panel will only work when you are in an SVG file
The only part that you must write is the JavaScript without the outer quotes. Illustrator does the rest.
If, at any point, you need to make a change, select that line and alter the text, then click another line to confirm the change. To delete a script, click the Trash icon. The SVG Interactivity panel only allows you to enter one event per target so that you cannot enter an event twice.
Save your SVG in Illustrator at this point.
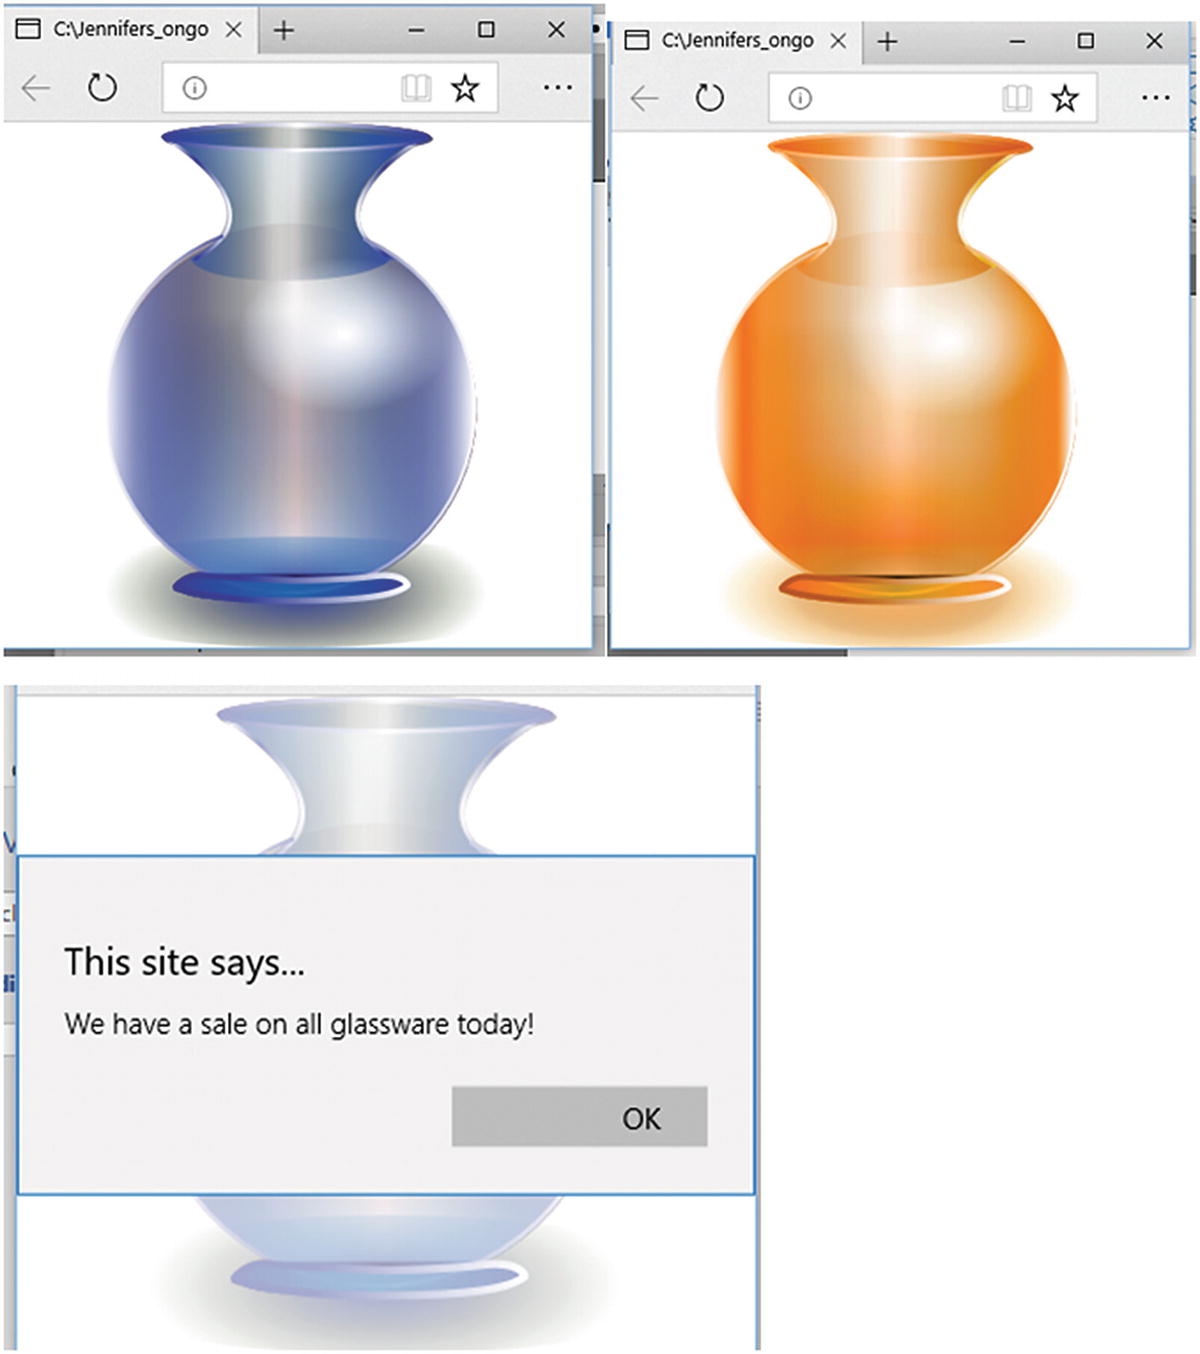
The mouse can now interact with the SVG file in the browser
Notice that if you scale your SVG in the browser, it never loses its shape. In Part 6, I show you an example of a slightly scaled SVG in Dreamweaver that does not take up a whole page.
Adding additional linked scripts
To add JavaScript to the panel that is linked to the events, click the folder in the lower right of the panel, or choose JavaScript files from the SVG Interactivity panel’s menu. Refer to Figure 14-1.
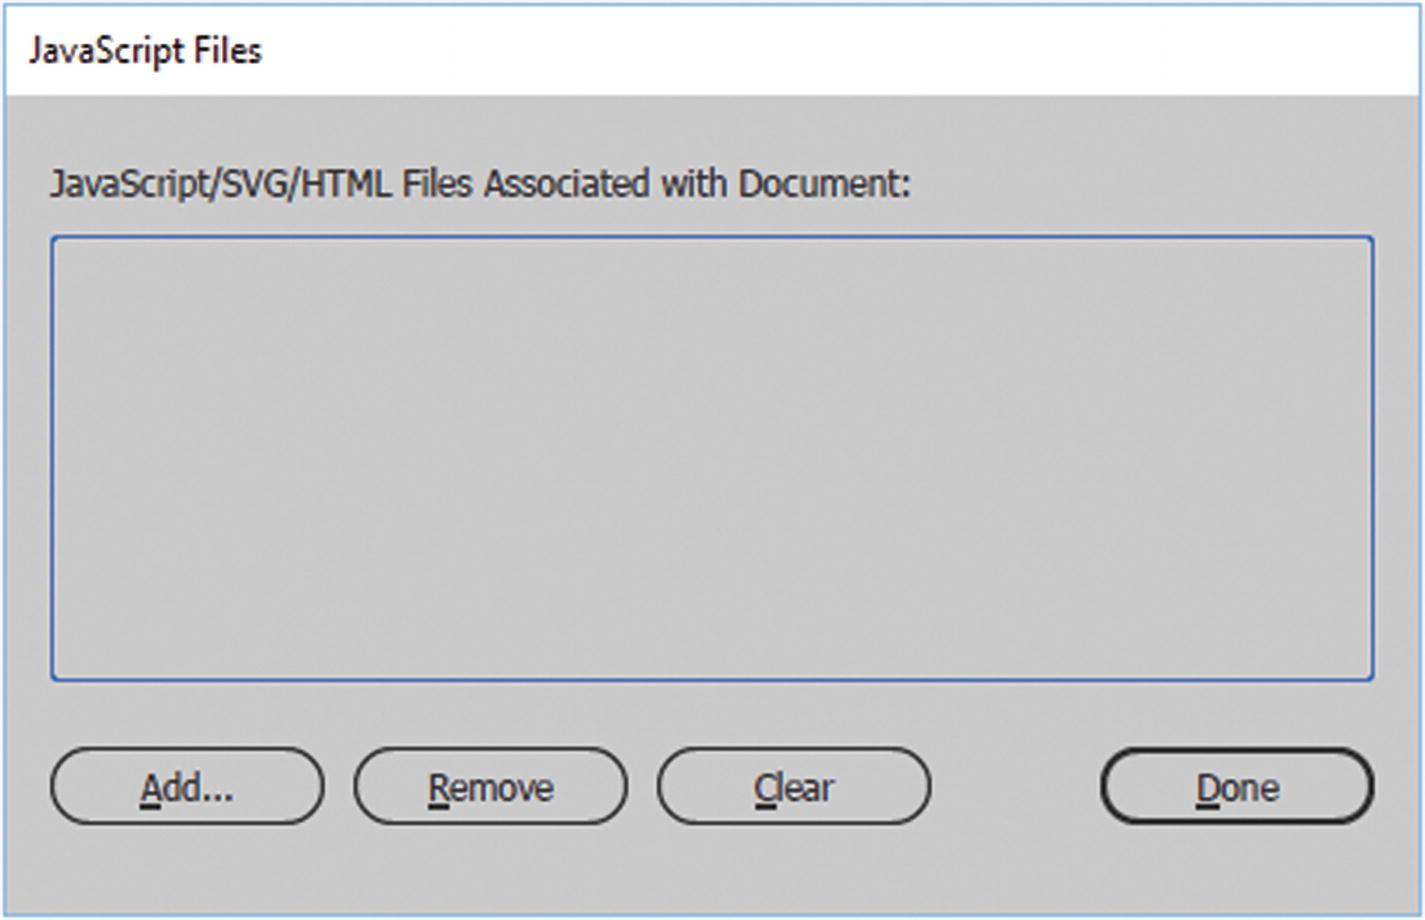
The JavaScript Files dialog box

Add a link to an external JavaScript file
The Choose button allows you to search for and add a link to the associated JavaScript file that contains the JavaScript actions, and add that information to the file.
If you have a file to add to your project, click OK to complete the link. For this project, click Cancel.
For your own project, if you later want to unlink that file, press the Remove or Clear buttons (see Figure 14-8). Then click Done to exit.
Make sure to save your SVG file, as you will see it again on the Hot Glass Tango website in Part 6.
Note
If you plan to insert your SVG file into an HTML file, be aware that if you insert it as an image <img>, the graphic will appear, but the interactivity will be unavailable. Although it appears as an image, SVG is more a set of codes that coordinates by simply projecting an image. To keep the interactivity of the SVG, you need to copy that file’s code, including the actions, into the HTML file itself; or use an <object> tag instead. You see that in my example in Part 6. When an SVG is in an <img> tag, you can force the image to size using CSS and adjusting the width and height. This can get complicated, so we’ll look this issue in more detail in Part 6.
The main thing to note in this section is that if you understand the rules of how the SVG Interactivity panel works, you can use JavaScript to interact with your shapes in simple or complex animations.
Tip
If you want scalable shading, use the SVG filters. They are found in the main menu under Effect ➤ SVG Filters. They are great for creating effects like blurs and shadows. Once you apply a filter to an object, you can change it in the Appearance panel by clicking it and choosing a different filter from the menu while you preview it. Refer to Figure 14-10.
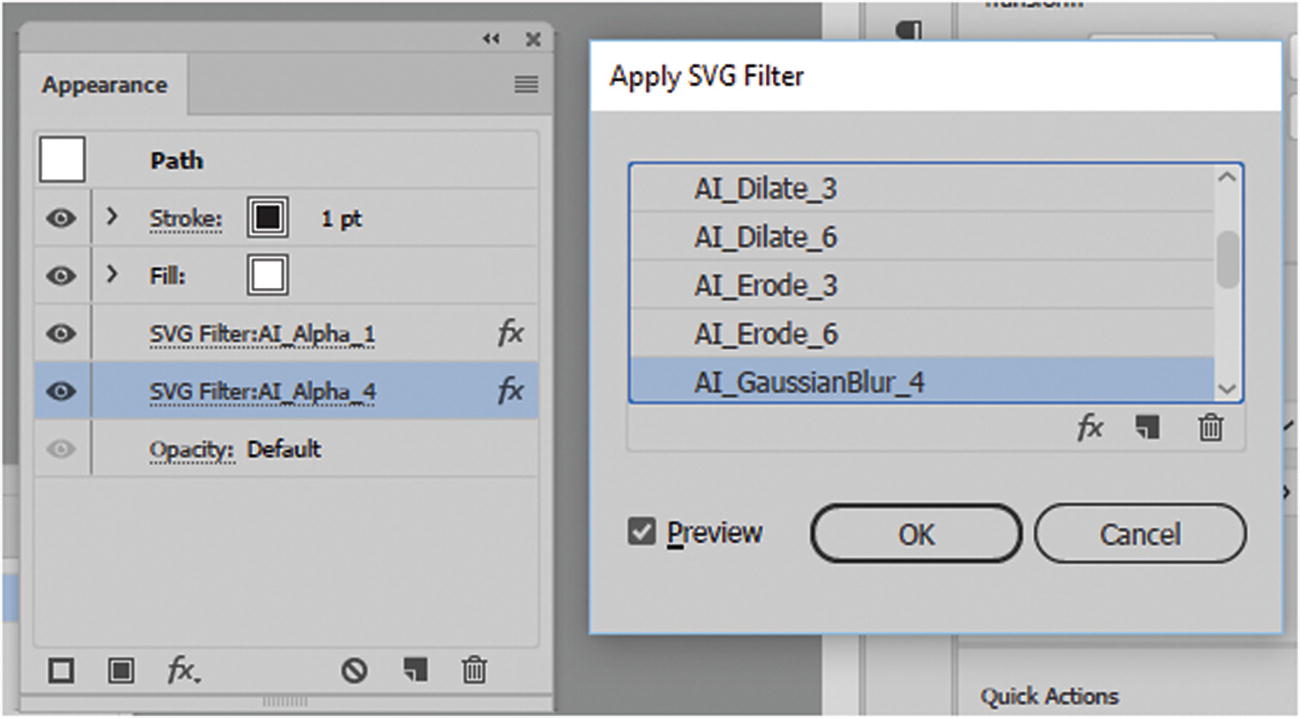
The Appearance panel allows you to alter your SVG filters
Copying Illustrations to Photoshop (Vector Smart Objects)

A flower is designed in Illustrator and is selected so that it can be a Smart Object
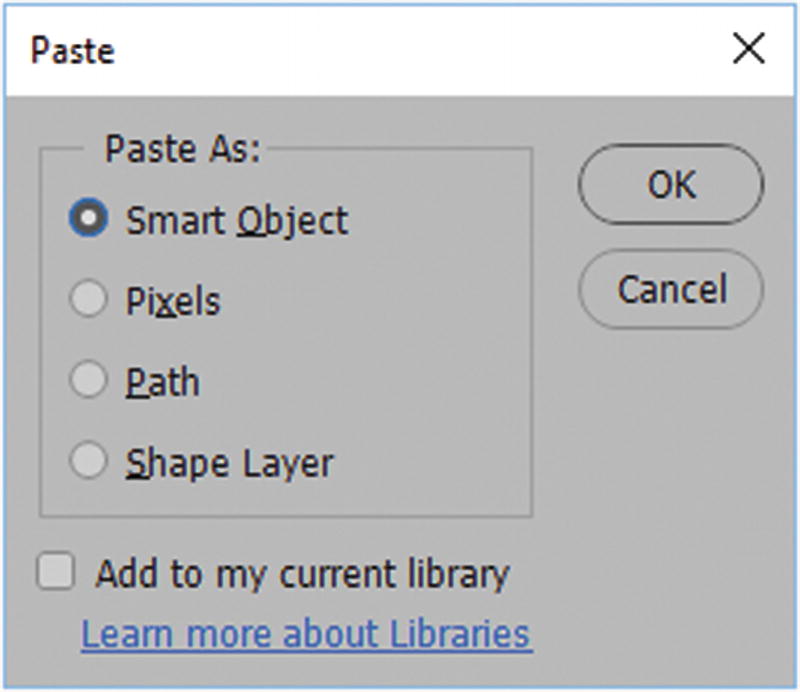
Paste an image as a Smart Object

Click Place to confirm the scale of a smart object
Smart Objects, unlike pixel photos, remain scalable as a vector object in Photoshop. You can always double-click the Smart Object layer if you need to edit it in Illustrator CC. Upon closing, the image updates. These Smart Objects can be manipulated as you would manipulate a Smart Object you originally created in Photoshop. You can add vector masks and effects.

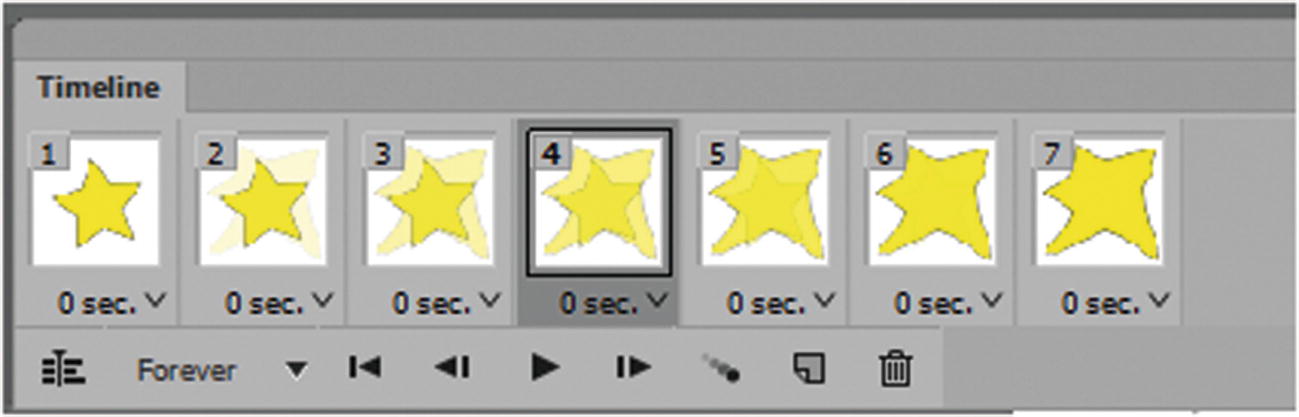
Use Illustrator’s vector Smart Objects in Photoshop to create GIF animations
Rasterize Smart Objects

Rasterize a smart object
This causes the Smart Object to become pixilated, and you will no longer be able to scale it. Choose Edit ➤ Undo to undo the change right away.
Note
You look at how to add Photoshop and Illustrator graphics to Adobe Animate CC in Part 4.
Puppet Warp Tool

Puppet Warp tool in the Tools panel
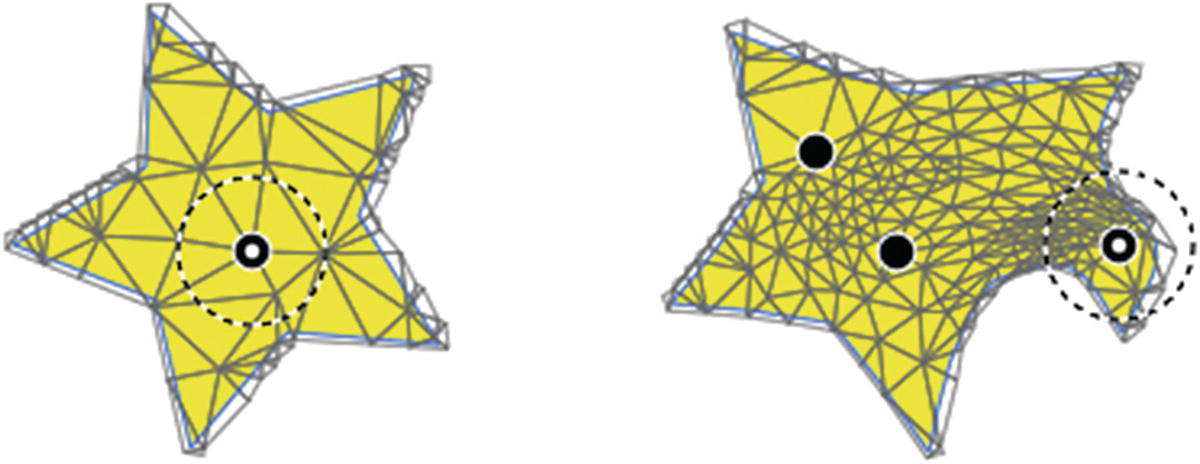
A shape is altered with the Puppet Warp tool
Adding three or more pins allows you to manipulate more areas. You can also rotate the pins to give a spin or a swirl to the shape.
Shift-click the pins to select more than one pin, or choose Select All Pins from the Control panel. Refer to Figure 14-18.

Setting for Puppet Warp tool in the Control panel
To remove the selected pins, press the Delete key.
To constrain the transformation of your artwork around the selected pin, press Alt while dragging it.
When working with grouped objects, right-click the shape to undo the Puppet warp, or undo a newly added pin before you close the file. Refer to Figure 14-19.

Undo basic steps by right-clicking the puppet warped object while working on it

Use the Selection tool (V) if you need to move your object that has been puppet warped and then continue working with the Puppet Warp tool
Note
Make sure to save a copy of the original vector image within your file in the Symbols panel. The reason for doing this is, if you close and open the AI file, you cannot later undo the warps back to the original shape (even with a symbol on the artboard). This is why saving the shape as a symbol is important as you can always remove the symbol from the artboard and begin again with an unwarped symbol. Nevertheless when the file is opened and you select the symbol or shape, with the puppet warp tool, the shape of the warp is retained even if you delete the pins. You just can’t revert back to the original shape of the symbol on the artboard. If you need to retain the original shape pre-warp for an animation a better option is to use Smart Objects in Photoshop, as you will see shortly.

Puppet Warp tool settings found in the Control panel(upper) and Properties panel (lower)
Select All Pins : Selects all the pins that you’ve plotted on the selected artwork.
Show Mesh : Deselects to show only the adjustment pins, providing a clearer preview of your transformations.
Expand Mesh : Adjust with the slider or enter a number to bring disjointed select objects together to transform them with the Puppet Warp tool, as seen in Figure 14-22.

Expand the mesh so that you can adjust shapes together
Note
Puppet warp does not work on shapes that have a gradient mesh applied.
Using Puppet Warp in Photoshop
Puppet warp in Illustrator is very similar to Edit ➤ Puppet Warp in Photoshop; it uses pins if you compare their Control panels; however, the warp used in Photoshop should be applied to Smart Objects that were either created in Photoshop or copied from Illustrator (refer to the “Copying Illustrations to Photoshop” section in this chapter).
Smart Object layers always work best with the puppet warp because you can always alter the layer. With regular rasterized layers, once the warp is created and applied with the Check icon in the Control panel, it cannot be undone, unless you go back in your steps in the History panel before saving.

Edit ➤ Puppet Warp in Photoshop allows you to have access to similar features found in Illustrator, as seen in the Control panel

Using the smart filter in Photoshop for puppet warps allow you to revert to the original shape if you delete the filter
In Photoshop, Smart Objects that have been warped with the Puppet tool can be used in a GIF animation
Tools for Video
Now let’s discover what Illustrator CC has to offer for your video projects.
New Layout for Film and Video

Illustrator allows you to set file sizes for illustrations that you might uses in a film or video
Click Create to see the new layout.
You can use this layout to create single frames that could export as a JPEG and later used in Photoshop, Premiere Pro, or After Effects for various backgrounds or images for a scene. To view the video ruler, select View ➤ Rulers.
Adding 3D Images

Create a 3D rotated object for a video or animation

The Direct Selection tool (A) and Appearance panel can be used to refine your 3D shape in Illustrator
To make the object more realistic, you need to add it as a Smart Object in Photoshop and continue to style it there with other effects.
Summary
This chapter looked at some tools and panels that you can use for animation and video. You saw how SVG files can become interactive with JavaScript. You discovered that Smart Objects that come from Illustrator can be incorporated into animations and videos in Photoshop. In the next chapter, you take a quick look at a few miscellaneous tools in Illustrator that you can use for your web design projects.