
In this chapter, you explore some of the color options that are available and that are appropriate to use for your web projects.
Note
This chapter does not have any actual projects; however, you can use the files in the Chapter 3 folder if you do not have any file examples of your own to practice opening and viewing for this lesson. They are at https://github.com/Apress/graphics-multimedia-web-adobe-creative-cloud .
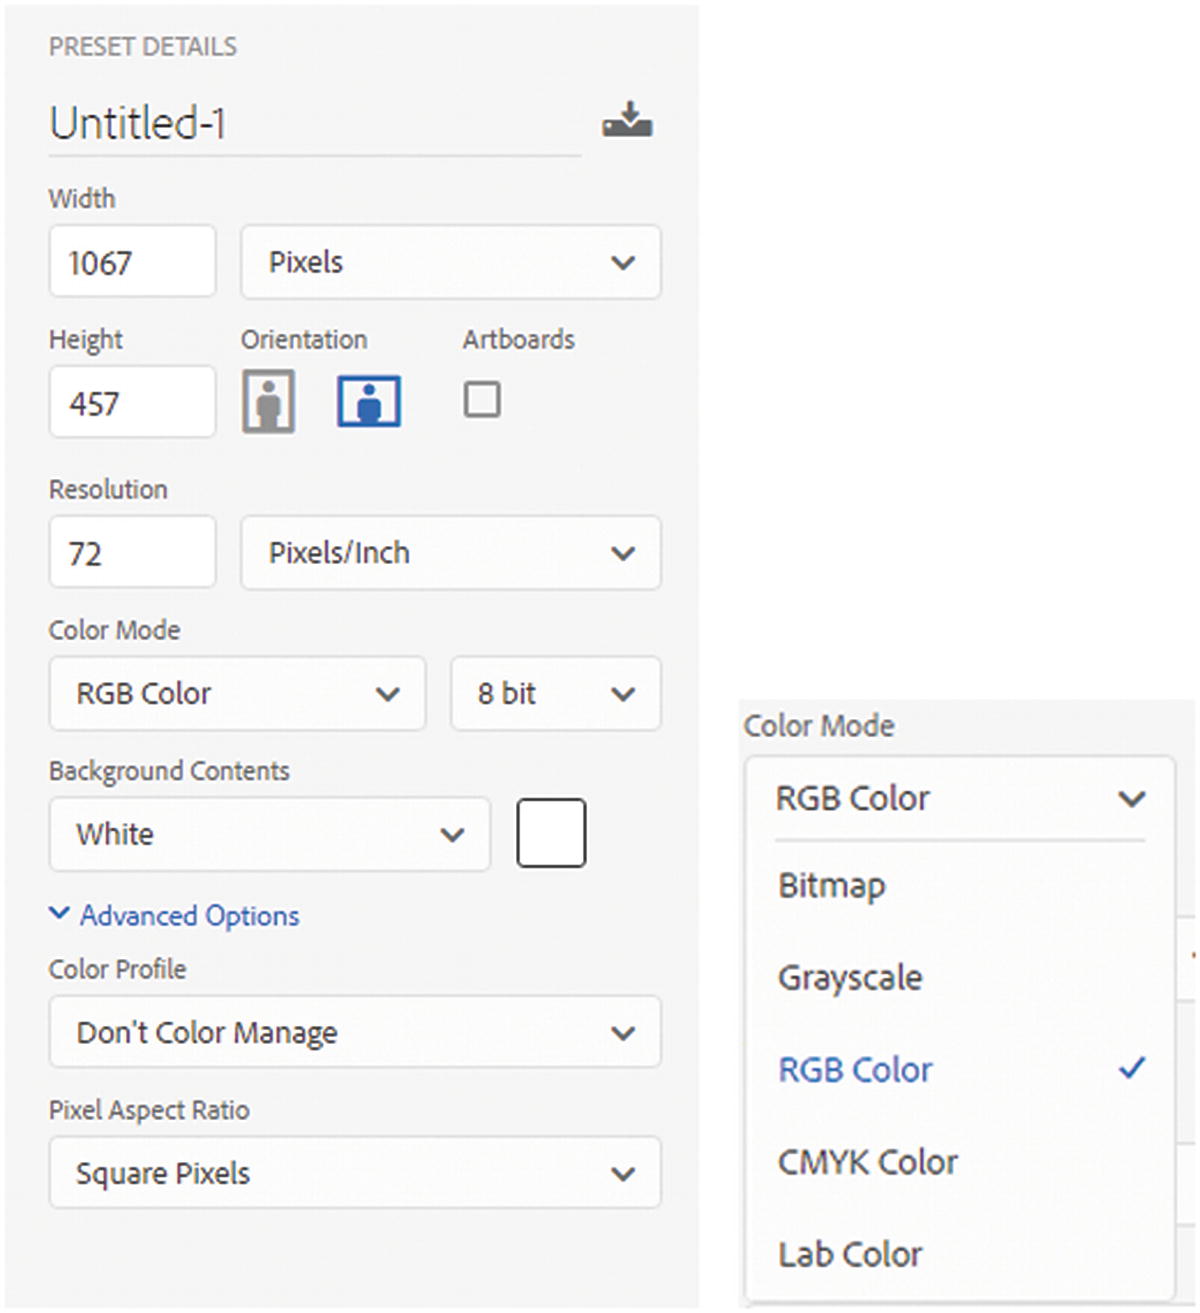
Choosing the correct RGB color mode in the File ➤ New dialog box
Bitmap : A low-res one-color file, often black and white, that can be used for simple line drawing. This is not the same as a (.bmp) file, which can have many colors.
Grayscale : An image that has many shades of gray; good for black and white photography, you can have this color format on the web, but there are more options in Photoshop if you save as RGB.
CMYK : This is best for print work. After you create an RGB image, you can always change a copy of the file to CMYK if you need to create promotional material. However, be aware that CMYK does not allow many filter options from the main menu, as seen in Figure 3-9.
Lab : This is the widest range of color, and some of the larger file formats you receive from clients may be set to this mode. To keep your files small and manageable, you can always create a copy and set it to RGB. Lab is useful for print materials.
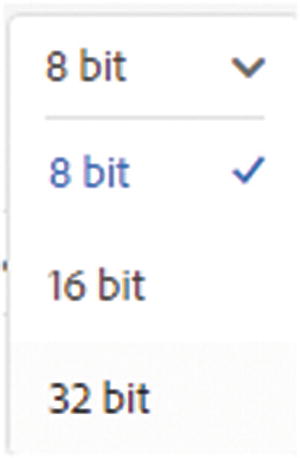
Choose a bit-depth of 8 bit, 16 bit, or 32 bit
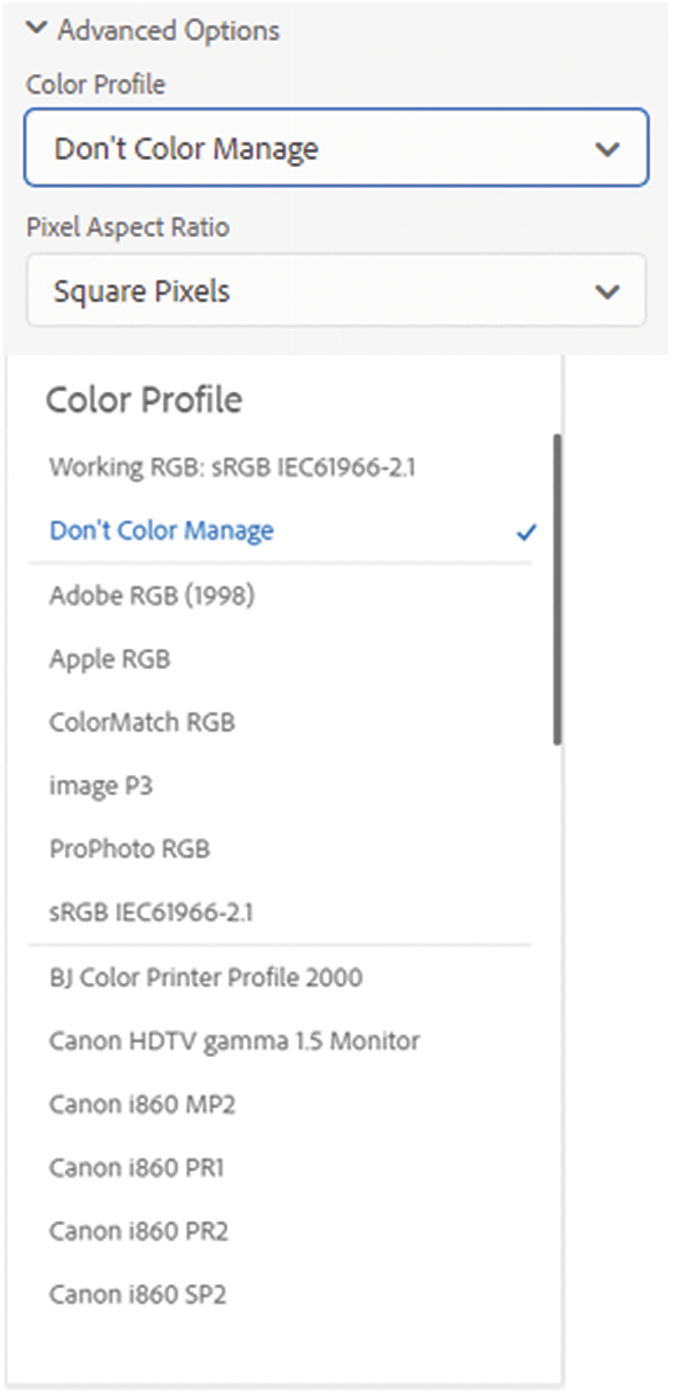
Looking at the advanced color profile options under Advanced Options
Another advanced option is Pixel Aspect Ratio. I recommend leaving it as Square Pixels.
Note
If you need to open a file (File ➤ Open) from a client and you are not sure of the image’s color profile, you can find it under Edit ➤ Assign Profile. The radio button that is highlighted is the current profile of that image, but you can change it to another, if necessary. Just remember that changing the profile may alter color settings within the file, and it may not display as it did before. If this is a concern while previewing the file, it is better to work on a copy of the original. Refer to Figure 3-4.
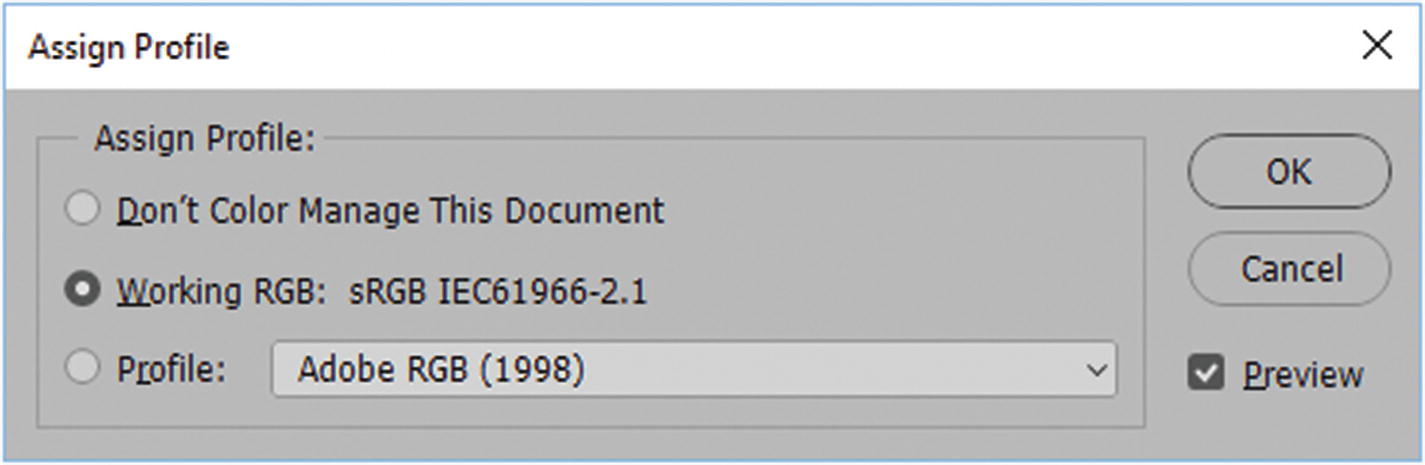
Checking the Assign Profile of an image
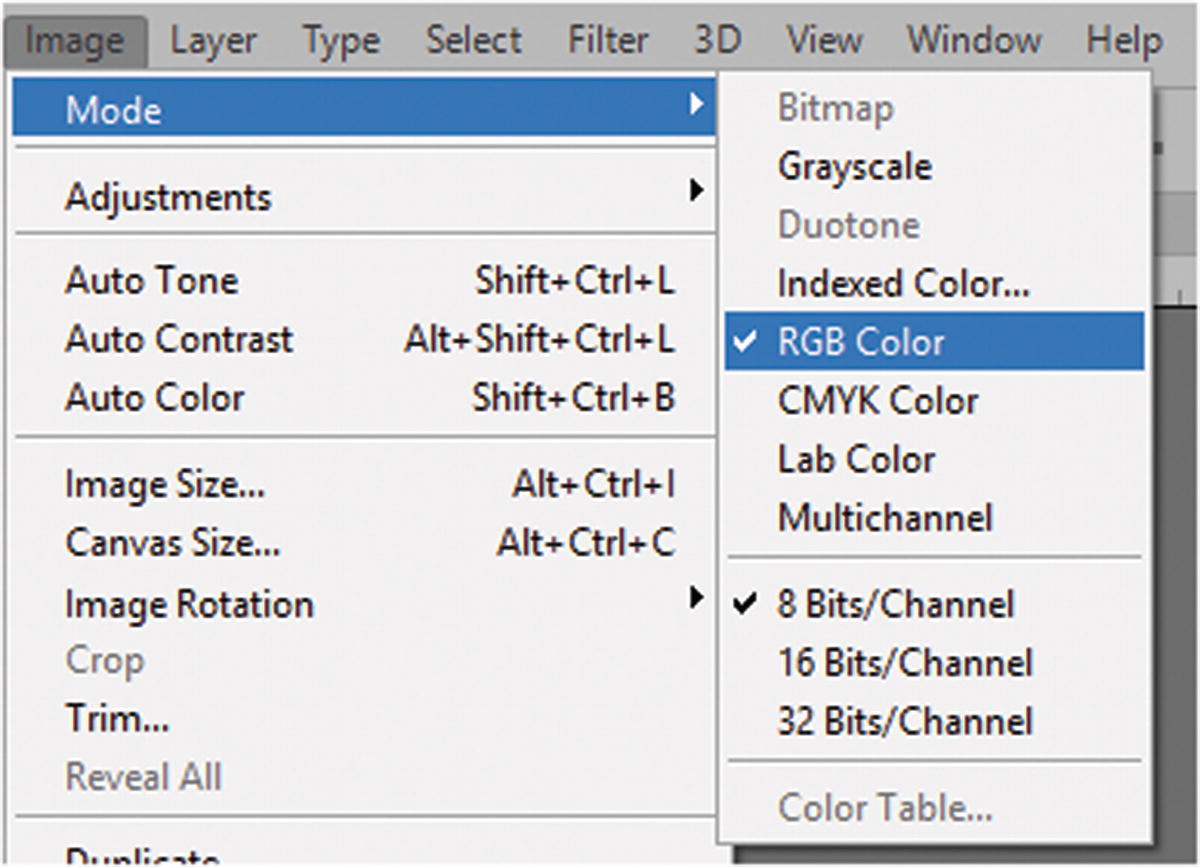
Change your mode to RGB color if not already set

The current color setting preferences

The color mode has been changed from CMYK to RGB

To preserve the original image, always work with a duplicate file
Duotone : This is generally used for print work and is for two color jobs. It can appear like grayscale or sepia tone found in old photos. In addition, you could add a second color, such as blue or yellow, for an interesting effect. Other options within this mode are monotone (1-color), tritone (3-color), and quadtone (4-color). If you want to keep this effect for an image on your website, remember to save a copy of the original in RGB mode.
Index Color : This is an 8-bit image that can only contain 256 colors of RGB. Called a CLUT, or color look up table, it is used for GIF image file formats and keeps the images small, as you will see in later chapters. This mode can be viewed on the web and is best for logos, but not photographs.
Multichannel : With 256 levels of gray per channel, this mode is best for print and not the web.
Note
One benefit of working in RGB mode vs. CMYK is that you have access to more of the Photoshop filters and 3D options, as seen in Figure 3-9.

Compare the options of CMYK to RGB color mode. See how 3D and the filter gallery are grayed out with no access in CMYK mode, but are available in RGB mode when you work with your filters in the file.
Note
When you open a GIF file in Photoshop, you may notice that it has an Index Color mode, as seen in Figure 3-10. That mode is within the RGB color platform, which is OK; you do not need to change it back to RGB.

GIF image are in the Index Color mode
From looking at modes, the best color mode options for an image on the web are RGB, Index, Grayscale, and Bitmap (for simple black-and-white line drawings).
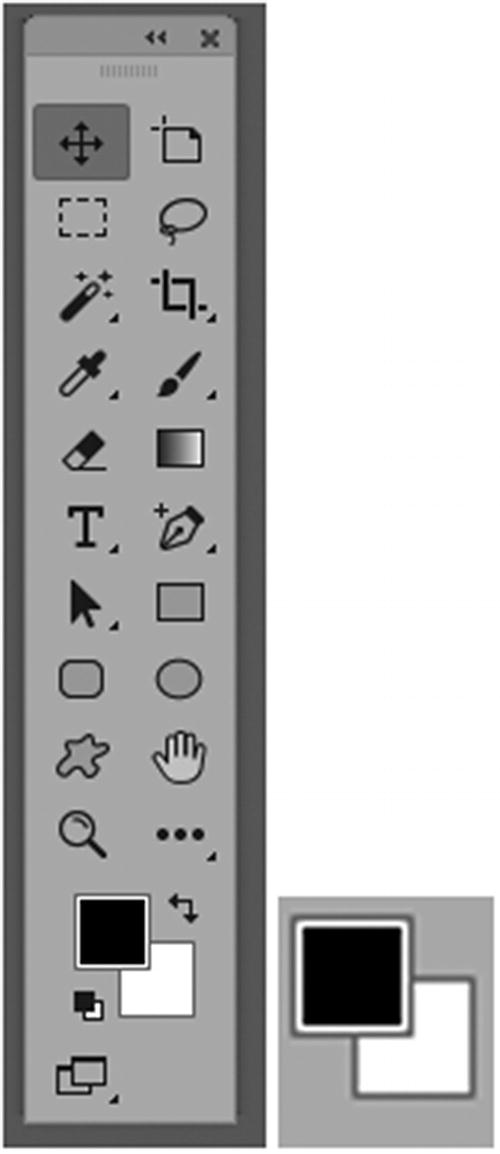
In the Tools panel, click either the foreground or background color to bring up the Color Picker dialog box

The Color dialog box allows you to work with colors in different modes, including Hex color (#), found at the bottom of the dialog box
Note
Even though you are in RGB mode in the color picker, you can use other modes, like HSB (hue saturation brightness), Lab, and CMYK to match equivalent colors for other projects.

The Color dialog box viewing only web-safe colors
This setting is helpful if you are working with GIF images since they only include 256 colors; for example, if your client needs to convert their logo to a specific web-safe color.

The Color panel to create additional colors
Settings like RGB Sliders and RGB Spectrum ensure that you are only looking at RGB color options. Make Ramp Web Safe is good for working with files that are saved as GIFs, which you’ll look at in the next chapter.
Note
If you need you need to know the HTML or hex code of the current color, select Copy Color as HTML or Copy Color’s Hex Code, and then paste the information into a program like Notepad++ or Dreamweaver CC. A text version of the code will appear in the file; for example: color="#b73f3f".

The Swatches panel allows you to add specific colors from the foreground or background to your set by clicking a New Swatch icon or choosing New Swatch from the panel’s menu
The Swatch panel also allows you to load or replace swatches that are specific to the web spectrum. You can use the menu to reset the Swatches panel; however, be aware that any swatches that you do not save under Save Swatches will be lost.

The Adobe Color Themes panel assists in finding complimentary colors for your themes
Adjusting the Image Size and Resolution
As a last step before exporting your image to a web format, you can adjust its final size and resolution by going to Image ➤ Image Size.

The Image Size dialog box to reduce the image size and resolution

Various resample options found in the Image Size dialog box
Much of this resampling can be done when you export the file, as you will see in the next chapter where we look at the resample setting in more detail.
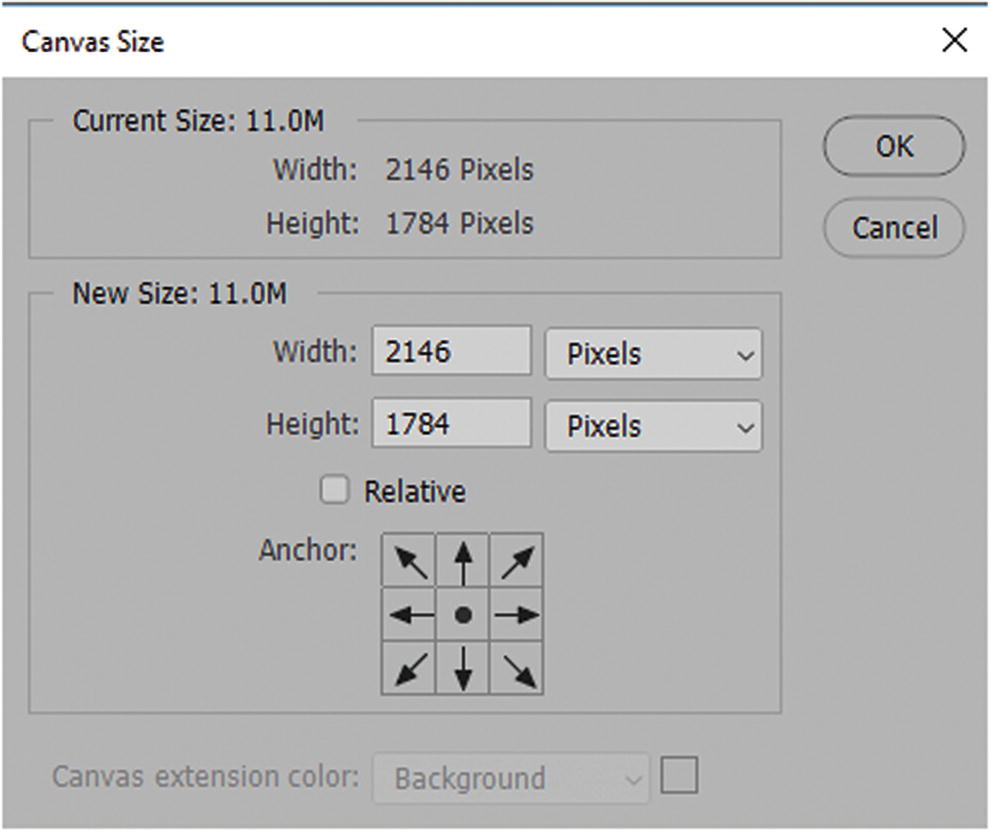
In the Canvas Size dialog box, you can reduce or increase the size of the image’s canvas

In the Canvas Size dialog box, you can reduce or increase the size of the image’s canvas
In the Canvas Size dialog box, you can reduce or increase the size of the image’s canvas and choose where to affect the resolution

How to stop the cropping action by right-clicking on the crop
When you are done looking at color choices, you can save any open file with File ➤ Save. File ➤ Exit to exit Photoshop CC, or keep Photoshop open for the next chapter.
Summary
In this chapter, you looked at some of the color choices and modes that are available to prepare images for your website. Some modes are better for print, like CMYK and Duotone; others, like RGB and Index, are meant for the web. You also took a look at how to further adjust the size and resolution of an image before export.
In Chapter 4, you look at how to make further adjustments or optimize your image files during export. Photoshop CC gives you several menu options for export, but figuring out which method is best for your workflow can be a challenge if you have many files to work with and multiple conversions to make.