
In this chapter, you look at Bootstrap components and jQuery, and learn how they can work with templates and library items to create HTML5 pages in a website that has a theme.
Note
This chapter does not have any actual projects; however, you can use the files in the Part 6 folder to practice opening and viewing for this lesson. They are at https://github.com/Apress/graphics-multimedia-web-adobe-creative-cloud .
Bootstrap
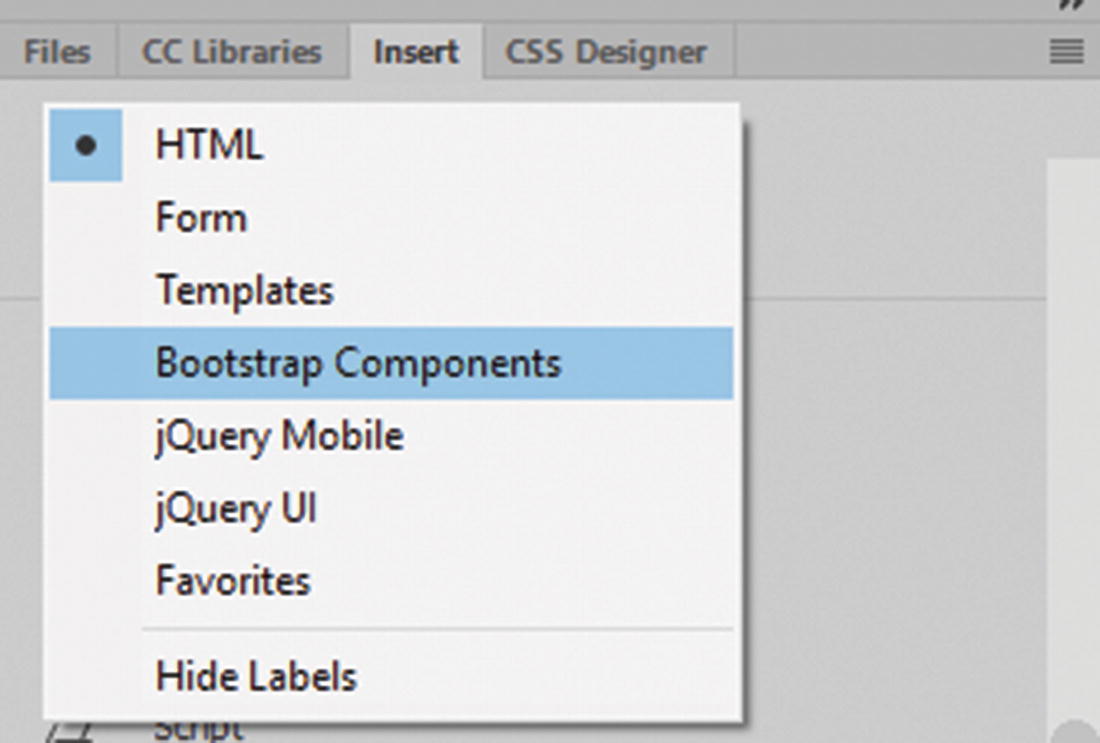
The Insert panel has many more widgets included within Dreamweaver that you can use to enhance your site
Check out each of these tabs to discover what they have to offer.

jQuery Effects that you can add to a div via the Behaviors panel
W3Schools jQuery: www.w3schools.com/jquery/default.asp
- jQuery Official Site:
Note
The jQuery library does not regularly update in Dreamweaver CC, so if you want the most recent library, you can copy the code or use the external link from the jQuery site. Be aware that by using a newer jQuery version, the Properties panel may not work with the more modern library as expected; also make sure to use only one jQuery library link per page, or use a template-based page because using two versions of a jQuery library may cause a conflict.
W3Schools Bootstrap: www.w3schools.com/bootstrap/default.asp
Official Bootstrap Site: https://getbootstrap.com
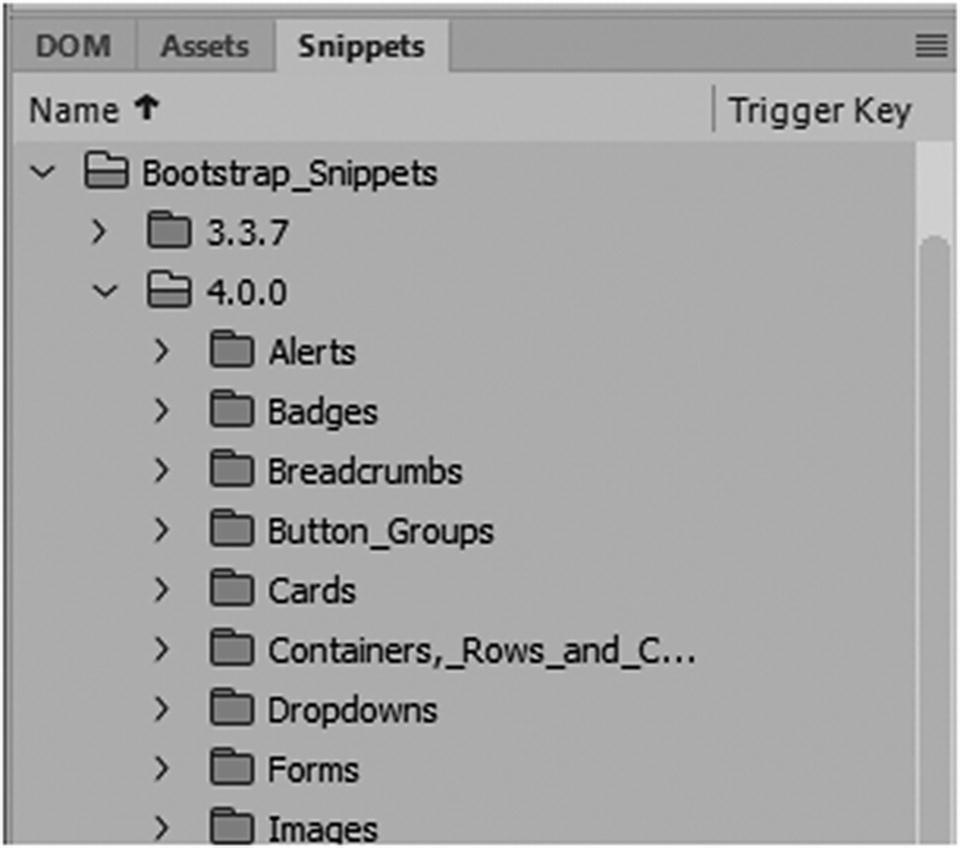
Bootstrap components are in the Snippets panel
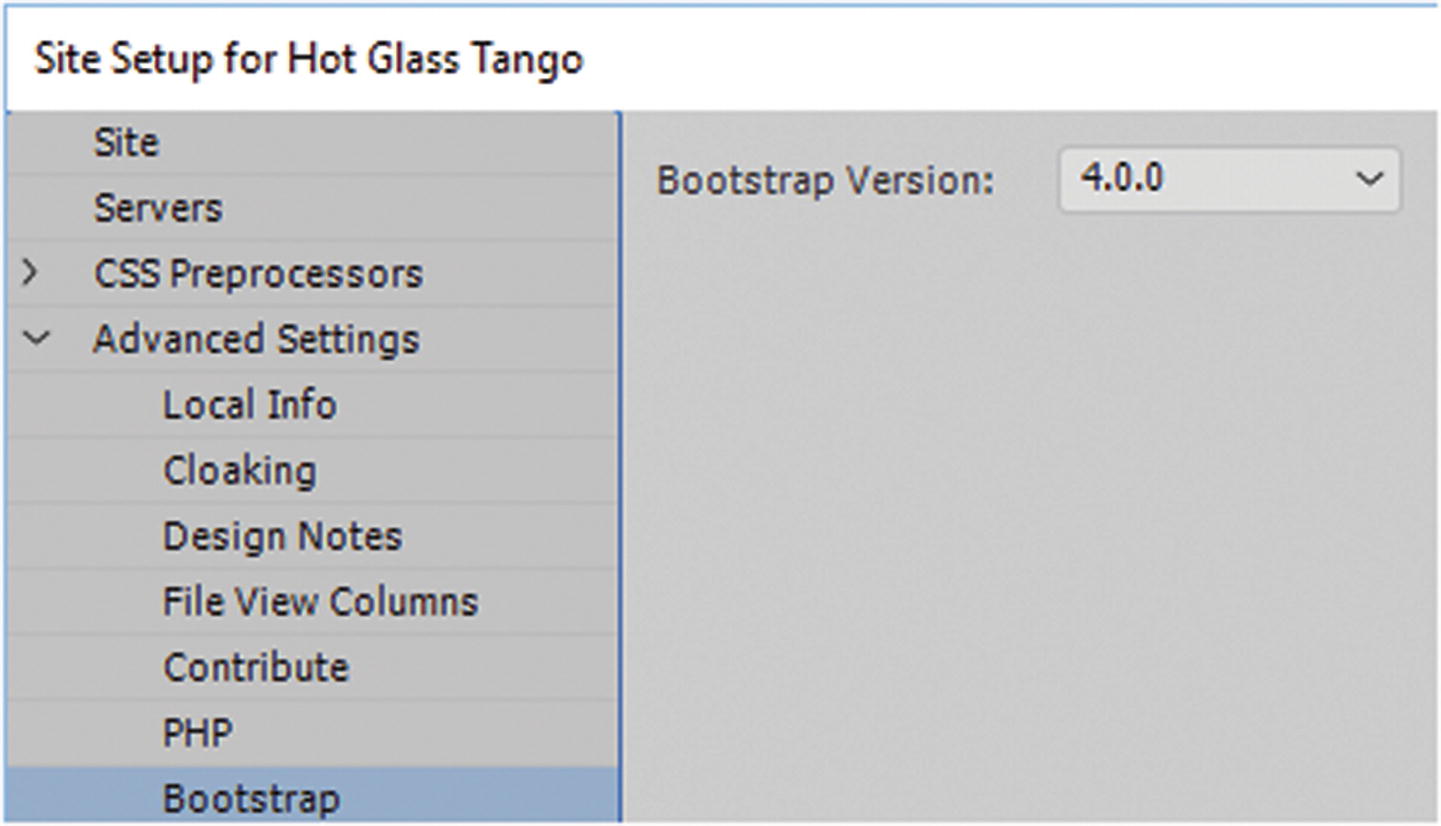
Make sure that your new site is using the latest version of Bootstrap in the Site Setup dialog box
Bootstrap uses HTML elements and CSS that requires that you use HTML5.
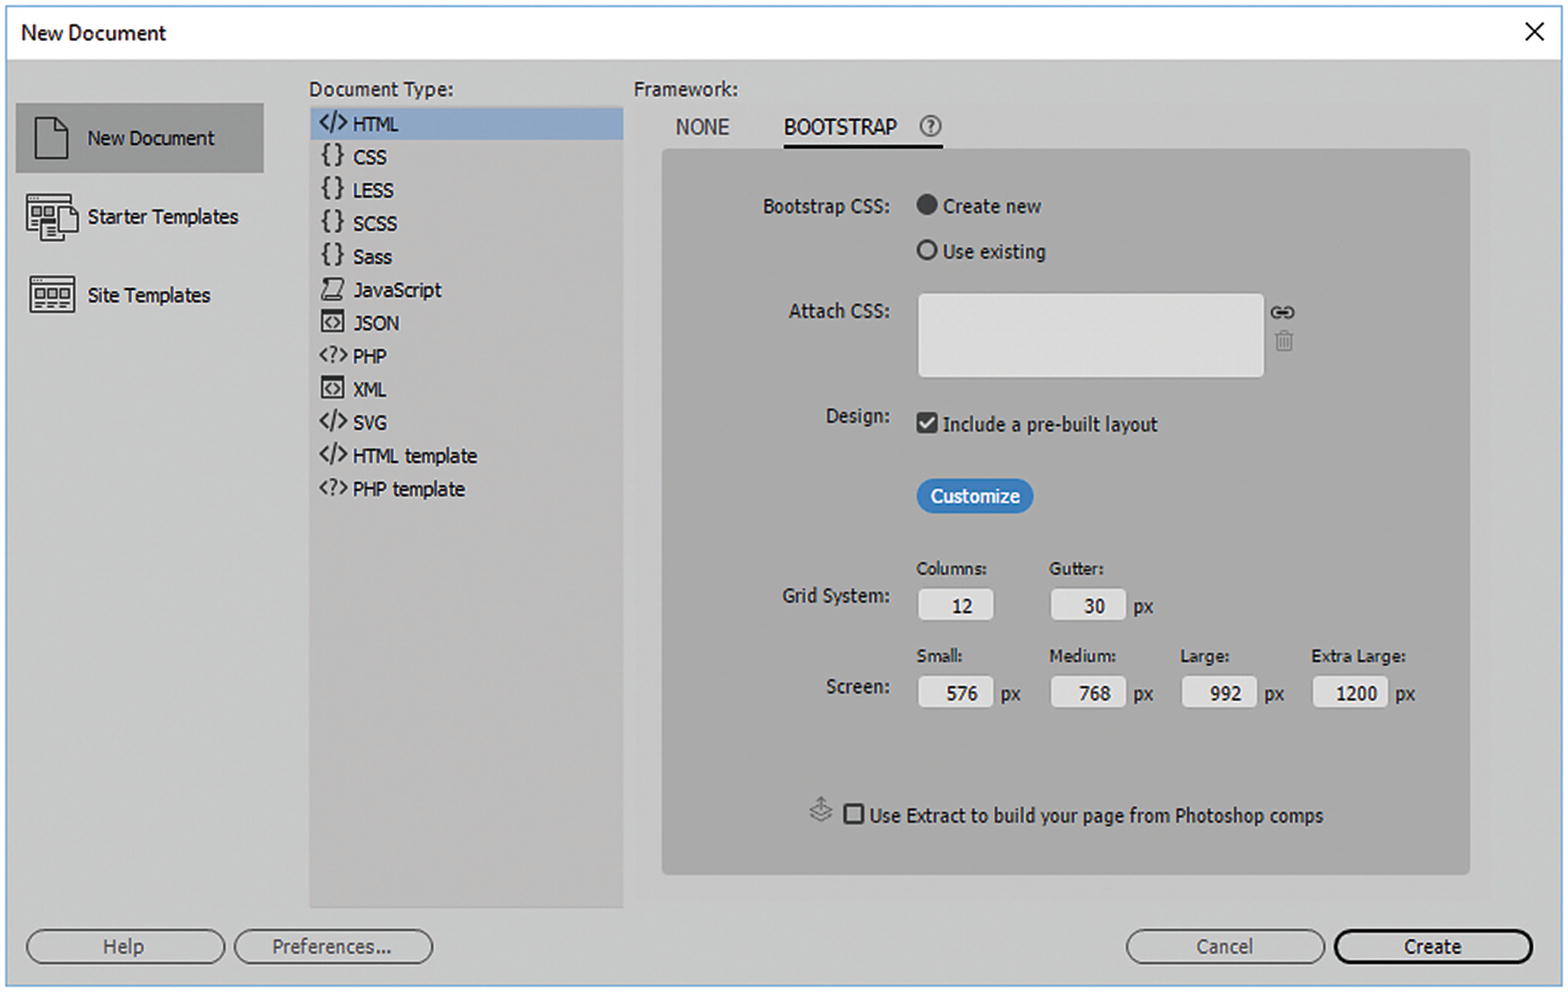
Choose the Bootstrap tap to quickly create your first mobile site
Choose the Bootstrap tab to quickly create your first mobile site
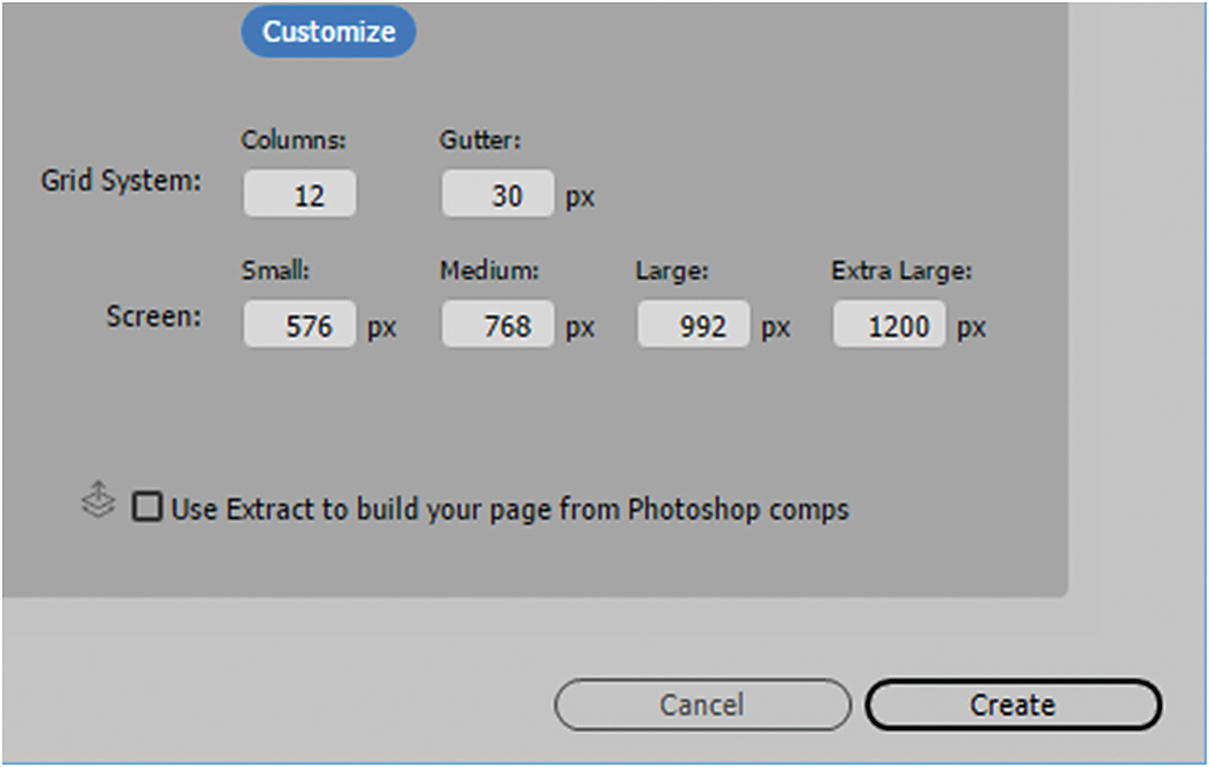
You could alter any of these settings. Bootstrap’s core framework is designed to be responsive and mobile-first. In my project, however, I left them at the default of a 12-column grid system and with a gutter of 30 pixels; the screen sizes are 576, 768, 922, and 1200. You can compare them to my files.
I left the Photoshop comps extract option unchecked; you look at that in Chapter 37.

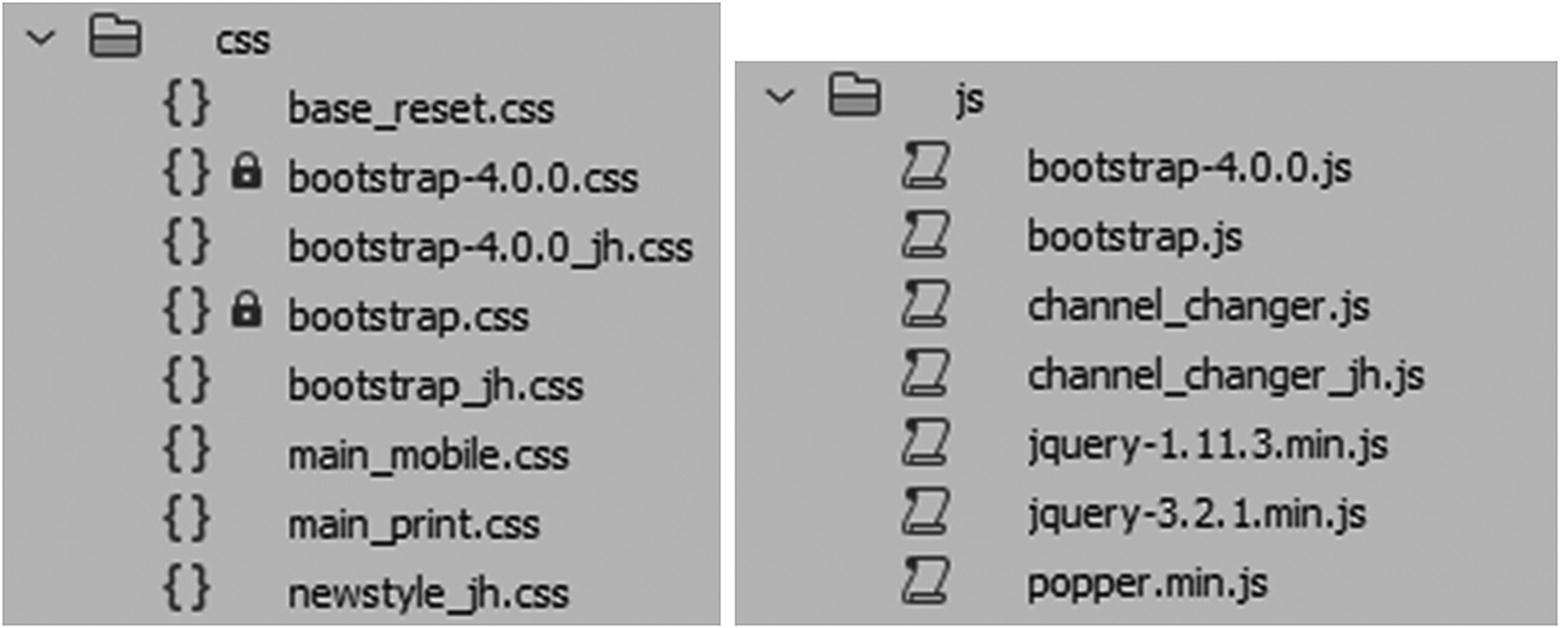
Linked Bootstrap CSS, JavaScript, and jQuery files are added to your own CSS and JavaScript files in the folders in the File panel
Never try to alter the original locked Bootstrap file. It is best practice to keep the original as a backup in case you make an error or need to revert. I find this the best way to work if you are new to Bootstrap, and you are not sure what some classes are for. I also keep a backup copy of the Bootstrap CSS in another folder outside the site, if for some reason it becomes unlocked accidentally, and I need to add a new file.

After you have designed a basic layout you can use the Bootstrap components to add more interactivity for your images
Other items that can be added by Bootstrap include blank dummy images for placement and fonts in the fonts folder. These are all things that you can keep or remove and replace with your own images and fonts as you build your site. You look at web fonts one more time in Chapter 37.
Regardless of how you build your site with or without Bootstrap, one thing that you may find tedious is that once you build one page, you may want to keep the navigation or banner and footer graphics of your site the same for many of your pages. Rather than go to each page and adjust a link every time, you can update all similar areas using templates and library items. You look at this next and how they can be incorporated into your design.
Working with Templates, Library Items, and the Assets Panel
It is important that before you do a lot of work on your site, you are familiar with templates, library items, and the Asset panel and how they relate to inserting HTML, CSS, and JavaScript(jQuery) on to your page.
Templates
A template allows the designer to add further conformity to the website. Dreamweaver has its own set of templates that end in a .dwt file format. The viewer never sees the template, yet it needs to be uploaded to the site with all its linked HTML5 pages so that it can operate correctly.
When most of my students start using templates in Dreamweaver, they are confused as to what its purpose is. Why not just create all of your HTML pages one at a time and make them distinct and different? From a design perspective, a website needs to have a theme or color scheme. If every page is vastly different on a website, the viewer starts to become confused as to where they are. Are they in the same site anymore, or are they somewhere else? Even sites created in programs like WordPress use themes and base a new page off of a common page. This is what a template is.

You can add Bootstrap links and HTML5 to your template comments
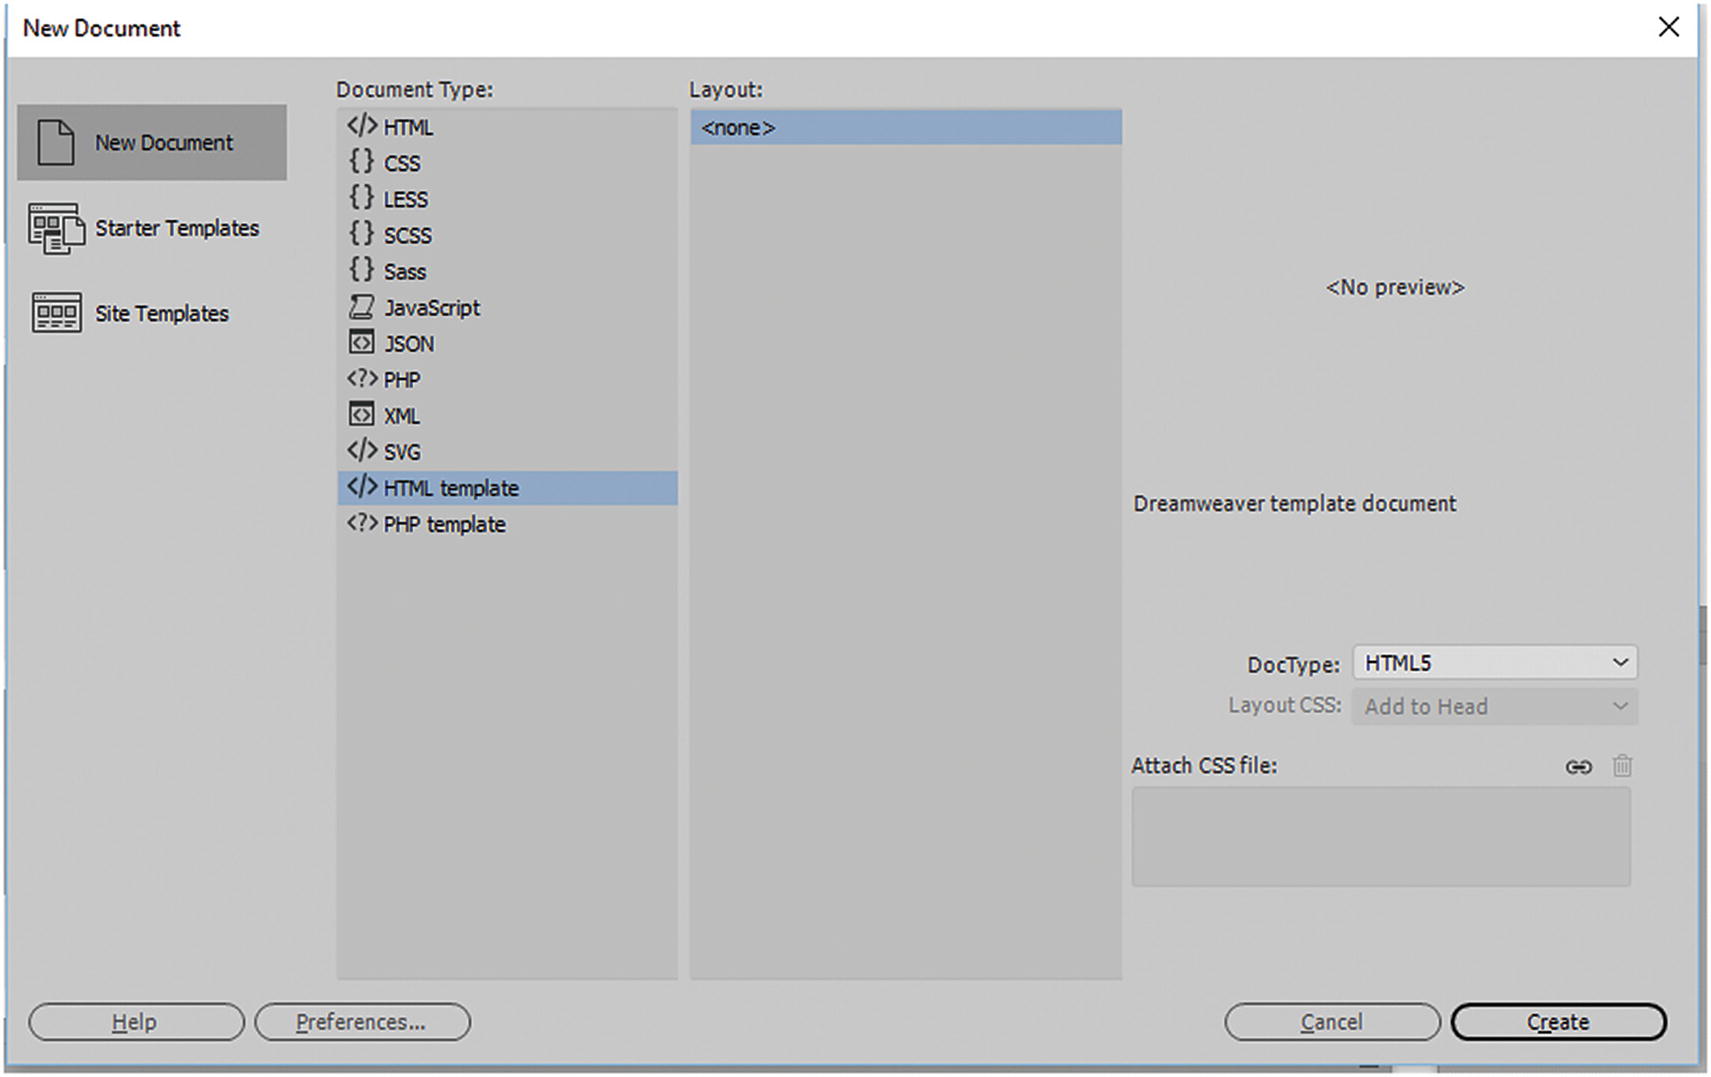
Create a new HTML5 template using the New Document dialog box
The new template

A template is added to the Templates folder

Until editable regions are added to the <body> you see this warning alert

Work with starter templates if you choose not to start with a blank template
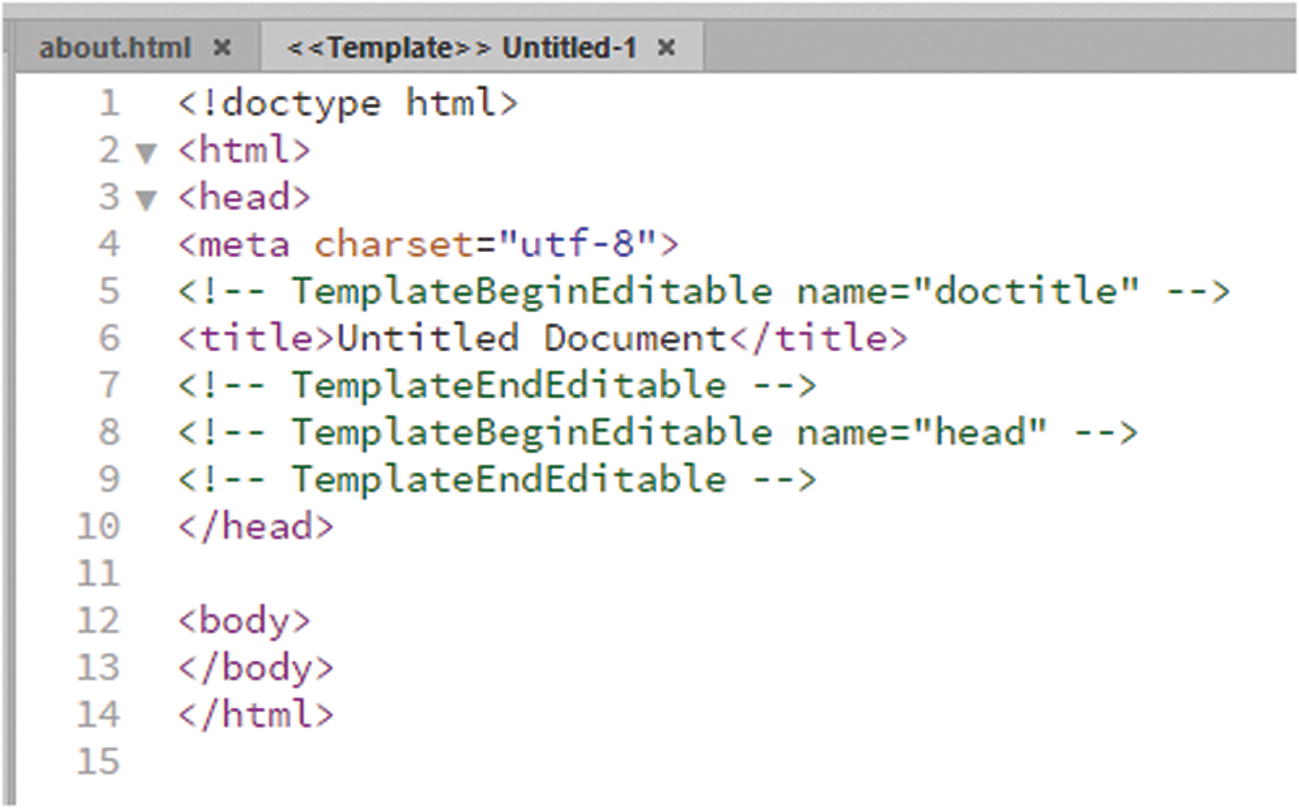
In this case, I started with a blank template for Hot Glass Tango; for your project, a new template opens and is saved in your site root Templates folder with the .dwt file extension.
Do not move the template (.dwt) file out of the Templates folder. This causes the links within to break and may cause it to stop working.
Do not rename the Templates folder, leave the folder name with a capital letter.
Within template file in code view do not change the text within the <title>Untitled Document</title> tags, you only change the text here when inside of the template-based pages.
Do not remove or alter the template comments that are in the template file.
Doing any of these things corrupt the template and cause it not to work correctly.
Adding Editable Areas
In Figure 35-13, when you first started adding designs to your template <body> area, it contains no editable regions. After working on the layout, if you save the template, you get an alert stating that there are no editable regions. The purpose of editable regions is to control which area of the template’s base design you can edit on your template-based pages.
Until you are ready to add an editable region, you need to press OK in the alert; otherwise, you can check the Don’t Warn Me Again button, if you find this too repetitive.
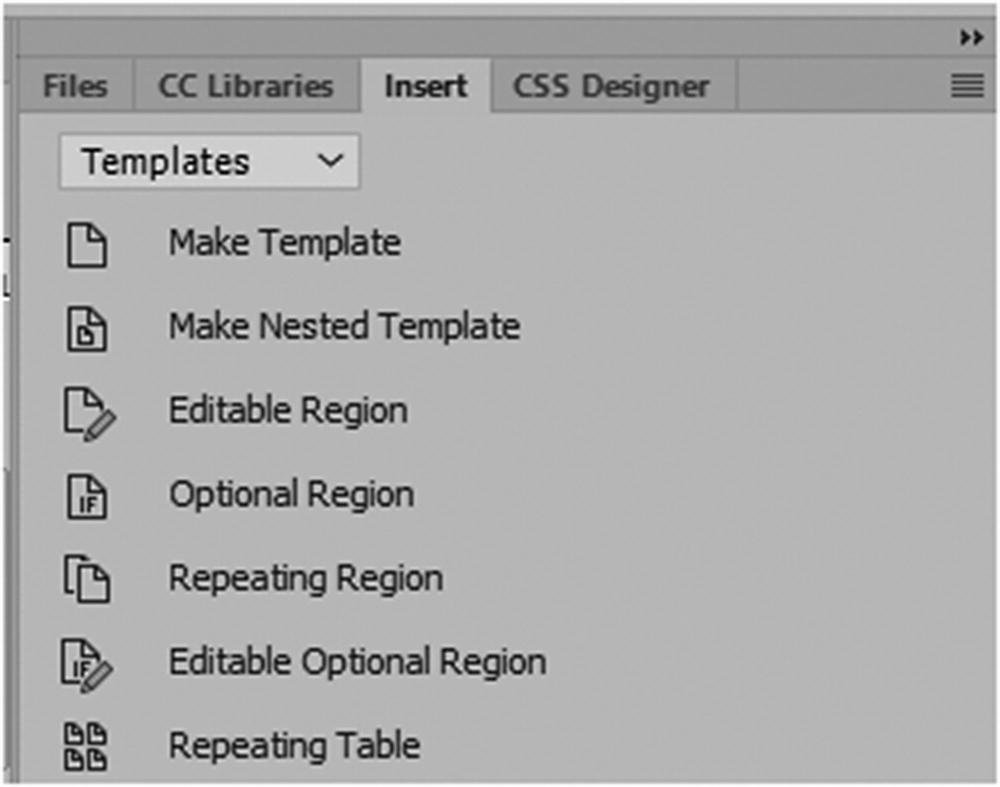
In the Insert panel in the Templates tab choose Editable Region

Adding a new editable region to your page

A template editable region is added and this is how it appears in Design view
Once you start creating template-based pages, this is the area that is available to you to add new graphics and video; all the other areas outside of this editable area remain locked unless you go back into the template and edit.
Note
You can also have a “hidden” editable region if additional JavaScript or jQuery needs to be added to an area at the bottom of the page before the </body> closes. The reason for doing this, is because some JavaScripts require this order. Not all template-based pages require the same JavaScript. Doing this is an alternative to putting the JavaScript into the template so that it loads everytime each template-based page opens.
Additional Editable Region Options
Here are some other template features you may want to explore further on your own. They are found in Insert panel ➤ Template tab.
Make Template
This makes a template out of a current file or another template. Just be aware that sometimes corruption can occur, so it is always best to start with a new blank template (see https://helpx.adobe.com/dreamweaver/using/dreamweaver-templates.html ).
Make Nested Template
A nested template’s design and editable regions are based on another template. Nested templates are useful for controlling content in pages on a site that share many design elements but have a few variations. For example, a base template might contain broader design areas and be usable by many content contributors for a site, while a nested template might further define the editable regions in pages for a specific section in a site.
Editable Region
These areas in a base template are passed through to the template or nested template and remain editable in pages created from a template unless new template regions are inserted in these regions. Changes to a base template are automatically updated in template-based pages, and in all template-based documents that are based on the main and nested templates. For more details on this topic visit these links:
https://helpx.adobe.com/dreamweaver/using/creating-nested-template.html
https://helpx.adobe.com/dreamweaver/using/creating-editable-regions-templates.html
https://helpx.adobe.com/dreamweaver/using/editing-content-template-based-document.html
Be aware that adding or altering editable regions while inside the template after the template-based pages have been created, these changes may not appear in the template-based pages.
Optional Region
An optional region is where users can set to show or hide in a template-based document. Use an optional region when you want to set conditions for displaying content in a document. When you insert an optional region, you can either set specific values for a template parameter or define conditional statements (If...else statements) for template regions. Use simple true/false operations or define more complex conditional statements and expressions. You can modify the optional region if necessary. Based on the conditions you define, template users can edit the parameters in template-based documents they create and control whether the optional region is displayed. You can link multiple optional regions to a named parameter. In the template-based page, both regions show or hide as a unit. For example, you can show a “closeout” image and sales price text area for a sale item. For more information, visit https://helpx.adobe.com/dreamweaver/using/using-optional-regions-templates.html .
Repeating Region
A repeating region is a section of a template that can be duplicated many times in a template-based page. Typically, repeating regions are used with tables, but you can define a repeating region for other page elements. Repeating regions enable you to control your page layout by repeating certain items, such as a catalog item and description layout, or for data such as a list of items. There are two repeating region template objects that you can use: repeating region and repeating table. For more information, visit https://helpx.adobe.com/dreamweaver/using/creating-repeating-regions-templates.html .
Editable Optional Region
An optional region is non-editable but editable optional region is.
For more information, visit https://helpx.adobe.com/dreamweaver/using/using-optional-regions-templates.html .
Repeating Table

The Insert Repeating Table dialog box
Creating a Template-based Page
Once you have created and saved your template in the Templates folder with its editable regions, it is time to create a template-based page.
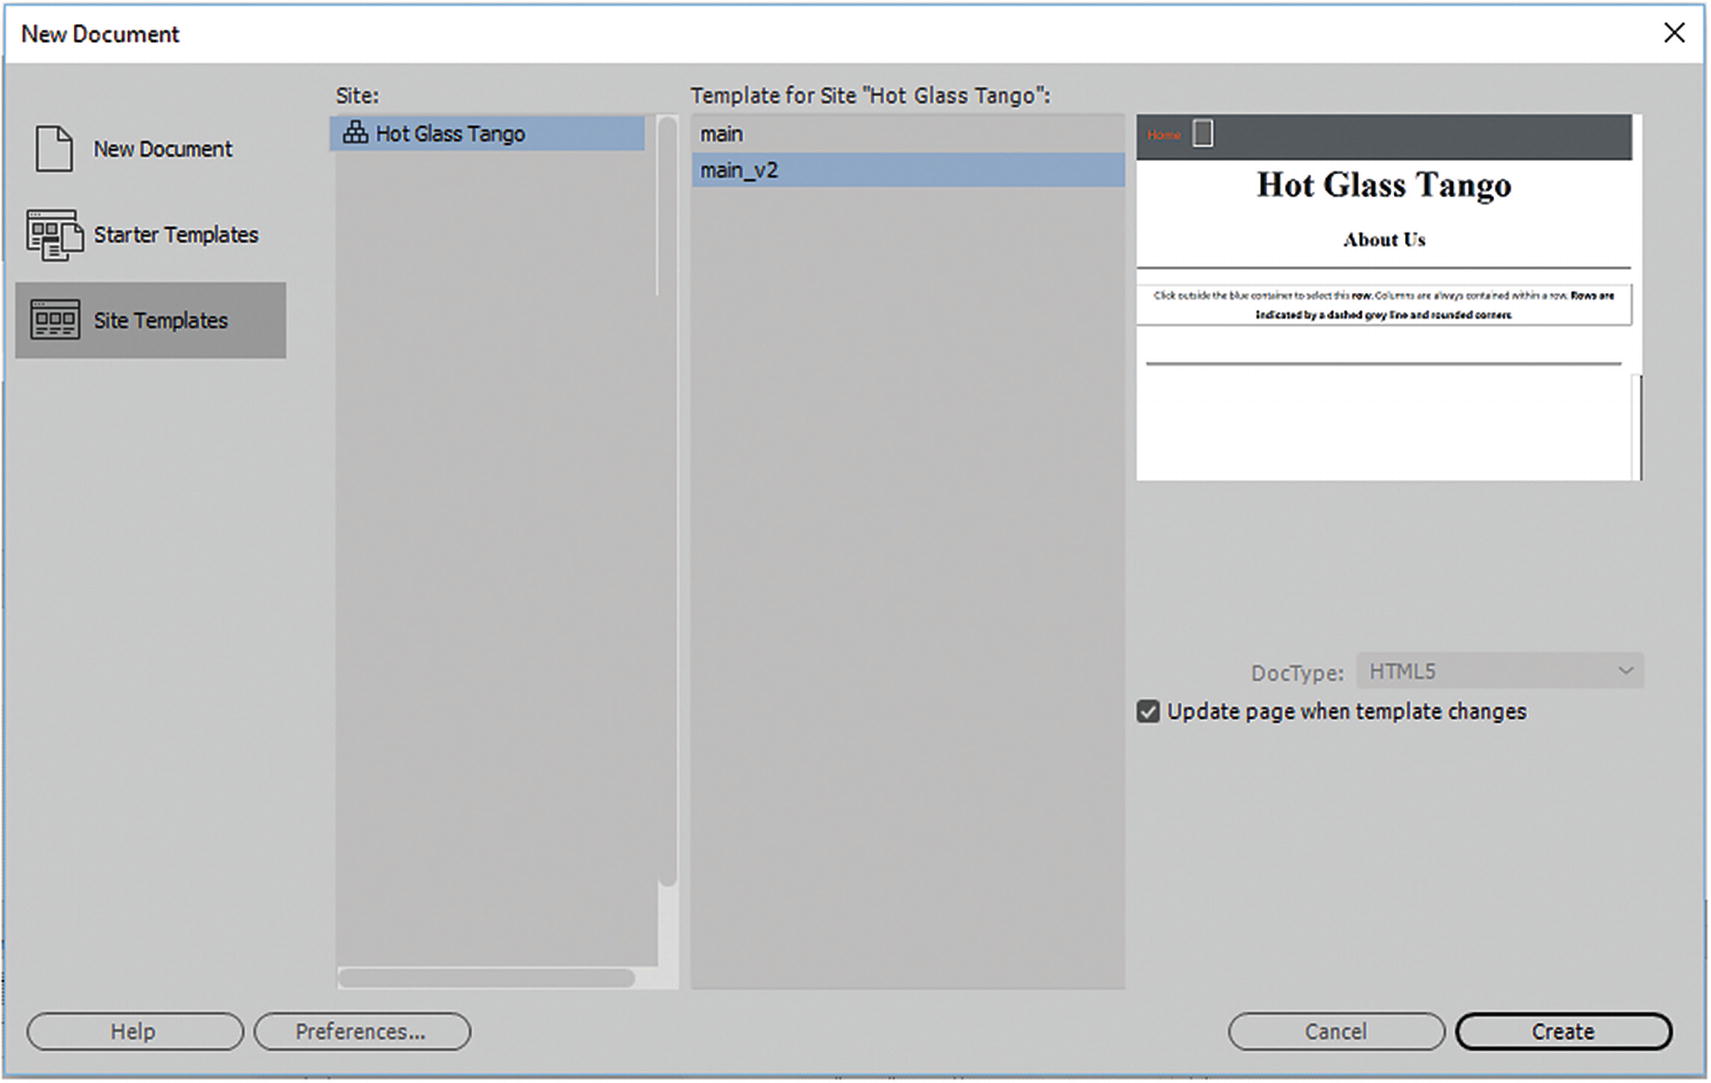
Creating a template-based page from the New Document dialog box
Here you locate your site and then select the template that you want to base the page on. Generally, you only have one template per site, but there may be cases in which you need more than one, depending upon your layout. I created index.html but did not make it template-based. This is important to consider during the layout and planning stages of building your site, especially if you need to keep your links updated. You then see a preview of the layout. Before you click Create, make sure that Update Page is checked when the template changes.
Hidden Area in <head> Tag of a Template-based Page
When adding CSS or JavaScript in this area, if it is above or below other CSS or JavaScript in the template, or if there is class or ID naming conflicts, it may affect the way the code behaves. So, keep this in mind as you add your code to this area.
Templates Are Updateable
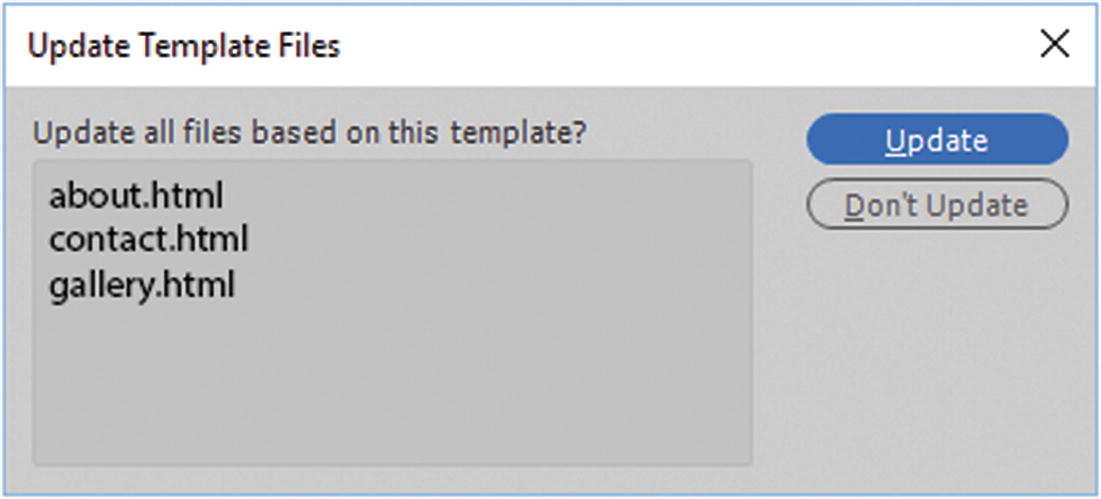
Update the template-based pages when the template is altered and then saved
In this example, you can see how many pages are affected.
If this is not the same number of pages that you know are template-based to that specific template, then there might be an issue of corruption with that HTML5 page or it may have become detached.
Click Update to update all the files.

Update Page dialog box logs all files that were examined and updated
If you change the setting here, the Done button changes to a Start button, and you can run the update again.
When done, click the Close button, and you can close your template file. When you open a template-based file, you see that the change to template has happened to it and all your template-based pages.
Troubleshooting Templates
Note
While you are working in the template, it is best to close all your template-based HTML pages because when you save the template changes, Dreamweaver makes the changes to the open template-based page, but it won’t save it right-away. You then have to save the file upon closing, which is just an extra step in the work flow.
Sometimes when working with templates (at least on Microsoft computers), Dreamweaver appears to slow down. If you notice that not all of your template-based pages are showing up, it could mean one of two things. You were working with too many open files in Dreamweaver. With large sites, it is best to work with your project on an external drive. Close Dreamweaver, then open the program again and retry the update; this should correct the issue. If it does not, check if your template or the template-based page has become corrupted. In that case, you may need to re-create your template and try again.
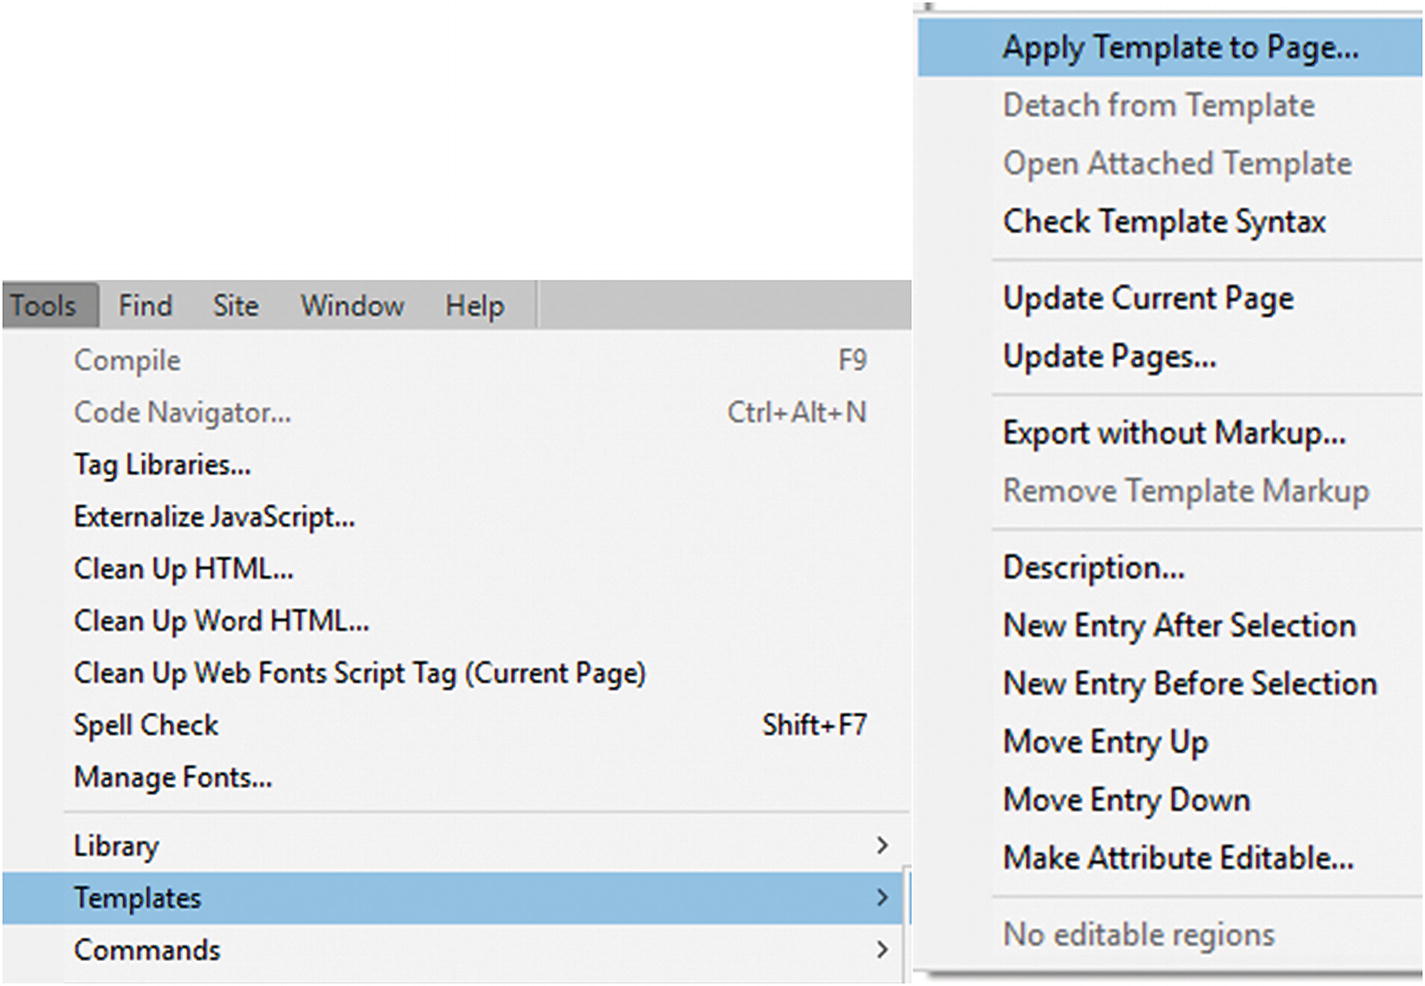
Additional template options in the Tools drop-down menu

review the editable regions in your template
Library Items
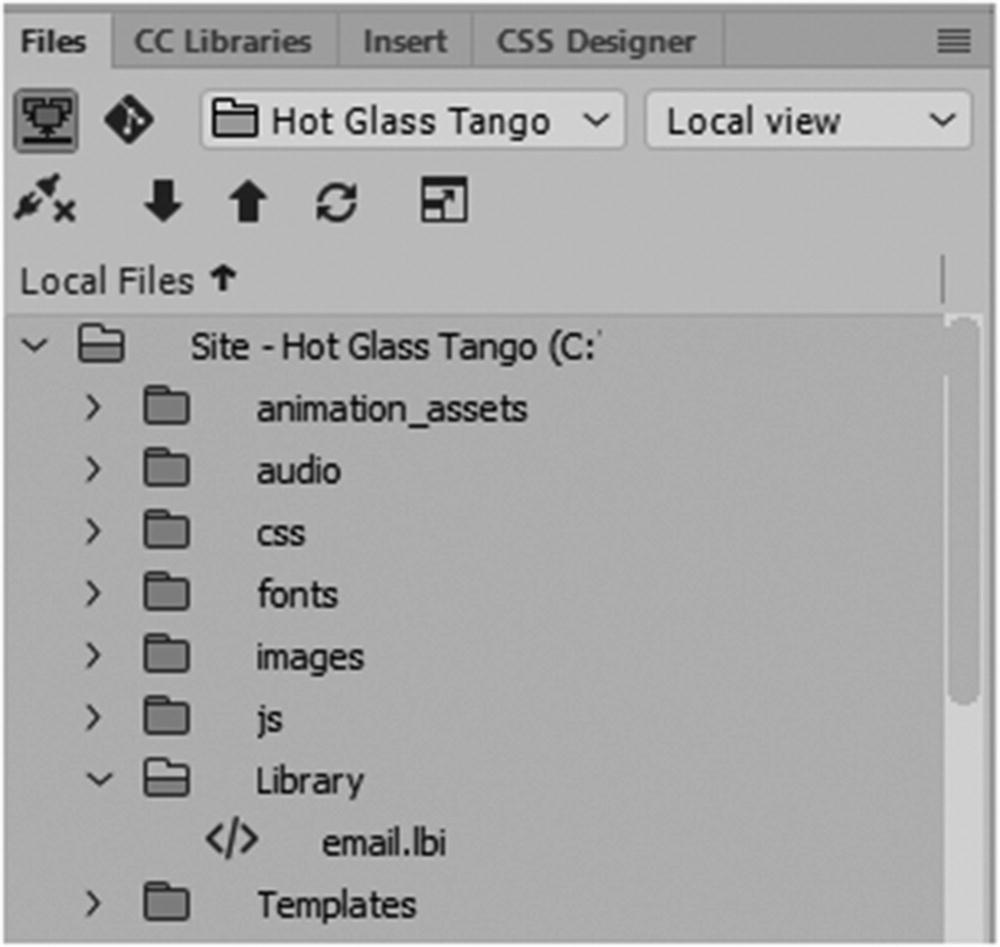
Library items folder with a library item inside
Dreamweaver stores library items in a single library folder in the root directory of each site.
Like templates, do not move the library items (.lbi) file out of the library folder. This causes the links within to break and may cause it to stop working.
Do not rename the library folder and leave the folder name with a capital letter.
Like templates, library items can be updated after saving, and the changes cascade throughout the site. Refer to Figure 35-25 .

Update the library items on their pages once a change is made

The Tools drop-down panel allows you to update the library items
However, creating and inserting a library items is a bit different than creating a template page. To do that, you need to the Assets panel.
Creating and Adding Library Items with the Assets Panel
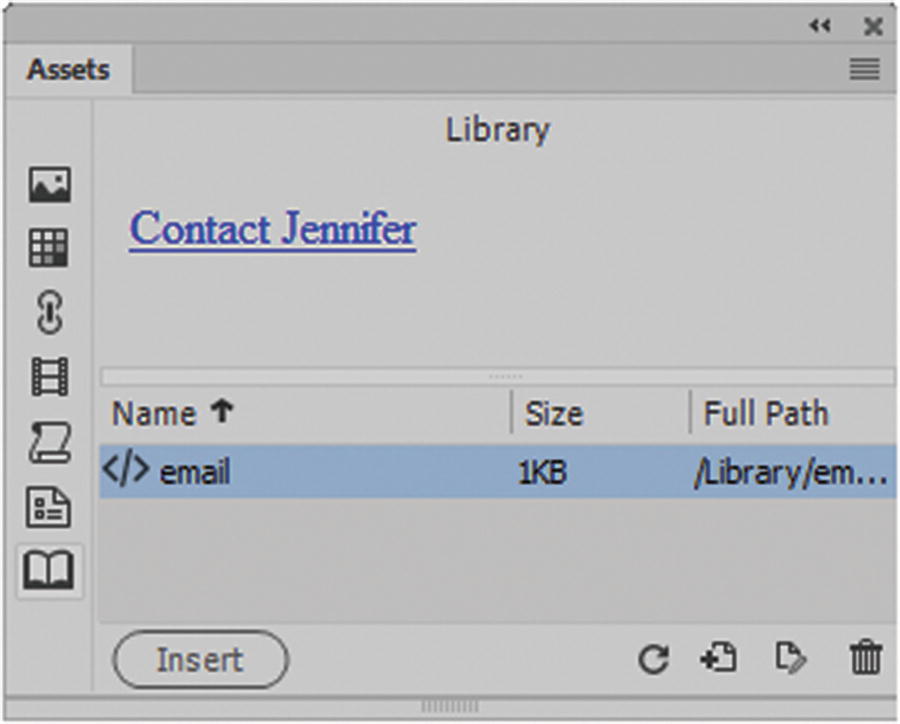
The Assets panel allows you to review items such as how many library items you have and then preview them
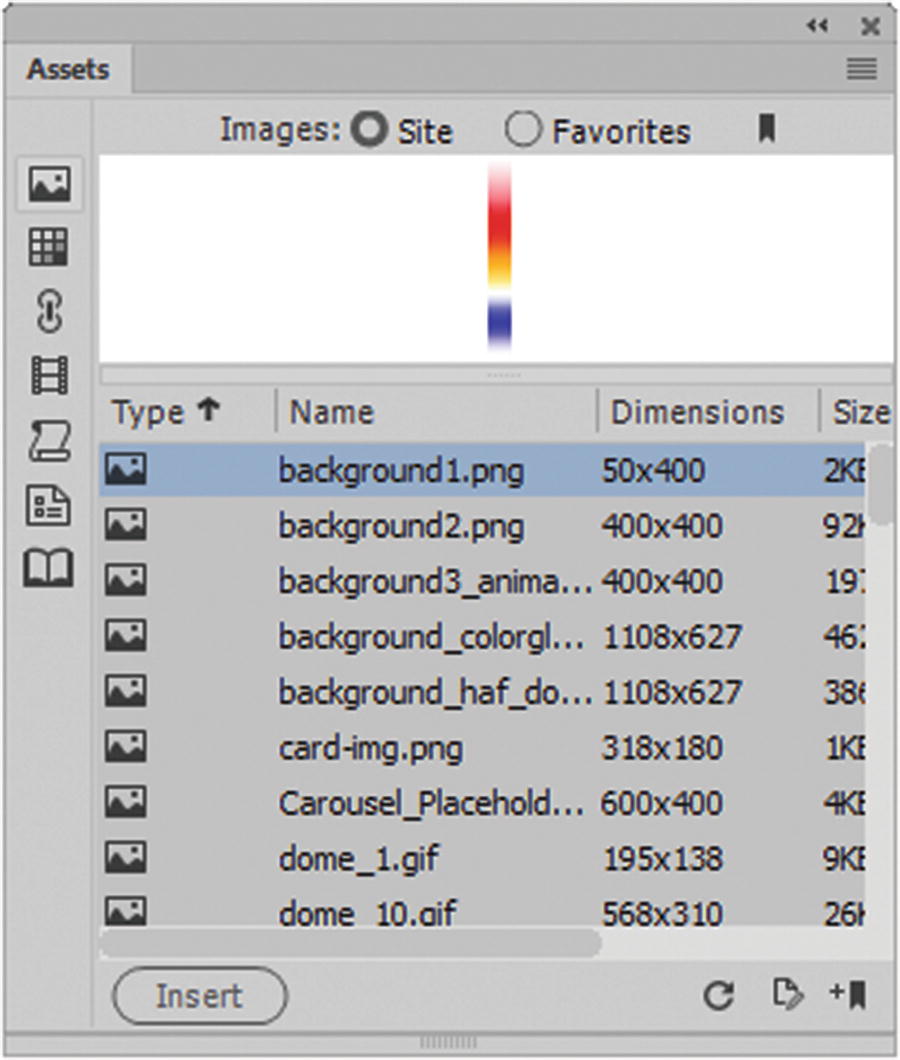
Previewing Images using the Assets panel

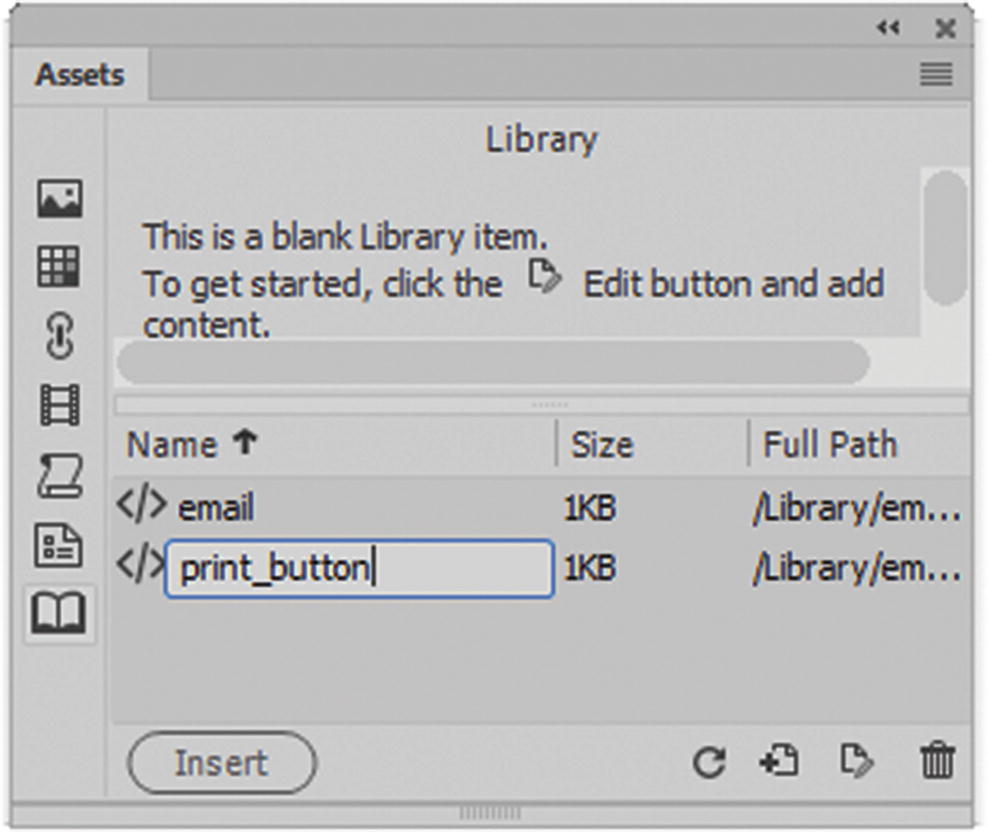
Add a new library item

Adding a library item
Rename and open the library item by double-clicking on it

View a library item as you would an HTML page or template
If you’re just looking at the library item, and it still is not linked or inserted to an actual page, then the formatting of the text appears different than what you expect. Even in Design view it appears unformatted, but this is OK. Once it is on a page with a CSS internal or external link, it references the class or ID and appears correctly styled.
When you are finished creating the library item, save it and close it.

Insert a library item onto a template-based page
This area of code is locked on the HTML page, and you cannot edit it. To edit, you must go back to the Assets panel or the Files panel and double-click to open. Make changes and save it so that it updates in all locations, and then close the library item.
Detach Library Item
You may want to detach a library item to edit or create a new example.
Open: This opens the library item.
- Detach from original: To alter the selected library item on a page, this button allows you to detach and break the link to the original item, so that the code on the page is not part of the library link anymore. Refer to Figure 35-34. If you detach, the link is no longer linked to library item and therefore does not automatically update with the other library items.
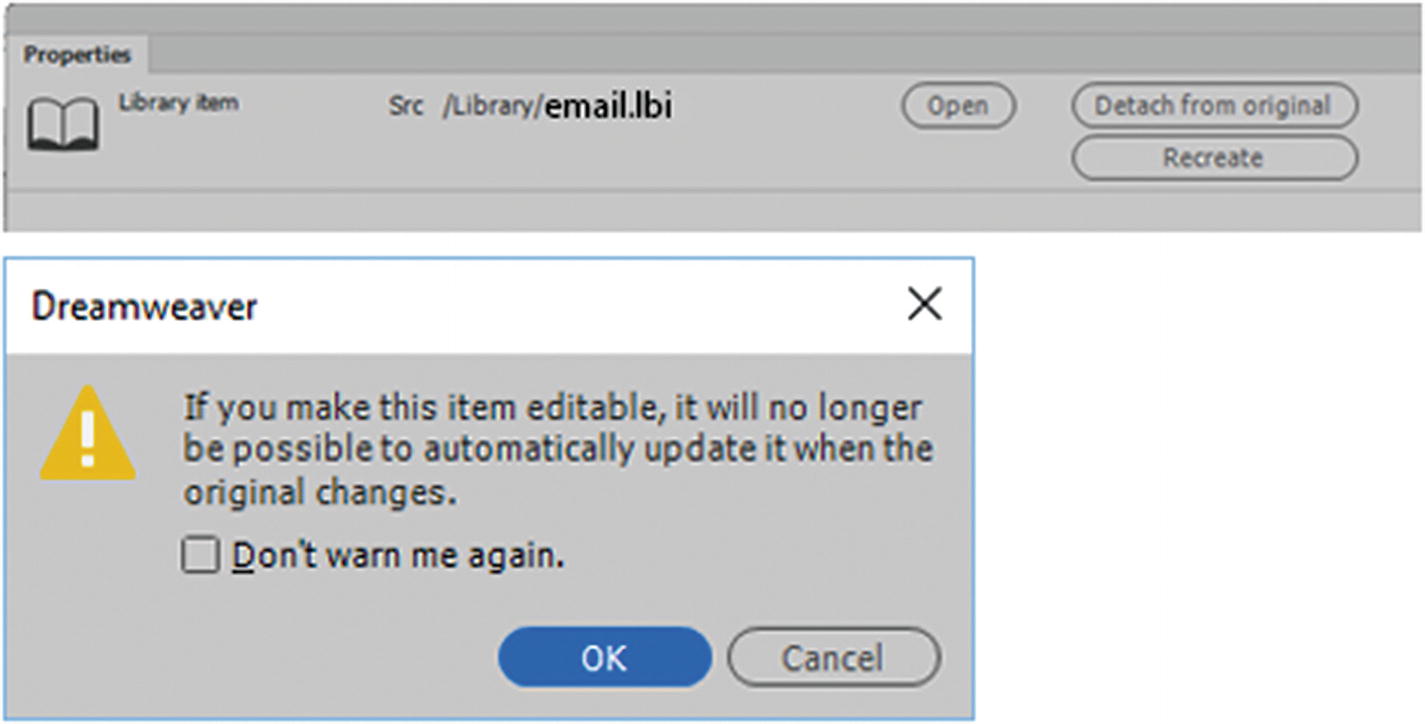 Figure 35-34
Detach a library item
Recreate : Allows you to override the library item. Refer to Figure 35-35.

You are asked if you want to overwrite the library item
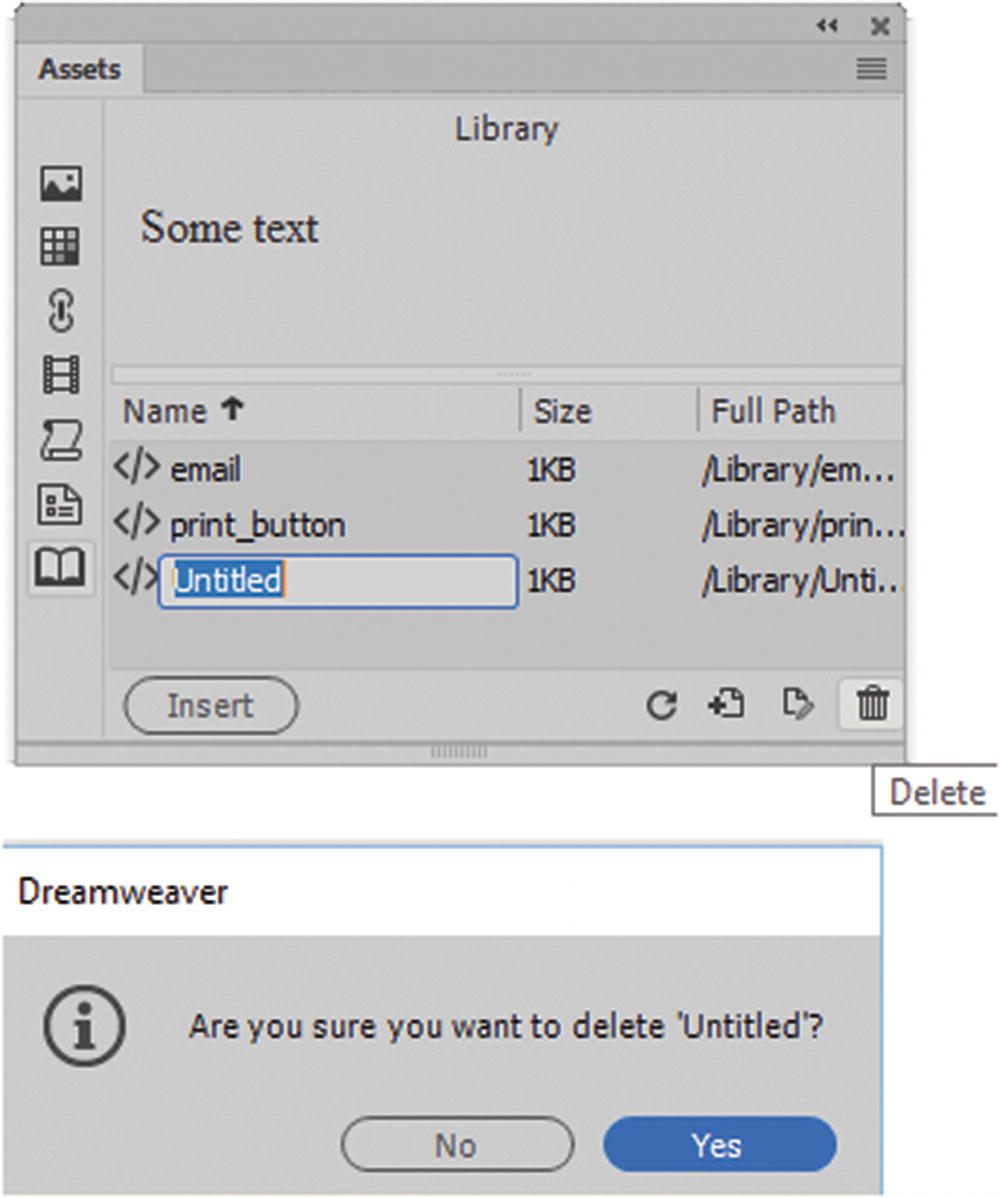
When you delete a library item, it is permanently removed
Note
Regarding the Asset panel, if you are in Live or Design view, some tabs may be missing, so to ensure that you see all the tabs while working, use Design view. Refer to Figure 35-37.
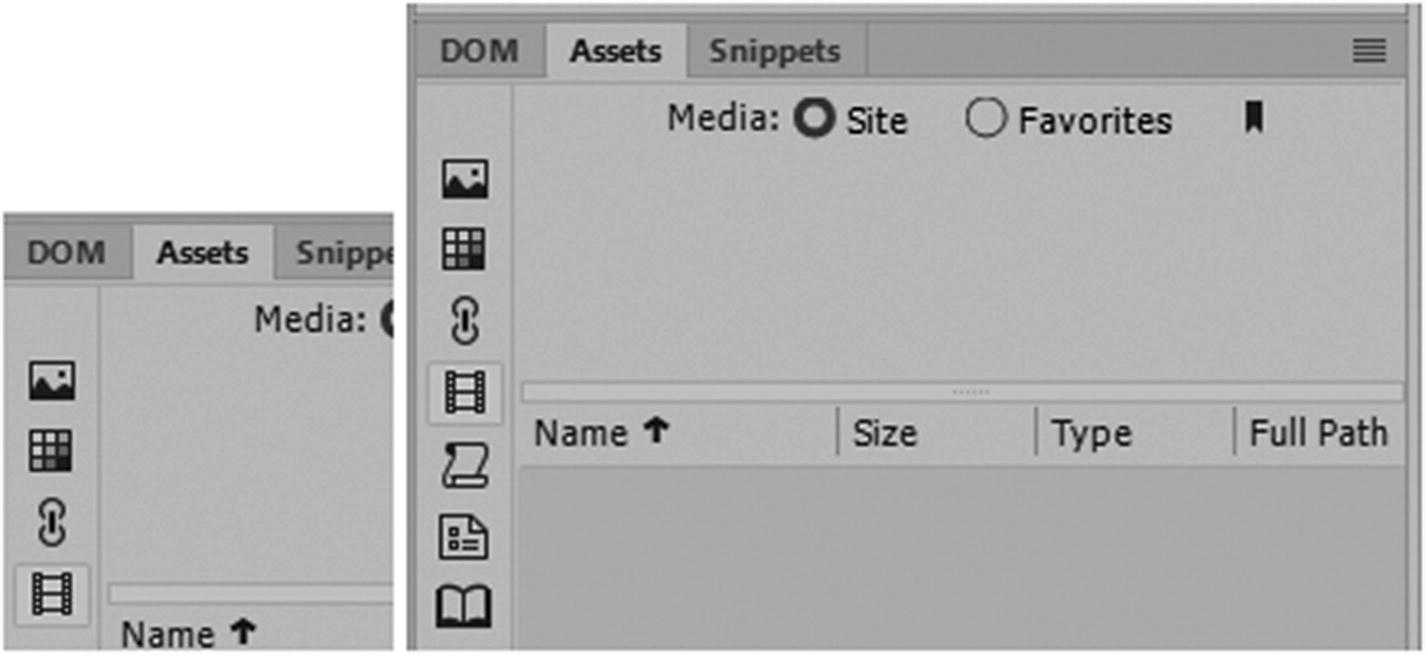
The Asset panel changes from Live to Design view
Summary
In this chapter, you looked at how Bootstrap is added to a template and how templates are useful so that your website has a theme and looks consistent. You also looked at library items and how they can be added to a website for select pages, but not to every page. Finally, you looked at the Assets panel and how you can use it to view images, templates, and library items that are inside your site’s root directory folder.
In the next chapter, you look at how to add audio, video, and animations to your site.